If you want to know about how to read a knitting, this guide covers everything you need. Learning how to read a knitting pattern is the skill that transforms you from someone who knits scarves into someone who can knit anything. Patterns can look like alphabet soup the first time you see them. “K2tog, YO, SSK, rep from * to last 3 sts” reads like a secret code. But it’s not complicated once you know the language. It’s just abbreviated English.
This guide breaks down every element of a knitting pattern so you can pick up any pattern, from a simple hat to a complex lace shawl, and know exactly what it’s asking you to do.
Anatomy of a Knitting Pattern: How To Read A Knitting
Every knitting pattern follows the same basic structure, whether it’s free from Ravelry or printed in a $30 book. Here’s what you’ll find, in order:
1. Header Information
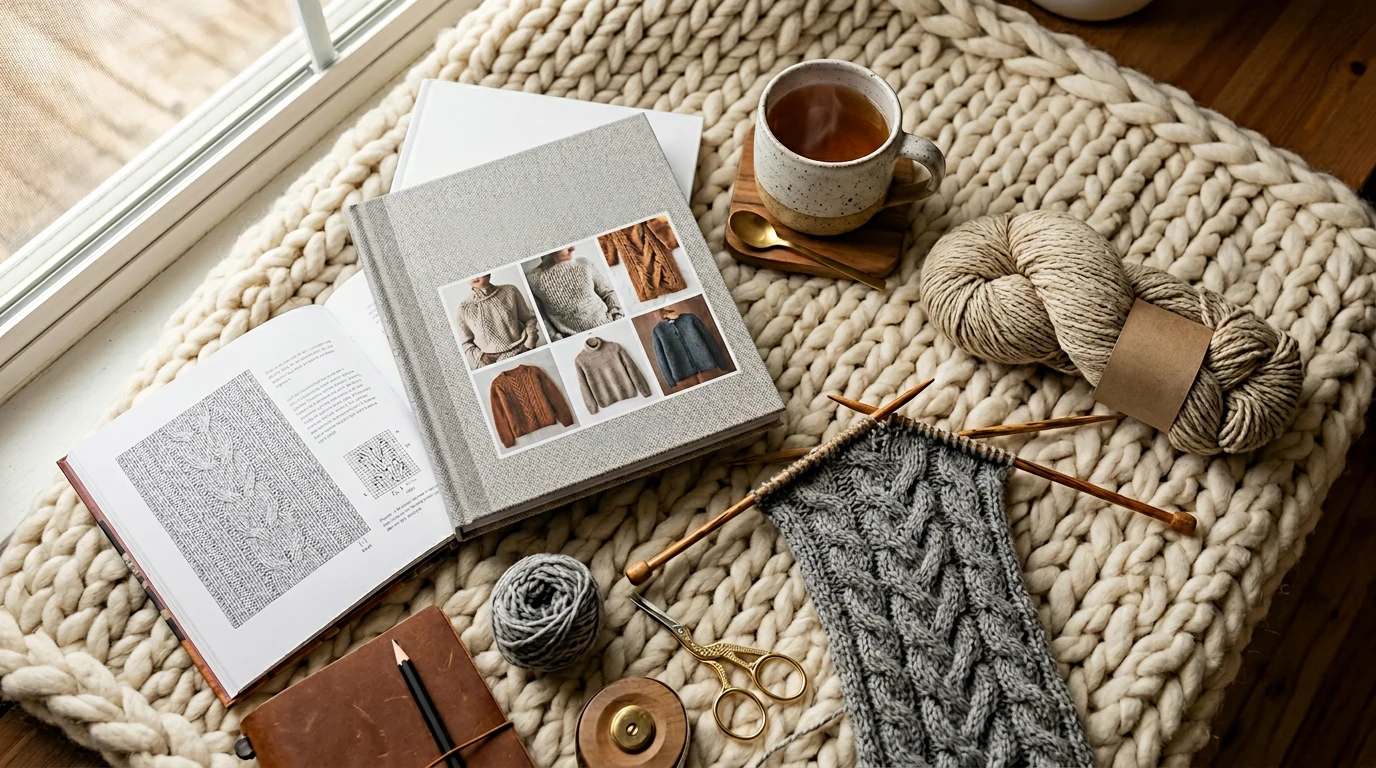
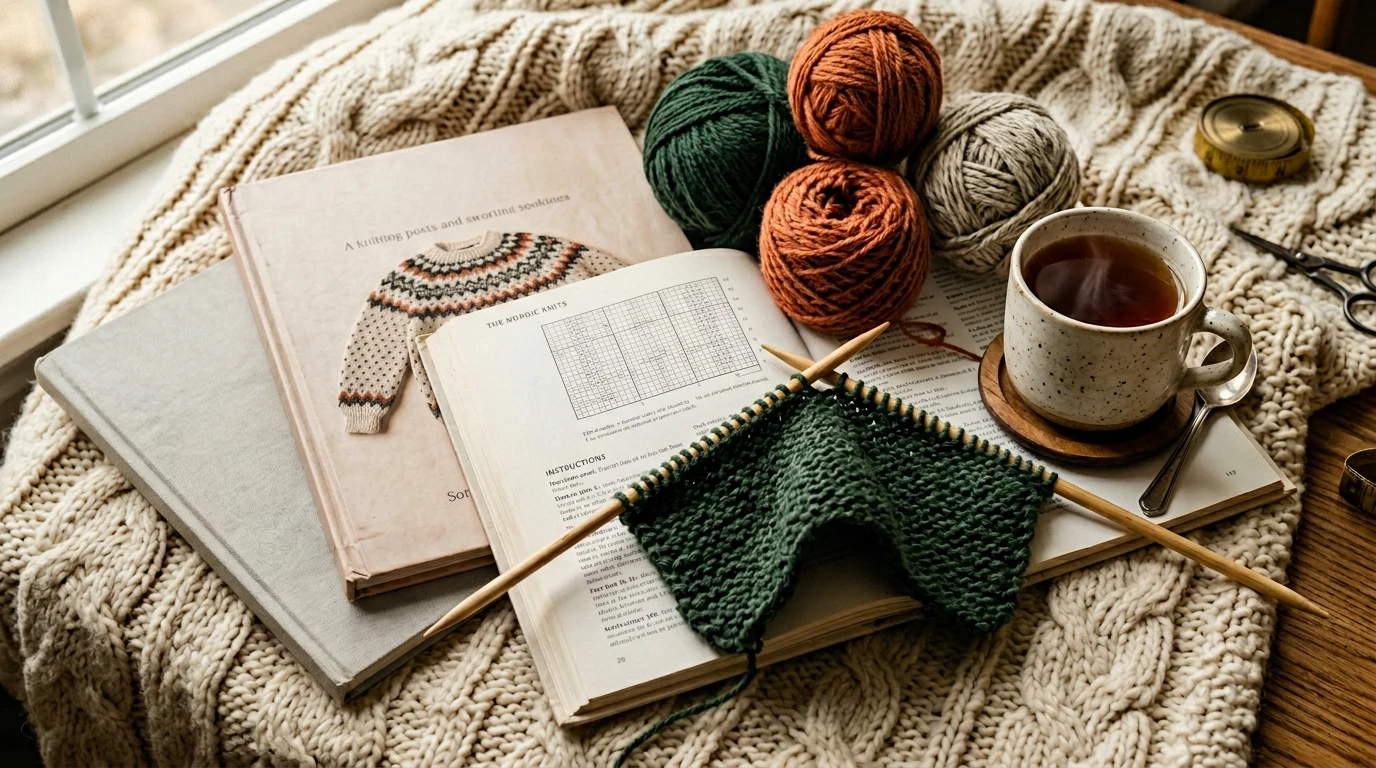
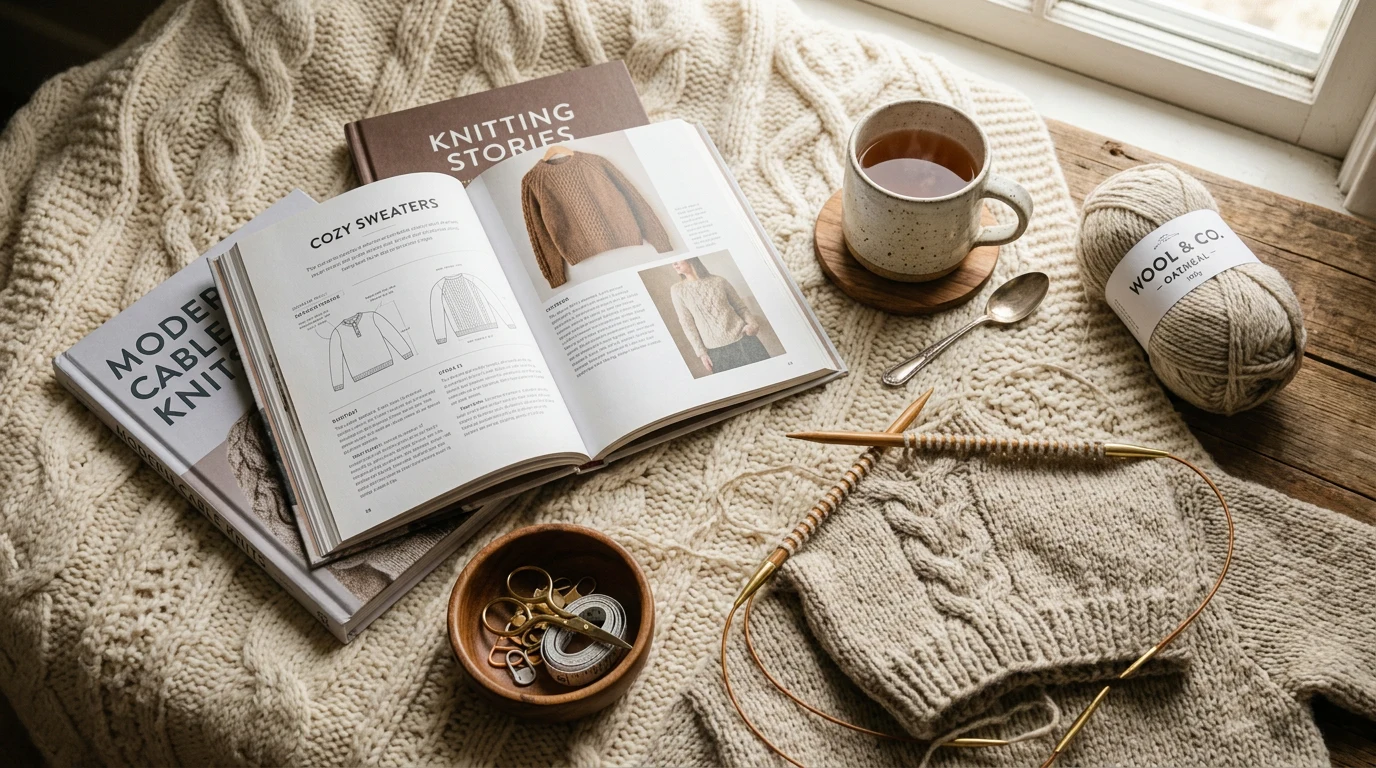
The pattern name, designer, and usually a photo of the finished item. Pay attention to the photo. It tells you what the finished piece should look like and helps you understand the construction while knitting.
2. Skill Level
Most patterns indicate a difficulty level. According to the Craft Yarn Council’s standard skill level system:
| Level | Skills Required |
|---|---|
| Beginner | Knit, purl, cast on, bind off |
| Easy | Basic stitch patterns, simple shaping |
| Intermediate | Cables, colorwork, more complex shaping |
| Experienced | Advanced techniques, multiple simultaneous methods |
3. Finished Measurements
The dimensions of the finished piece. For garments, you’ll see a size range (S, M, L, XL) with corresponding measurements. The pattern typically tells you the finished chest circumference, length, and sleeve length for each size. Compare these to your body measurements (plus the ease you want) to choose your size.
4. Materials List
Everything you need:
- Yarn: Weight, fiber content, and yardage needed. Often specifies a particular yarn, but you can substitute any yarn of the same weight.
- Needles: Size and type (straight, circular, double-pointed). “Or size needed to obtain gauge” means you might need to go up or down a size.
- Notions: Extras like stitch markers, cable needles, tapestry needles, buttons.
5. Gauge
Gauge tells you how many stitches and rows should fit in a specific measurement (usually 4 inches / 10cm). Example: “20 sts and 26 rows = 4 inches in stockinette stitch.” This is how the designer ensures the finished piece comes out the right size.
If the pattern includes gauge, always knit a gauge swatch before starting the actual project. Cast on extra stitches (at least 24 for a 20-stitch gauge), knit for at least 5 inches, then measure the center 4 inches. If you have too many stitches, try larger needles. Too few, try smaller. Mastering how to read a knitting takes practice but delivers great results.
6. Abbreviations
A key that defines every abbreviation used in the pattern. Always read this section before starting, even if you think you know them all. Some designers use non-standard abbreviations.
7. Special Techniques
Instructions for any unusual stitches or methods. If a pattern uses an unusual cast-on or a specific decrease method, it’s usually explained here.
8. Pattern Instructions
The actual step-by-step directions. This is the main body of the pattern.
Understanding Abbreviations
Here are the most common abbreviations you’ll encounter:
| Abbreviation | Meaning | What You Do |
|---|---|---|
| K | Knit | Standard knit stitch |
| P | Purl | Standard purl stitch |
| CO | Cast on | Create initial stitches |
| BO | Bind off | Secure and end stitches |
| St(s) | Stitch(es) | Reference to a stitch |
| K2tog | Knit 2 together | Decrease by knitting 2 as one (leans right) |
| SSK | Slip, slip, knit | Decrease that leans left |
| YO | Yarn over | Wrap yarn around needle (creates a hole/increase) |
| Sl | Slip | Move stitch from left to right needle without working |
| RS | Right side | Public-facing side of the work |
| WS | Wrong side | Back/inside of the work |
| Rep | Repeat | Do the instructions again |
| Inc | Increase | Add a stitch |
| Dec | Decrease | Remove a stitch |
| PM | Place marker | Put a stitch marker on needle |
| SM | Slip marker | Slide marker from left to right needle |
| M1R / M1L | Make 1 right / left | Increase that leans right or left |
| Tbl | Through back loop | Work stitch through back of loop instead of front |
Reading Written Patterns
Written patterns use a combination of abbreviations and punctuation to tell you exactly what to do. Here’s how to decode the punctuation:
Numbers After Abbreviations
“K5” means knit 5 stitches. “P3” means purl 3 stitches. The number tells you how many times to perform that action in a row.
Commas
Commas separate different actions. “K5, P3, K5” means knit 5, then purl 3, then knit 5.
Asterisks (*) and Repeats
The asterisk marks a section to repeat. “*K2, P2; rep from * to end” means: knit 2, purl 2, and keep repeating that pattern until you reach the end of the row. Understanding how to read a knitting is key to a great craft hobby.
Sometimes you’ll see “rep from * to last 3 sts, K3.” This means repeat the starred section until 3 stitches remain, then knit those 3 normally.
Brackets [ ] and Parentheses ( )
These group actions that should be treated as a unit. “[K1, P1] 5 times” means do K1, P1 a total of five times (10 stitches worked). Some patterns use brackets for size variations: “CO 80 [90, 100, 110] sts” means cast on 80 for the smallest size, 90 for the next, and so on.
A Complete Example
Let’s decode a real pattern row:
“Row 1 (RS): K3, *YO, K2tog, K4; rep from * to last 5 sts, YO, K2tog, K3.”
Translation:
- This is Row 1, worked on the right side of the fabric.
- Knit 3 stitches.
- Yarn over, knit 2 together, knit 4. This is the repeated section.
- Keep repeating step 3 until 5 stitches remain.
- Yarn over, knit 2 together, knit 3 (to finish the row).

- Interchangeable circular knitting needles, 13 sizes, 16inch(40cm)-20inch(60cm)-3
- Knitting needles, solid wood, dyed, lightweight, non-fading, ergonomic design, n
- Knitting needle set with storage bag/case, featuring an extremely high level of
Reading Charted Patterns
Some patterns use visual charts instead of (or in addition to) written instructions. Charts are grids where each square represents one stitch, and symbols within the squares tell you which stitch to make.
How to Read a Chart
- Bottom to top: Start reading from the bottom row and work upward, just as you’re building your fabric from the bottom up.
- Right to left on RS rows: Right-side rows are read from right to left (the direction you’re knitting).
- Left to right on WS rows: Wrong-side rows are read from left to right.
- Row numbers: RS rows are on the right side of the chart, WS rows on the left.
Common Chart Symbols
| Symbol | Meaning (RS) | Meaning (WS) |
|---|---|---|
| Empty square or dot in center | Knit | Purl |
| Dash or horizontal line | Purl | Knit |
| O or circle | Yarn over | Yarn over |
| Right-leaning slash / | K2tog | P2tog |
| Left-leaning slash \ | SSK | SSP |
| Shaded/gray square | No stitch (placeholder) | No stitch |
Every charted pattern includes a symbol key. Always check the key, because symbol conventions can vary between designers.
Understanding Sizing in Patterns
Patterns that come in multiple sizes present the information for all sizes at once, usually in a format like: When it comes to how to read a knitting, preparation matters most.
“CO 80 (90, 100, 110, 120) sts.”
The first number is the smallest size, and the subsequent numbers in parentheses are progressively larger sizes. Before starting, go through the entire pattern and highlight or circle every number that corresponds to your size. This prevents errors mid-project.
Pattern Notes and Construction Methods
Before the stitch-by-stitch instructions, most patterns include construction notes that explain how the piece is built:
- “Worked flat”: Knit back and forth on straight or circular needles.
- “Worked in the round”: Knit in a continuous spiral on circular or double-pointed needles.
- “Top-down”: Start at the neck/top and knit downward.
- “Bottom-up”: Start at the hem and knit upward.
- “Seamed”: Pieces are knit separately and sewn together.
- “Seamless”: Knit as one continuous piece with no sewing.

- 1.Circular Knitting needles Set: Including 11 pairs knitting needles(size: 3.0mm
- 2.Multiple & Clear Size : Unlike traditional circular needle sets, we provide yo
- 3.Premium Materials knitting set: Aluminum cable needles for knitting made of hi
Tips for Following Your First Pattern
- Read the entire pattern before casting on. Don’t start at step one and hope for the best. Understanding the overall construction prevents surprises.
- Check the errata. Many patterns have corrections published after printing. Check the designer’s website or Ravelry for errata before starting.
- Use stitch markers. Place markers between pattern repeats so you can catch errors within one repeat instead of discovering them at the end of a row.
- Keep a tally. Use a row counter or hash marks on paper to track which row you’re on. Patterns often say “repeat rows 1-8 for pattern.” You need to know which row you’re currently on.
- Check your stitch count regularly. After every row that includes increases or decreases, count your stitches to make sure the number matches what the pattern expects.
- Take notes. Write down any modifications you make, which size you’re knitting, and any problems you solved. Future you will be grateful.
Where to Find Beginner-Friendly Patterns
- Ravelry: Filter by difficulty level “beginner” and “easy.” Read project notes from other knitters who’ve completed the pattern.
- Yarn labels: Many skeins have a simple pattern printed on the label or inside the ball band.
- Knitting books: Beginner knitting books include patterns with extra-detailed instructions.
- YouTube: Video tutorials that walk through an entire project stitch by stitch.
Frequently Asked Questions
What does “repeat from * to end” mean in a knitting pattern?
The asterisk (*) marks the beginning of a section that you repeat. “Rep from * to end” means continue repeating that section all the way to the last stitch of the row. If the pattern says “rep from * to last 2 sts,” you repeat the section until 2 stitches remain, then follow whatever instruction comes after.
Do I have to knit a gauge swatch?
For anything that needs to fit (hats, sweaters, mittens, socks), yes. Gauge determines the finished size, and even half a stitch per inch difference can result in a sweater that’s inches too big or small. For scarves, blankets, and dishcloths where exact size doesn’t matter, you can skip the gauge swatch.
What does “at the same time” mean in a pattern?
This phrase means two things are happening simultaneously. For example, “decrease at armhole edge every RS row AND AT THE SAME TIME decrease at neck edge every 4th row.” You need to track both sets of decreases on the same rows. This is one of the trickiest pattern instructions for beginners. Use two separate row counters or write out each row individually before knitting.
Can I substitute a different yarn than what the pattern calls for?
Yes, as long as you match the yarn weight and achieve the same gauge. A pattern designed for worsted weight wool will work with worsted weight acrylic if your gauge matches. However, different fibers drape differently, so the finished look may vary slightly. Consult Ravelry’s project pages to see how others’ substitutions turned out.
What’s the difference between a written pattern and a charted pattern?
Written patterns spell out every stitch in text form (“K2, P3, K2tog”). Charted patterns use a visual grid with symbols representing each stitch. Many patterns include both. Written patterns are easier for beginners because they read like sentences. Charted patterns are preferred for complex stitch patterns (lace, cables, colorwork) because the visual grid shows how the pattern looks spatially. Most knitters become comfortable with both over time.
Frequently Asked Questions
What does all the abbreviation mean in knitting patterns?
Knitting pattern abbreviations are just shortened English words. Common ones include K (knit), P (purl), K2tog (knit two together), YO (yarn over), and SSK (slip, slip, knit). Once you learn these basic abbreviations, you can read and understand any pattern, from simple scarves to complex lace shawls.
How do I choose the right size when reading a knitting pattern?
Look at the finished measurements section of your pattern, which shows chest circumference, length, and sleeve length for each size. Compare these measurements to your body measurements and decide how much ease (extra room) you want. Choose the size whose finished measurements match your desired fit.
What should I look for in the header information of a knitting pattern?
Pay attention to the pattern name, designer, and especially the finished item photo. The photo shows you exactly what the completed piece should look like and helps you understand how the project is constructed while you’re knitting. This visual reference is invaluable for following the pattern correctly.
Can I use a different yarn than what a knitting pattern specifies?
Yes, you can substitute yarn as long as it’s the same weight as the pattern requires. The materials list tells you the yarn weight, fiber content, and yardage needed. Using a substitute yarn of the same weight will give you similar results to the original pattern.