So you want to learn how to knit for beginners, and you’re not sure where to start. Maybe you’ve watched someone’s hands move effortlessly with yarn and needles and thought, “I could never do that.” Here’s the thing: you absolutely can. Knitting is one of those rare skills that feels impossibly complex from the outside but breaks down into a handful of simple, repeatable motions.
This guide walks you through everything you need to go from zero experience to completing your first project. No assumptions, no jargon without explanation, no rushing. Just slow, clear steps at whatever pace feels right for you.
Why Knitting Is Worth Learning in 2026: How To Knit For Beginners
Knitting has seen a genuine resurgence over the past few years, and it’s not just nostalgia driving it. Research from the Frontiers in Psychology journal has linked repetitive craft activities like knitting to reduced stress and improved mood. There’s a meditative quality to the rhythm of the stitches that screens simply can’t replicate.
Beyond the mental health benefits, knitting gives you something tangible. You get to wear what you make. You get to gift something that took hours of your attention and care. In a world of fast fashion and disposable everything, that matters.
And practically speaking, knitting is affordable to start, completely portable, and endlessly scalable. You can knit simple scarves forever or eventually tackle sweaters, socks, lace shawls, and sculptural art pieces. The ceiling is as high as you want it to be.
What You Need to Get Started
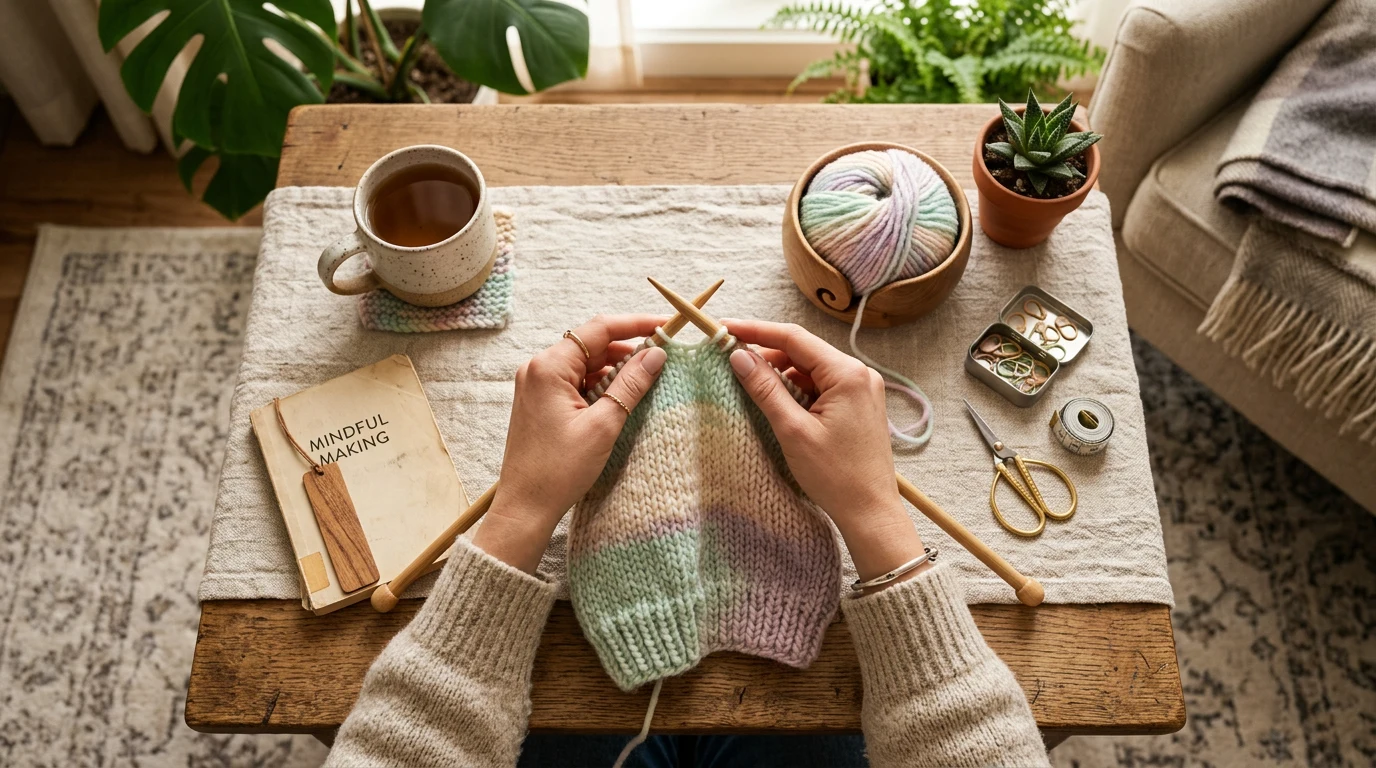
One of the best things about knitting is how little you need to begin. Here’s your starter shopping list:
Knitting Needles
For your very first project, grab a pair of straight needles in US size 8 (5mm). This is a medium size that works well with beginner-friendly yarn and creates stitches large enough to see clearly. Bamboo or wooden needles are ideal for beginners because yarn grips them slightly, preventing stitches from sliding off unexpectedly. Metal needles are slippery, which is great for speed later but frustrating when you’re learning.
Yarn
Choose a medium-weight yarn (also called worsted weight or “4” on the label). Pick a light, solid color so you can see your stitches clearly. Avoid black, dark navy, or heavily textured novelty yarns for now. Acrylic yarn is perfectly fine for learning. It’s affordable, machine washable, and available everywhere. You’ll want one skein for practice swatches and two to three for a first scarf project.
Extras That Help
- A pair of scissors
- A tapestry needle (blunt, large-eyed needle for weaving in ends)
- Stitch markers (or use paperclips or scraps of contrasting yarn)
- A row counter or simple tally app on your phone
That’s it. You don’t need a basket full of supplies. You need needles, yarn, and a willingness to be a beginner for a while.
Understanding Knitting Basics: The Core Concepts
Before you pick up your needles, it helps to understand what knitting actually is at a fundamental level. Knitting creates fabric by interlocking loops of yarn. Each loop is called a stitch, and stitches sit on your needles in a row. You work one row at a time, transferring stitches from the left needle to the right needle as you create new loops.
Every knitting project involves four basic operations:
- Casting on: Creating the initial row of stitches on your needle
- Knit stitch: The fundamental stitch that creates a smooth “V” pattern
- Purl stitch: The reverse of the knit stitch, creating a bumpy texture
- Binding off: Securing your stitches so the fabric doesn’t unravel
That’s genuinely it. Everything in knitting, from the simplest dishcloth to an intricate cabled sweater, is built from combinations of knit and purl stitches. Learn these four operations, and you have the foundation for everything else.
Step 1: How to Make a Slip Knot
Every knitting project starts with a slip knot. This creates your very first loop on the needle.
- Pull out about 6 inches of yarn from the ball (this is your “tail”). The long end going to the ball is your “working yarn.”
- Make a loop with the yarn, with the tail end crossing behind the working yarn.
- Reach through the loop from behind and pull the working yarn through, creating a new loop.
- Slide this loop onto your needle and gently pull both ends to tighten it. It should be snug but slide easily along the needle.
If you pull the tail end and the knot comes undone, you’ve got it right. If you pull the working yarn and it comes undone, just try again with the yarn crossed the other way. Don’t worry about getting it perfect. The slip knot gets hidden in the finished piece. Mastering how to knit for beginners takes practice but delivers great results.
Step 2: Casting On (Long-Tail Method)
Casting on is how you create your starting row of stitches. There are several methods, but the long-tail cast on is the most popular because it creates a neat, stretchy edge. It’s a little tricky at first, but once your hands learn the motion, it becomes automatic.
For your first attempt, cast on about 20 stitches. This gives you enough fabric to practice with without being overwhelming.
- Make a slip knot, leaving a tail about three times the width of your planned piece (for 20 stitches on size 8 needles, about 36 inches of tail).
- Hold the needle in your right hand with the slip knot on it.
- Drape the tail over your left thumb and the working yarn over your left index finger. Hold both ends against your palm with your remaining fingers. Your left hand should look like a slingshot shape.
- Insert the needle tip upward through the loop on your thumb (going from below).
- Swing the needle over and grab the yarn from your index finger, pulling it back through the thumb loop.
- Release the loop from your thumb and gently tighten the new stitch on the needle.
- Repeat steps 4 through 6 until you have 20 stitches.
Count your stitches after every few. It’s easy to accidentally add or miss one. If your stitches feel tight and hard to slide, you’re pulling too hard. If they’re loose and floppy, give a bit more of a tug. Aim for stitches that slide along the needle with gentle pressure.
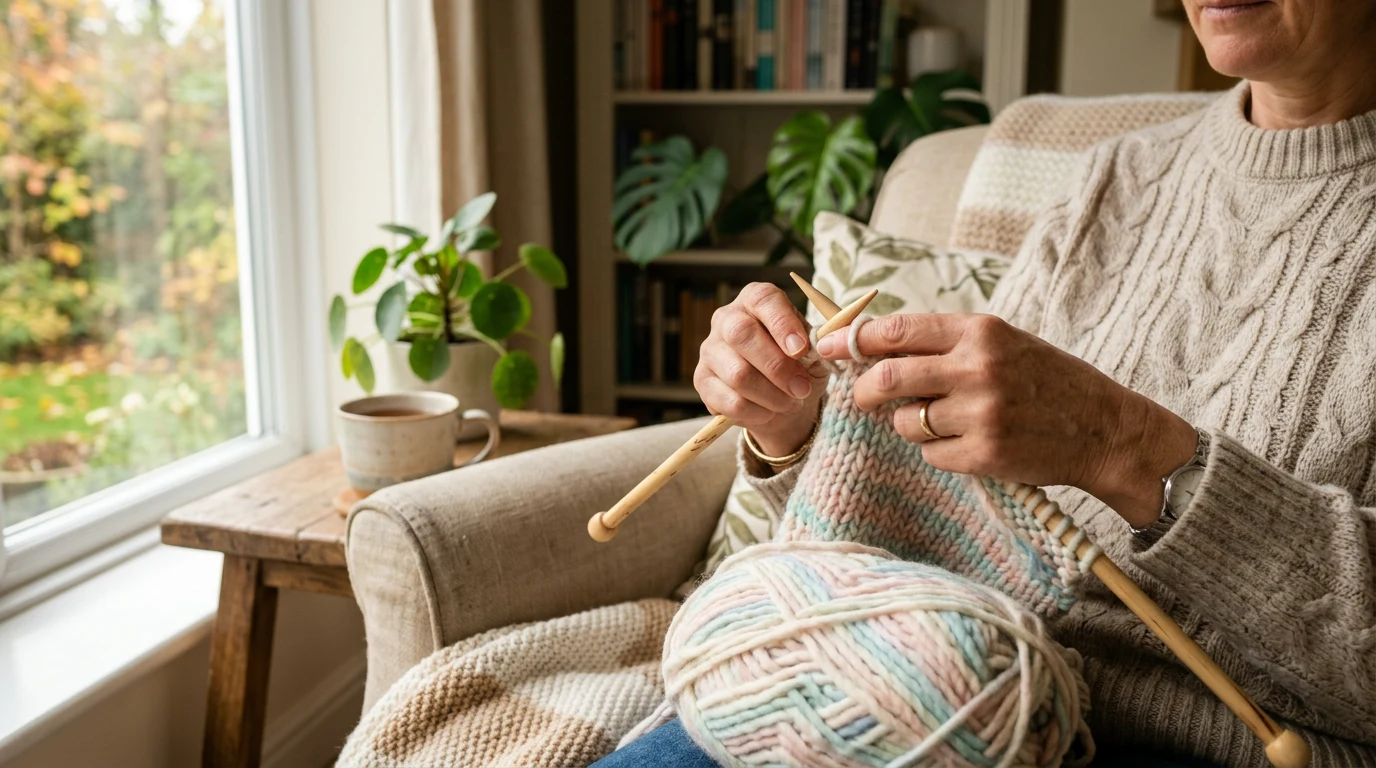
Step 3: The Knit Stitch
This is the stitch you’ll use more than any other. The knit stitch creates the smooth, classic “V” shaped fabric that most people picture when they think of knitting. When you knit every row, you create a fabric called garter stitch, which has a bumpy, ridged texture on both sides. It’s stretchy, lies flat, and looks the same from the front and back.
Hold the needle with your cast-on stitches in your left hand and the empty needle in your right hand. The working yarn should hang down the back of your work.
- Insert: Push the right needle into the first stitch on the left needle, going from left to right (front to back). The right needle should cross behind the left needle, forming an X.
- Wrap: With your right hand (or index finger, depending on your yarn-holding style), wrap the working yarn counterclockwise around the right needle tip.
- Pull through: Carefully pull the right needle back through the stitch, bringing the wrapped yarn with it. You now have a new loop on the right needle.
- Slide off: Slide the old stitch off the left needle. One stitch completed.
Repeat across the row. When all stitches have been transferred from the left needle to the right, you’ve completed one row. Swap the needles (full needle goes to your left hand, empty to your right) and start again.
A memory trick many beginners find helpful: “In through the front door, wrap around the back, peek through the window, off jumps Jack.” Silly, but effective.
- 46 needles wide knitting
- Knits scarves in minutes
- Hand-crank operation
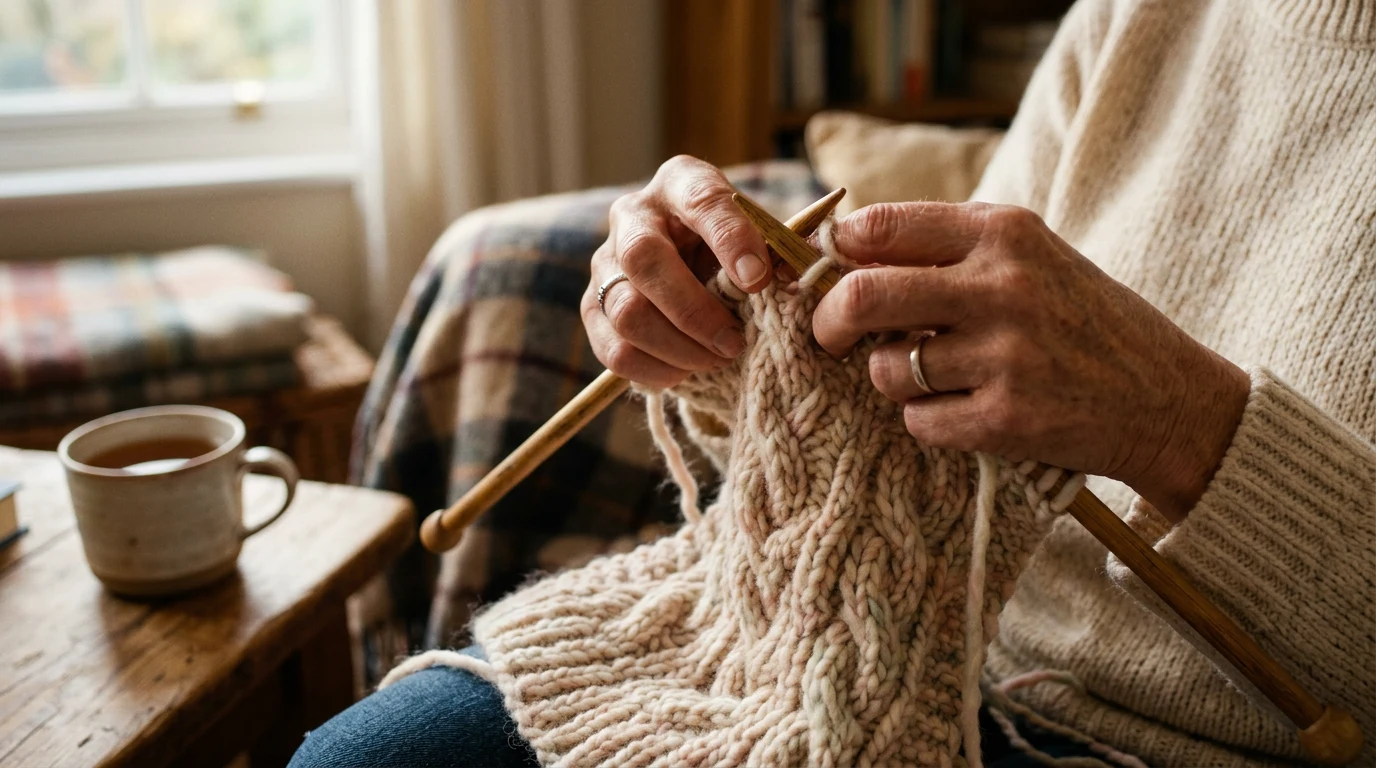
Step 4: The Purl Stitch
The purl stitch is the mirror image of the knit stitch. If you look at the back of a knit stitch, it looks exactly like a purl stitch. Learning to purl opens up stockinette stitch (the smooth fabric on store-bought sweaters) and countless stitch patterns.
For the purl stitch, the working yarn starts in front of your work instead of behind it.
- Insert: Push the right needle into the first stitch on the left needle from right to left (back to front). The right needle should be in front of the left needle.
- Wrap: Wrap the working yarn counterclockwise around the right needle tip (the yarn is already in front, so this feels more natural than you’d expect).
- Pull through: Push the right needle back through the stitch, bringing the new loop with it.
- Slide off: Slide the old stitch off the left needle.
Purling often feels awkward at first, and that’s completely normal. Most knitters find it slower than knitting for a while. Keep practicing, and it will smooth out.
Step 5: Binding Off
When your piece is the length you want, you need to bind off (also called casting off) to secure the stitches so they don’t unravel.
- Knit two stitches normally.
- Insert the left needle into the first stitch you knit (the one further from the needle tip on the right needle).
- Lift that first stitch over the second stitch and off the right needle. One stitch bound off.
- Knit another stitch. You again have two stitches on the right needle.
- Repeat: lift the first over the second.
- Continue until one stitch remains. Cut the yarn, leaving a 6-inch tail, and pull the tail through the last loop. Tug gently to secure.
A common beginner mistake is binding off too tightly, which creates a puckered edge. Try to keep the same tension you’ve been using throughout your piece. If your bind-off is consistently tight, try using a needle one size larger for the bind-off row.
Your First Project: A Garter Stitch Practice Swatch
Before jumping into a scarf or hat, knit a simple practice swatch. Cast on 20 stitches and knit every row (garter stitch) for about 30 rows. Then bind off. This swatch teaches you:
- How to maintain consistent tension
- How to count rows and stitches
- How to spot and fix dropped stitches
- How to weave in your yarn ends with a tapestry needle
Don’t skip this step. It’s tempting to dive straight into a project, but a practice swatch lets you make all your mistakes on a low-stakes piece. Keep your first swatch. It’s genuinely fun to compare it to your knitting six months later. Understanding how to knit for beginners is key to a great craft hobby.
Common Beginner Stitch Patterns
Once you’ve got the knit and purl stitches down, you can combine them into different textures:
Garter Stitch
Knit every row. Creates a bumpy, stretchy fabric that looks the same on both sides. This is the easiest stitch pattern and makes great scarves, dishcloths, and blankets.
Stockinette Stitch
Alternate knit rows and purl rows (knit one row, purl one row, repeat). Creates the classic smooth “V” pattern on the front and bumps on the back. This is what most commercial knitwear uses. Note: stockinette tends to curl at the edges, so it works best with a border of garter stitch or ribbing.
Ribbing (1×1 or 2×2)
Alternate knit and purl stitches within the same row. For 1×1 ribbing: knit 1, purl 1, repeat. For 2×2: knit 2, purl 2, repeat. Creates a stretchy, springy fabric perfect for hat brims, sock cuffs, and sweater edges.
Seed Stitch
Like ribbing, but you alternate the pattern every row (knit where you purled, purl where you knit). Creates a lovely textured fabric that lies flat and looks beautiful on both sides.
Understanding Yarn Labels
Every skein of yarn has a label (called a ball band) packed with useful information:
- Weight: The thickness category (1=lace through 7=jumbo). For beginners, stick with 4 (worsted/medium).
- Fiber content: What the yarn is made from (acrylic, wool, cotton, blends).
- Yardage/meterage: How much yarn is in the skein. Important for knowing how many skeins you need.
- Recommended needle size: What size needles the manufacturer suggests.
- Gauge: How many stitches and rows per 4 inches (10cm) when knit at the suggested needle size.
- Care instructions: How to wash the finished item.
- Dye lot: A number that identifies the specific batch. Buy all the yarn you need for a project from the same dye lot, as colors can vary slightly between batches.
Gauge: Why It Matters (and When to Ignore It)
Gauge refers to how many stitches and rows fit into a specific measurement, usually 4 inches. It varies based on your yarn, needle size, and personal tension. Two knitters using identical materials can get different gauges.
For scarves, dishcloths, and blankets, gauge isn’t critical. Your piece might end up slightly wider or narrower than planned, and that’s fine. But for anything that needs to fit a body (hats, sweaters, socks), gauge is essential. Always knit a gauge swatch before starting a fitted project.
Holding Your Yarn: English vs. Continental
There are two main ways to hold your working yarn:
English style (throwing): You hold the yarn in your right hand and “throw” it around the needle for each stitch. This is the most common method taught in the US and UK. It’s intuitive for most beginners.
Continental style (picking): You hold the yarn in your left hand and “pick” it with the needle tip. This is common in Europe and can be faster once mastered. If you already crochet, continental may feel more natural since the yarn is held similarly.
Neither method is better. Try both and use whichever feels more comfortable. You can always switch later. Some knitters even use different styles for knit and purl stitches.
Essential Knitting Vocabulary
As you start exploring patterns and tutorials, you’ll encounter abbreviations and terms. Here are the ones you’ll see most often: When it comes to how to knit for beginners, preparation matters most.
| Abbreviation | Meaning |
|---|---|
| K | Knit |
| P | Purl |
| CO | Cast on |
| BO | Bind off |
| St(s) | Stitch(es) |
| Rep | Repeat |
| RS | Right side (the “public” side of your work) |
| WS | Wrong side (the back/inside) |
| YO | Yarn over (wrap yarn around needle to create a hole) |
| K2tog | Knit two stitches together (a decrease) |
| SSK | Slip, slip, knit (another decrease, leans opposite direction) |
| Inc | Increase |
| Dec | Decrease |
Troubleshooting: Fixing Common Mistakes
Every knitter makes mistakes. Every single one. The difference between a frustrated beginner and a confident knitter is simply knowing how to fix them.
Dropped Stitch
A stitch slips off your needle and starts to unravel. Don’t panic. Use a crochet hook to pull the loose yarn through the dropped loop, working your way back up to the current row. A crochet hook in a similar size to your knitting needles is the easiest tool for this.
Extra Stitches
Your stitch count keeps growing. This usually happens when you accidentally create a yarn over at the beginning of a row by bringing the yarn to the front before inserting your needle. Make sure the yarn is behind your work when you start each knit row.
Uneven Tension
Some stitches are tight and some are loose, giving your fabric a messy look. This is completely normal for beginners and improves naturally with practice. Focus on making each stitch the same way, and your muscle memory will develop consistency.
Best Beginner Knitting Projects (In Order)
Progress through these projects as your skills build:
- Practice swatches: Try garter stitch, stockinette, and ribbing
- Dishcloth: A small, flat square. Great for practicing consistent tension.
- Scarf: Your first real “wearable.” Garter stitch is perfect.
- Headband/ear warmer: Introduces knitting in the round (or seaming).
- Simple hat: Introduces circular needles and basic decreases.
- Cowl/infinity scarf: Knitting in the round without shaping.
- Baby blanket: Bigger project, simple stitches, great gift.
- Mittens: Introduces more complex shaping.
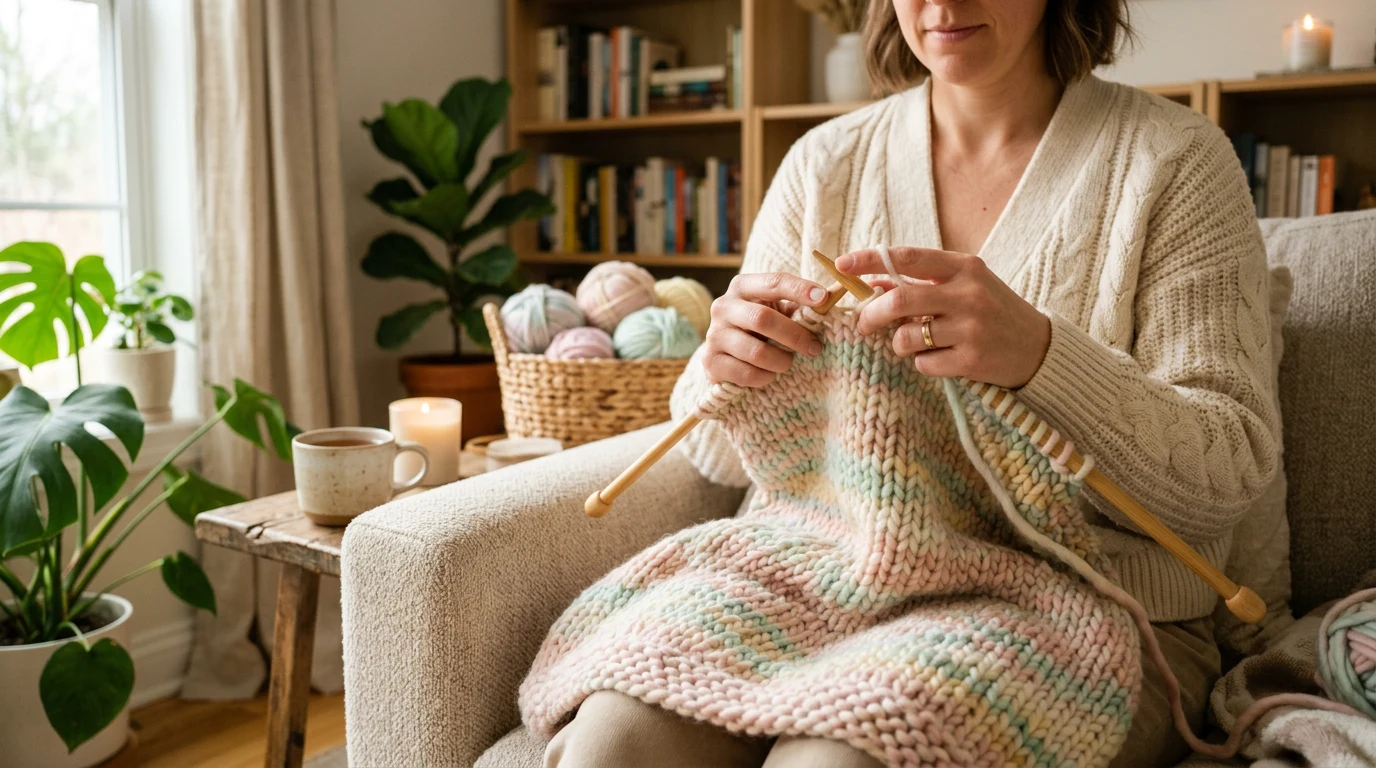
Building a Knitting Routine
Consistency matters more than marathon sessions. Twenty minutes of daily knitting will build your skills faster than occasional three-hour sessions. Keep a simple project by the couch, next to your bed, or in your bag for commutes and waiting rooms.
Many knitters find that pairing knitting with something else creates a natural habit: knitting while watching TV, listening to podcasts, or sitting in a park. It’s one of the few creative activities that pairs beautifully with other forms of relaxation.
Where to Learn More
Books, YouTube, and community groups are all excellent next steps:
- YouTube: Search for “knit stitch slow tutorial” and watch several different instructors. Different teaching styles click for different people.
- Ravelry: The largest knitting community online, with thousands of free patterns and active forums.
- Local yarn shops (LYS): Many offer beginner classes and knit nights where you can get help in person.
- Library: Knitting books with clear photos are invaluable for visual learners.
Frequently Asked Questions
How long does it take to learn to knit?
Most people can learn the basic knit stitch in a single sitting of 30 to 60 minutes. Becoming comfortable enough to knit without constantly checking instructions typically takes a few weeks of regular practice. Within a month or two of consistent knitting, most beginners feel confident tackling simple patterns independently.
Is knitting expensive to start?
Not at all. A pair of bamboo needles and a skein of practice yarn can cost under $10 total. You can absolutely learn to knit for less than the price of a movie ticket. As your skills grow, you may want to invest in nicer yarns and specialty needles, but the entry cost is very low.
Should I learn to knit or crochet first?
It depends on what you want to make. Knitting creates a smoother, drapier fabric that’s great for garments. Crochet is better for amigurumi (stuffed toys), thick blankets, and sculptural shapes. Many crafters eventually learn both. Neither is harder than the other, just different.
What if I’m left-handed?
Left-handed knitters have several options. Many left-handed people learn to knit right-handed without issues since both hands are active in knitting anyway. Others prefer to learn continental style (yarn in the left hand), which lets the dominant hand do more of the work. You can also mirror the instructions and knit left-handed, though this may make following patterns slightly more complex.
How do I fix a mistake several rows back?
For small mistakes (a single wrong stitch), you can “tink” (knit spelled backward) by carefully unknitting stitch by stitch back to the error. For larger mistakes, you can pull the needle out, carefully unravel to the problem row, and then re-insert the needle through the live stitches. This is called “frogging” (because you “rip it, rip it”). Use a smaller needle to pick up the stitches, then switch back to your regular size.
Frequently Asked Questions
Is knitting really possible for beginners with no experience?
Yes, absolutely. Knitting breaks down into simple, repeatable motions that anyone can learn at their own pace. The guide shows you don’t need any prior experience to go from zero to completing your first project.
What size knitting needles should I buy to start learning?
For beginners, grab US size 8 (5mm) straight needles made from bamboo or wood. This medium size works well with beginner-friendly yarn and creates stitches large enough for you to see clearly and learn from.
How to knit for beginners when you’re worried about stress and mental health?
Research from Frontiers in Psychology shows that repetitive craft activities like knitting reduce stress and improve mood through their meditative rhythm. The repetitive motions create a calming effect that screens simply cannot replicate.
Is knitting an affordable hobby to start learning?
Yes, knitting is very affordable to begin and requires minimal supplies. Beyond needles and yarn, you don’t need expensive equipment, and you can start with just a few basic items from your starter shopping list.