If you want to know about how to fix common knitting, this guide covers everything you need. Every knitter makes mistakes. The experienced ones just know how to fix them. Learning to fix knitting mistakes is genuinely more important than learning to avoid them, because avoidance only comes with time, while fixing is a skill you can learn right now.
This guide covers the most common knitting mistakes you’ll encounter and walks you through exactly how to fix each one without ripping out your entire project and starting from scratch.
The Right Mindset for Mistakes: How To Fix Common Knitting
Before we dive into fixes, let’s reframe how you think about knitting mistakes. Research from the Frontiers in Psychology journal suggests that creative problem-solving in crafts (like fixing mistakes) activates reward pathways in the brain. In other words, the satisfaction of rescuing your knitting from a mistake is part of what makes the hobby rewarding.
Mistakes aren’t failures. They’re the curriculum. Every dropped stitch you rescue teaches you more about how knitting actually works than ten rows of perfect stitches.
Essential Tools for Fixing Mistakes
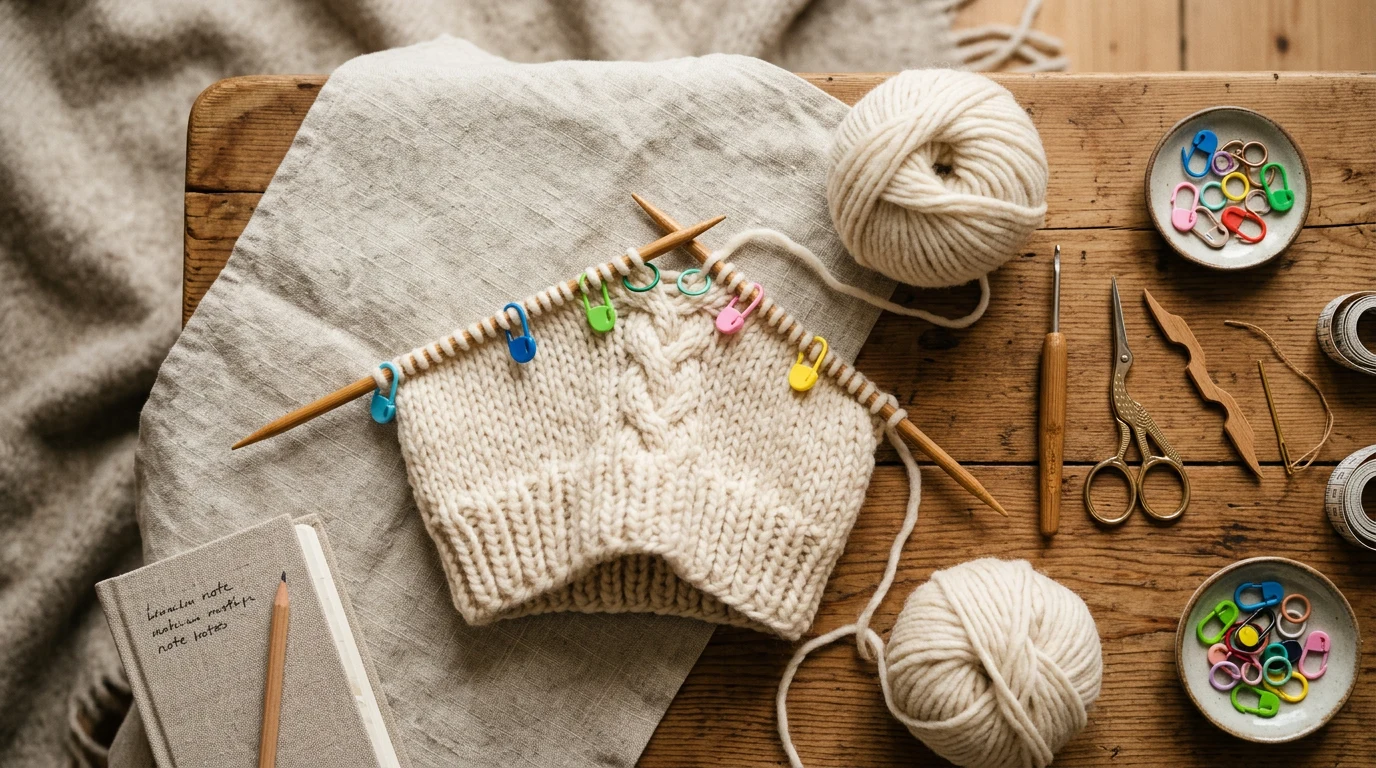
Keep these nearby while you knit:
- Crochet hook: Same size or slightly smaller than your knitting needles. Essential for picking up dropped stitches.
- Stitch markers: Help isolate problem sections.
- Locking stitch markers or safety pins: Catch dropped stitches before they ladder further.
- Tapestry needle: For threading lifelines.
- Waste yarn: For lifelines.
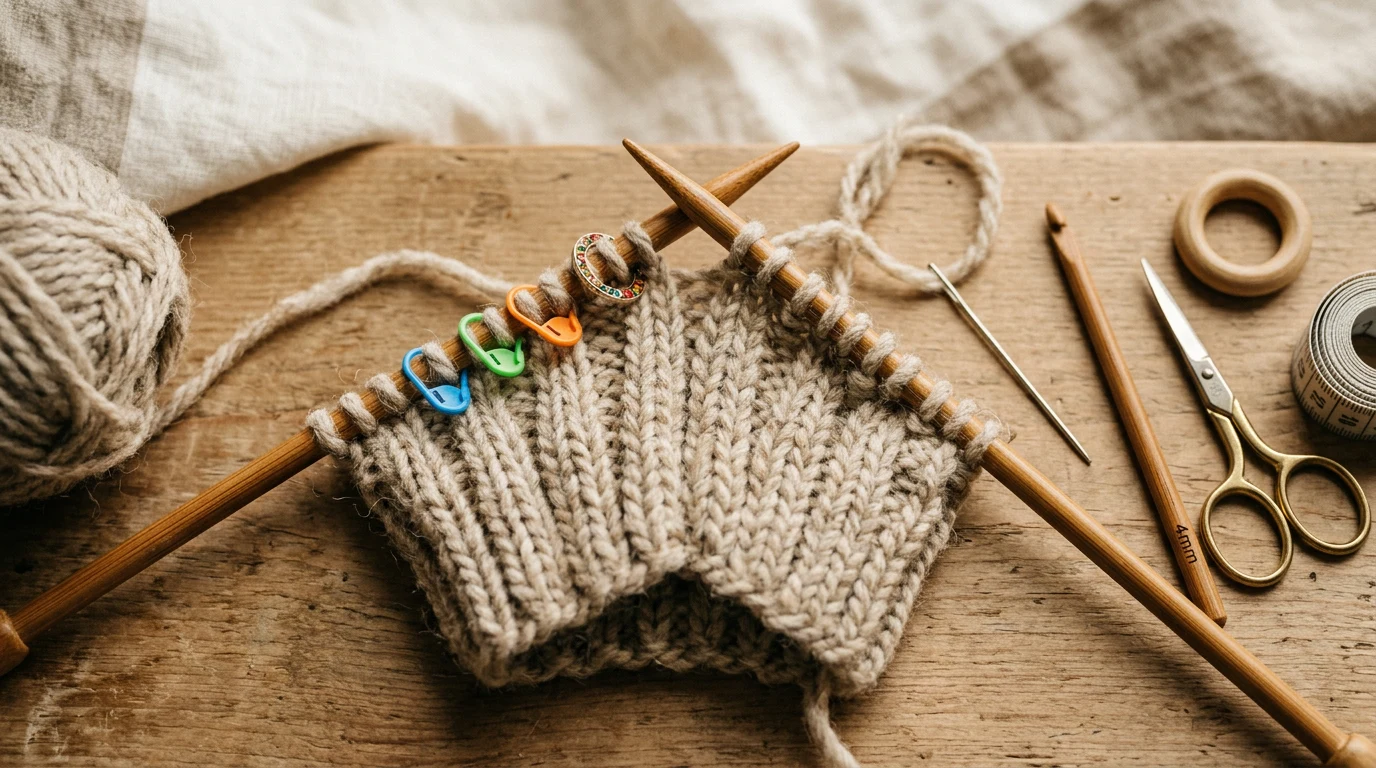
Mistake #1: Dropped Stitch
A dropped stitch is a stitch that’s slipped off your needle and started to unravel. It creates a visible ladder of loose yarn running down through your rows. This is the most common beginner mistake and the most dramatic-looking, but it’s also one of the easiest to fix.
How to Spot It
You’ll notice your stitch count is short, and you can see a loose loop with horizontal bars of yarn above it (the rungs of the ladder).
How to Fix It (Knit Stitch)
- Insert a crochet hook through the dropped loop from front to back.
- Catch the first horizontal bar (the lowest rung of the ladder) with the hook.
- Pull the bar through the loop. You’ve recreated one row’s stitch.
- Repeat for each rung of the ladder, working upward until you reach the current row.
- Place the stitch back on your left needle, making sure it’s oriented correctly (right leg in front).
How to Fix It (Purl Stitch)
For purl columns, insert the crochet hook from back to front, catch the bar, and pull it through. Alternatively, turn your work around so the purl side becomes the knit side, and fix it as a knit stitch. This is often easier.
Prevention
Check your stitch count at the end of every row until this stops happening regularly. If you notice a dropped stitch mid-row, immediately secure it with a locking stitch marker or safety pin to prevent further laddering while you finish the row. Mastering how to fix common knitting takes practice but delivers great results.
Mistake #2: Extra Stitches (Accidental Increases)
Your stitch count keeps growing, and you can see tiny holes or inconsistencies at the edges. This is the second most common beginner mistake.
Common Causes
- Accidental yarn overs at the row start: The yarn is in front when you begin a knit row, creating an extra loop when you insert the needle. Fix: always check that the yarn is behind your work before starting a knit row.
- Knitting into the first stitch twice: The first stitch can look like two stitches, especially in garter stitch. Fix: pull down gently on your work after turning; you’ll see the single stitch more clearly.
- Picking up the running thread: Accidentally catching the strand between stitches and knitting it as a stitch. Fix: if a stitch seems unusually loose or positioned oddly, it might be a running thread, not a stitch.
How to Fix It
If you catch the extra stitch within the current row, simply slip it off the needle and let it drop back. It’s not a real stitch, so it won’t ladder. If the extra stitch is from a previous row, you can decrease on the next row by knitting two together (K2tog) at the location of the extra stitch to get back to your original count.

- Interchangeable circular knitting needles, 13 sizes, 16inch(40cm)-20inch(60cm)-3
- Knitting needles, solid wood, dyed, lightweight, non-fading, ergonomic design, n
- Knitting needle set with storage bag/case, featuring an extremely high level of
Mistake #3: Missing Stitches (Accidental Decreases)
Your stitch count is shrinking, and the edges may look uneven or slanted.
Common Causes
- Knitting two stitches together accidentally: Usually happens when tension is too tight or you insert the needle through two loops instead of one.
- Dropping a stitch without noticing: If it fell several rows ago, it may have laddered down and become hard to see.
How to Fix It
If you need to add a stitch back, the simplest method is a backward loop increase: wrap the working yarn around your left needle once, creating a new stitch. This is a basic increase that adds one stitch where you need it. Place it near the edge of your work where it will be least visible.
Mistake #4: Twisted Stitches
Twisted stitches look like tiny X’s instead of smooth V’s. They’re tighter than surrounding stitches and create a slightly different texture.
Cause
The stitch is mounted on the needle backward. Normally, the right leg of the stitch sits in front of the needle. If the left leg is in front, the stitch is twisted. This happens when you pick up a dropped stitch and put it back on the needle the wrong way, or when wrapping yarn in the wrong direction.
How to Fix It
If you notice a twisted stitch before knitting it, simply slip it off the needle, rotate it 180 degrees, and put it back on with the right leg in front. If you’ve already knitted past it and it bothers you, you can drop that single stitch down (on purpose) and pick it back up correctly with a crochet hook.
Mistake #5: Split Yarn
Your needle went through the middle of the yarn strand instead of under it, splitting the plies. The stitch looks messy and thin.
How to Fix It
If you catch it immediately, tink (unknit) back to the split stitch and redo it. If you’re past it by several rows, the visual impact is usually minor and can be ignored. To prevent split stitches, use needles with slightly blunter tips and make sure you’re entering the stitch cleanly (under both legs of the V). Understanding how to fix common knitting is key to a great craft hobby.
Mistake #6: Uneven Tension
Some rows are tight and others are loose, creating a visually inconsistent fabric. This is universal among beginners and typically resolves itself within the first few projects.
How to Fix It
Blocking (wetting the finished piece and pinning it to shape) dramatically evens out minor tension variations. For severe inconsistency, there’s no fix other than practice. Try to maintain the same hand position and yarn-feeding rhythm for every stitch. Many knitters find that their purl rows are looser or tighter than their knit rows. If this is you, try using a needle one size smaller for the looser row.
Mistake #7: Wrong Stitch (Knit Instead of Purl or Vice Versa)
You were supposed to purl but you knit, or vice versa. The mistake shows up as a bump where there should be a V, or a V where there should be a bump.
How to Fix It
If the mistake is in the current row, tink back to it and redo. If it’s several rows back and you don’t want to rip out your work, you can drop that single column of stitches down to the mistake, then pick them back up with a crochet hook, making the correct stitch (knit or purl) at each rung. This targeted fix is one of the most useful techniques to learn.

- 1.Circular Knitting needles Set: Including 11 pairs knitting needles(size: 3.0mm
- 2.Multiple & Clear Size : Unlike traditional circular needle sets, we provide yo
- 3.Premium Materials knitting set: Aluminum cable needles for knitting made of hi
The Nuclear Options: Tinking and Frogging
Tinking (Unknitting)
Tinking is knitting backward, one stitch at a time. Insert the left needle into the stitch below the one on the right needle (from front to back), then slide the right needle out. One stitch unknit. Repeat until you reach the mistake. This is safe but slow.
Frogging (Ripping Out)
Frogging means pulling the needle out entirely and unraveling rows. It’s faster than tinking but riskier because you need to get the stitches back on the needle correctly.
To frog safely:
- Pull the needle out.
- Gently unravel to one row above the mistake.
- Slowly unravel the last row, inserting a needle (one size smaller than your working needle) into each stitch as you free it.
- Once all stitches are on the smaller needle, switch back to your regular needle and continue knitting.
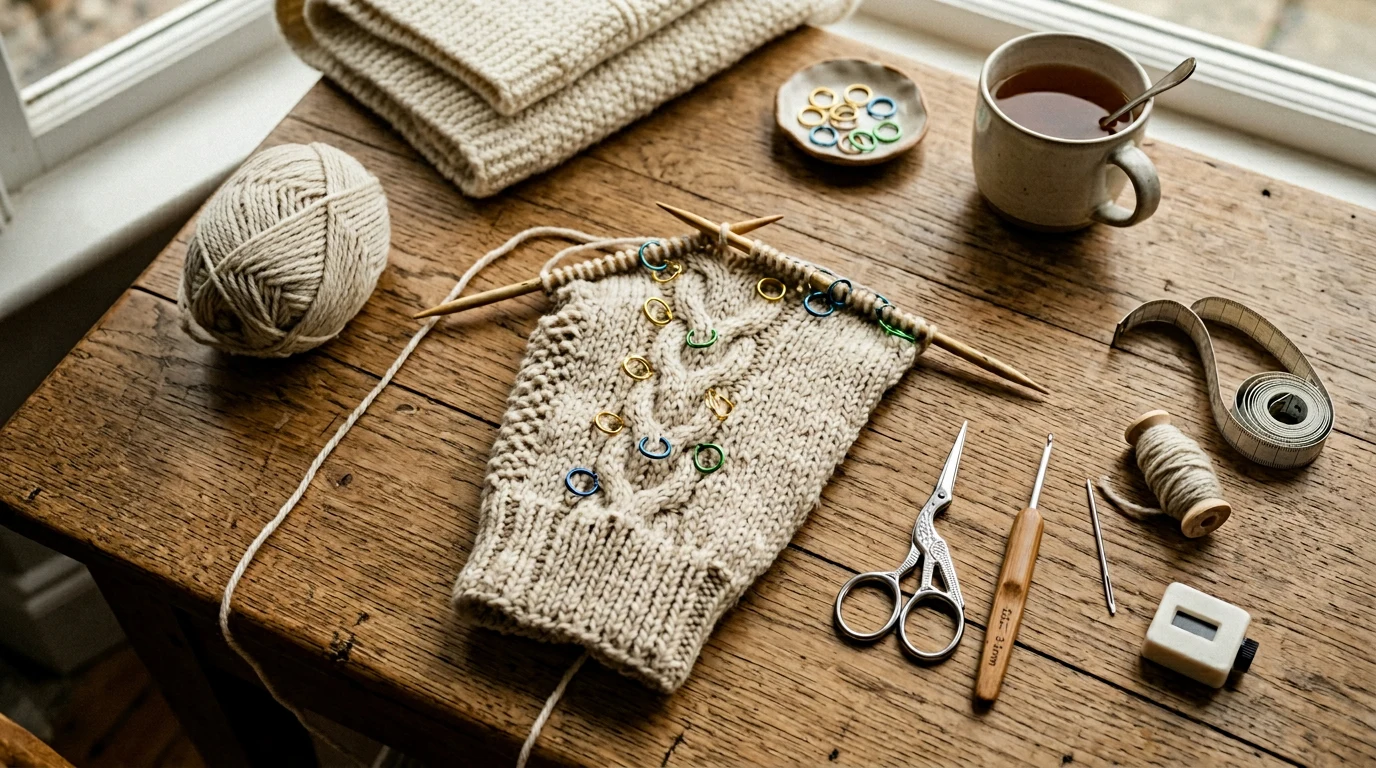
Lifelines: Your Safety Net
A lifeline is a length of waste yarn threaded through all the stitches of a completed row. If you need to frog later, you unravel down to the lifeline and the stitches are held safely by the waste yarn. No panicked stitch-chasing required. When it comes to how to fix common knitting, preparation matters most.
Insert a lifeline every 10 to 20 rows on complex projects. Use a tapestry needle to thread smooth waste yarn (cotton or dental floss) through each stitch on the needle, being careful not to thread through stitch markers.
When to Let a Mistake Go
Not every mistake needs fixing. A slightly twisted stitch eight rows back? Nobody will notice. A single wrong stitch in a garter stitch scarf? It adds character. Professional knitters intentionally leave minor imperfections, a tradition sometimes attributed to Amish quilters who believed only God creates perfection.
Fix mistakes that affect the structure (dropped stitches, wrong stitch counts) or are highly visible (wrong stitch in a prominent pattern). Let go of minor imperfections that only you would spot by examining the fabric three inches from your face.
Building Mistake-Prevention Habits
- Count stitches at the end of every row until your counts are consistently correct for several sessions.
- Use stitch markers between pattern repeats.
- Check your work every few rows by looking at the fabric from a slight distance. Mistakes are often more visible from arm’s length than from your lap.
- Insert lifelines on complex projects before attempting tricky sections.
- Don’t knit when exhausted. Tired hands make more mistakes, and tired eyes miss them.
Frequently Asked Questions
How do I pick up a dropped stitch that’s laddered down many rows?
Use a crochet hook to work from the bottom up, pulling each horizontal ladder rung through the loop below it, one rung at a time. For stockinette, make sure you’re pulling the rungs through from the correct side (front for knit stitches, back for purls). If the stitch has laddered down more than about 10 rows, consider securing it with a safety pin and fixing it with duplicate stitch after the piece is finished.
Can I fix a mistake without ripping out my knitting?
Yes, for most single-stitch mistakes. You can drop a specific column of stitches down to the error and pick them back up correctly with a crochet hook, leaving the rest of your work untouched. This technique works for wrong stitches (knit where you should have purled), twisted stitches, and minor pattern errors. It takes practice but saves enormous amounts of time.
What is a lifeline in knitting?
A lifeline is a length of waste yarn or thread woven through all the stitches of a completed row. It acts as a safety net: if you need to rip back (frog) your work, the stitches are caught by the lifeline instead of unraveling completely. You can then easily put the stitches back on your needle. Insert lifelines before complex pattern sections or every 10 to 20 rows on difficult projects.
Why does my knitting keep getting wider?
You’re accidentally adding stitches, most likely through accidental yarn overs at the beginning of rows. Before starting each row, make sure the working yarn is positioned correctly (behind for knit rows, in front for purl rows) and that the first stitch on the needle is a single stitch, not two loops that look like one. Count your stitches after every row until the problem resolves.
Should I start over if I’ve made too many mistakes?
Only if the mistakes are structural (wrong stitch count, badly misshapen fabric) or if fixing them would take longer than reknitting. For cosmetic imperfections (uneven tension, a few wrong stitches), consider finishing the project as-is and applying the lessons to your next one. Blocking can fix more than you’d expect, and viewing the finished piece from normal distance often makes minor mistakes invisible.
Frequently Asked Questions
What tools do I need to have on hand when fixing common knitting mistakes?
You’ll want to keep a crochet hook (same size or slightly smaller than your knitting needles), stitch markers, locking stitch markers or safety pins, a tapestry needle, and waste yarn nearby while you knit. These essential tools make it much easier to pick up dropped stitches and isolate problem areas in your project.
What exactly is a dropped stitch and how can I tell if I have one?
A dropped stitch is when a stitch slips off your needle and starts to unravel, creating a visible ladder of loose yarn running down through your rows. You’ll notice your stitch count is short, and you can see a loose loop with horizontal bars of yarn above it that look like the rungs of a ladder.
Will I have to start my entire knitting project over if I make a mistake?
No, you don’t need to start over. Learning to fix knitting mistakes is a skill you can master right now, and experienced knitters know how to correct common errors without ripping out their entire project. The satisfaction of rescuing your knitting from a mistake is actually part of what makes the hobby rewarding.
Why should I focus on learning to fix mistakes rather than trying to avoid them?
Avoiding mistakes only comes with time and experience, but fixing mistakes is a skill you can learn immediately and use on your current projects. Research shows that the creative problem-solving involved in fixing knitting mistakes activates reward pathways in your brain, making the learning process itself part of the enjoyment.