Our reviews are based on aggregated verified buyer feedback, manufacturer specifications, and published expert opinion. Products are not independently tested by our team.
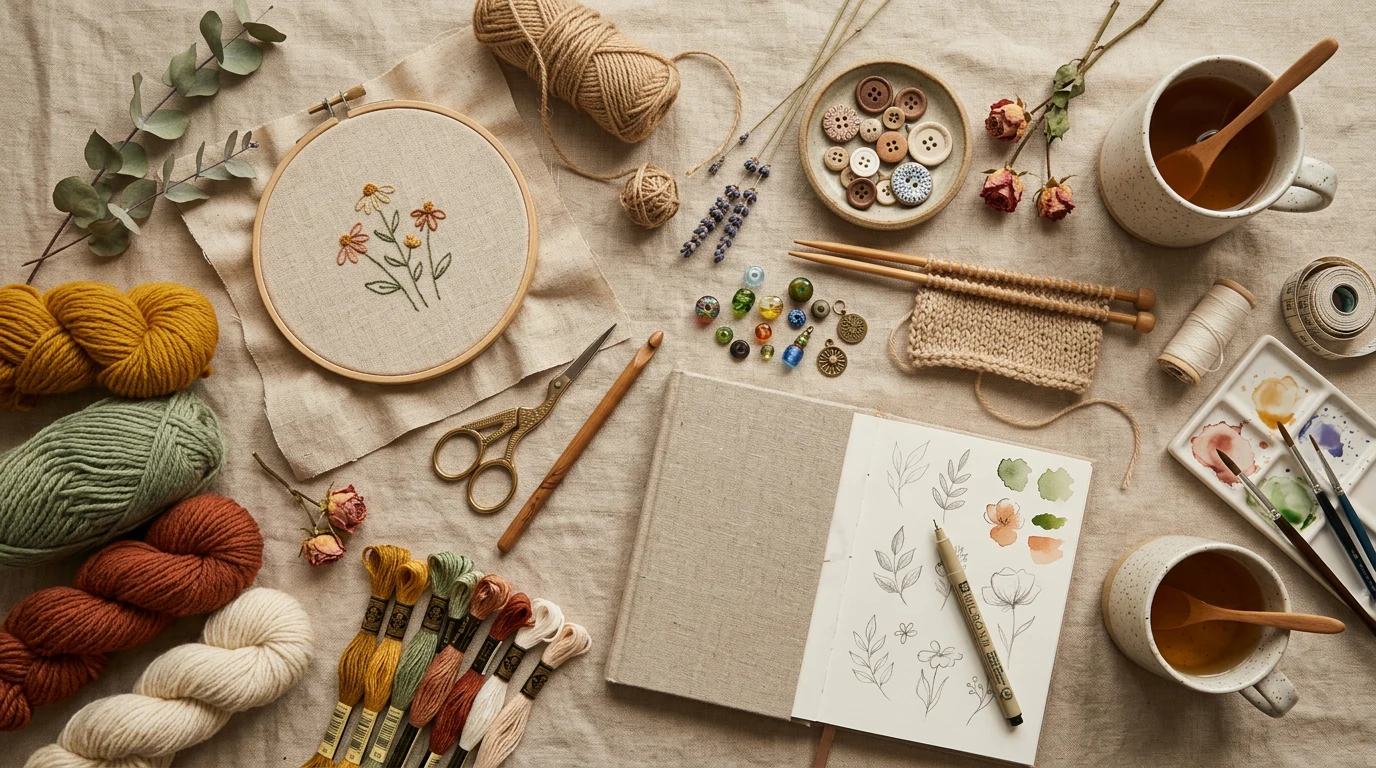
Embellishments are the finishing touches that give scrapbook pages personality, texture, and visual interest. They transform a page from a simple photo layout into a decorated work of art. But embellishments can also overwhelm a page when used without intention. Understanding the different types, knowing when each works best, and developing restraint in application are skills that separate cluttered pages from polished ones.
This guide covers every major embellishment category with practical tips for using each one effectively.
Types of Scrapbook Embellishments
Scrapbook embellishments fall into several categories, each serving different design purposes. Understanding these categories helps you choose the right type for each page element.
Flat embellishments (stickers, die cuts, printed elements) add visual interest without significant thickness. They work well under page protectors and don’t create bumps when albums are closed.
Dimensional embellishments (chipboard, buttons, brads, puffy stickers) add physical height and texture. They make pages more tactile and create shadows that add visual depth. However, they can create bumps in albums and may press against adjacent pages.
Linear embellishments (washi tape, ribbon, twine, borders) create lines and edges. They’re excellent for framing, dividing page sections, and creating visual flow.
Text embellishments (alphabet stickers, stamps, rub-ons) provide titles, captions, and decorative text. They serve both functional and aesthetic purposes.
Stickers: Flat, Puffy, and Enamel
Stickers are the most accessible and widely used embellishment type. They’re pre-designed, self-adhesive, and available in virtually every theme, style, and color palette imaginable.
Flat stickers are printed on thin paper or vinyl with adhesive backing. They lie flat on the page and work well under page protectors. Themed flat sticker sheets from brands like Simple Stories, Echo Park, and MAMBI coordinate with matching paper collections for effortless page design.
Puffy stickers are dimensional, with a raised foam or resin surface. They add texture and a playful, tactile quality to pages. Puffy stickers work beautifully for children’s pages, celebration themes, and any layout where a fun, dimensional element is welcome. Be mindful that they add thickness to pages and can press against adjacent pages in an album.
Enamel dots are small, rounded resin dots in various colors. They’re used as accents, scattered individually or in small clusters. Despite their simplicity, enamel dots add a professional, polished touch to layouts. Place them near journaling blocks, along borders, or clustered with other embellishments.
Thickers (by American Crafts) are thick alphabet stickers specifically designed for scrapbook titles. Available in foam, chipboard, and puffy varieties in dozens of fonts and colors, they’re the most popular title solution in scrapbooking. One pack provides enough letters for 5-10 page titles.
Die Cuts and Chipboard Shapes
Die cuts are shapes pre-cut from paper or chipboard, ready to adhere to your page. They range from simple shapes (circles, stars, arrows) to intricate designs (floral arrangements, animals, scenic elements).
Paper die cuts are flat, lightweight, and easy to adhere with a tape runner. They’re sold in themed packs or as individual pieces. Coordinated die cut packs that match specific paper collections ensure visual harmony without effort.
Chipboard die cuts are cut from thick chipboard, providing substantial dimension and weight. Chipboard shapes can be left natural (kraft colored), painted, covered with patterned paper, or embellished with ink and stamps. They add a hearty, substantial feel to pages.
Custom die cuts from a Cricut or Silhouette machine let you cut any shape from your own paper in any size. This eliminates the limitation of pre-made designs and lets you match die cuts perfectly to your page’s color scheme and theme.
Washi Tape Techniques
Washi tape is one of the most versatile and forgiving embellishments in scrapbooking. It’s repositionable, tearable, writable, and available in hundreds of patterns and widths.
Border strips: Apply a strip of washi tape along the edge of a paper layer, photo mat, or page border. The tape creates a clean, colorful dividing line that adds interest without being fussy.
Photo framing: Apply small strips of washi tape around photo corners for a casual, handmade frame effect. This adds color while suggesting that the photo was “taped” into the album, creating a charm reminiscent of old photo albums.
Flags and banners: Cut small pieces of washi tape, fold them over twine or string with the ends meeting to form tiny flags. String several together for a miniature banner embellishment.
Background patterns: Apply parallel strips of washi tape across a section of cardstock to create a custom striped background. Alternate between two coordinating tapes for a more dynamic pattern.
Securing flat items: Use washi tape to attach memorabilia (ticket stubs, receipts, postcards) to pages. The decorative tape holds items in place while contributing to the page’s design rather than looking like an afterthought.
Buttons, Brads, and Eyelets
Hardware embellishments add texture, dimension, and a tactile quality that paper elements alone can’t achieve.
Buttons: Sew or glue buttons to pages for texture and charm. They work especially well on fabric-themed pages, homey designs, and vintage-style layouts. Choose flat buttons (2 or 4 holes) that don’t add excessive bulk. Thread embroidery floss through the holes for an authentic sewn look.
Brads: Small metal fasteners with decorative tops that push through paper and fold flat on the back. They attach layers of paper together while adding a metallic accent. Available in countless shapes and colors. Brads are particularly useful for attaching vellum overlays without visible adhesive.
Eyelets: Metal rings set into holes punched through paper, creating reinforced openings. Thread ribbon, twine, or string through eyelets for lacing effects. Eyelets require a setter tool and hammer (or a Crop-A-Dile punch), making them slightly more involved than other embellishments.
Ribbon and Twine Accents
Fiber elements add softness and organic texture to paper pages. A strip of ribbon or a loop of twine introduces a different material quality that catches the eye and the touch.
Ribbon strips: Adhere a length of ribbon horizontally across a page as a border or divider. Use strong adhesive like glue dots or liquid glue for ribbon, as tape runners don’t bond well to fabric surfaces.
Bow accents: Tie small bows from thin ribbon or baker’s twine and adhere to pages as focal point embellishments. Pre-tied bows can be made in batches and stored for use across multiple projects.
Twine details: Wrap twine around a page element, tie it through tags, or use it as a subtle border. Baker’s twine in coordinating colors adds a craft-market, handmade aesthetic that many scrapbookers love.
When Less Is More: Embellishment Balance
The most common embellishment mistake is overuse. Pages crowded with stickers, die cuts, buttons, and tape lose their focal point and become visually exhausting rather than attractive. Effective embellishment follows a few principles.
Support, don’t compete. Embellishments should draw attention to your photos and journaling, not away from them. If a viewer’s eye goes to the stickers before the photos, you’ve over-embellished.
Create clusters, not scattered. Group 3-5 embellishments together in one or two areas rather than distributing individual elements across the entire page. Clusters create intentional design moments, while scattered elements create visual noise.
Vary types within clusters. A cluster of three stickers looks less interesting than a cluster combining a sticker, an enamel dot, and a small die cut. Mixing flat and dimensional elements within a cluster creates visual richness.
When in doubt, remove one. After placing your embellishments, step back and evaluate. If anything feels excessive, remove one element. The page will almost always look better with slightly less decoration. According to design principles documented by the Interaction Design Foundation, simplicity in design creates more impact than complexity.
Organizing Your Embellishment Collection
As your embellishment collection grows, organization becomes essential for finding what you need without digging through piles of unsorted supplies.
Sort by type: Keep stickers together, die cuts together, washi tape together. Within each type, sub-sort by color family or theme.
Storage solutions: Clear plastic boxes with adjustable compartments work well for small embellishments. Magazine holders or vertical file sorters organize sticker sheets and die cut packs. A washi tape dispenser or drawer keeps tape rolls visible and accessible.
Project-based kits: Some crafters pre-assemble “page kits” by pulling all the papers, photos, and embellishments for a specific page or project into a zip-lock bag or envelope. This lets you grab a kit and create a page in any available crafting window without setup time. For budget-friendly embellishment ideas, see our scrapbooking on a budget guide.
Frequently Asked Questions
How many embellishments should I use per page?
There’s no strict number, but 3-7 embellishments per page (not counting the title) is a comfortable range for most layouts. Pages with more photos need fewer embellishments, while single-photo spotlight pages can support more decorative elements. Quality of placement matters more than quantity.
Do I need to match embellishments exactly to my paper collection?
Matching by color family is more important than exact collection matching. An embellishment in a similar blue will work with any blue-toned paper, regardless of brand or collection. Coordinated collections make color matching effortless, but mixing collections by color produces equally attractive results.
Will dimensional embellishments damage my album?
Thick embellishments (chipboard, buttons, puffy stickers) can create pressure points that indent adjacent pages in a tightly packed album. Minimize this by leaving extra space in your album (don’t overfill), placing dimensional pages between pages with fewer embellishments, and using thicker page protectors designed for dimensional layouts.
Frequently Asked Questions
What’s the difference between flat and dimensional scrapbook embellishments?
Flat embellishments like stickers and die cuts add visual interest without extra thickness, making them ideal for albums that close flat. Dimensional embellishments such as buttons and chipboard create physical height and texture that makes pages more tactile, though they can cause bumps in your album.
How do I prevent my scrapbook pages from looking too cluttered with embellishments?
The key is developing restraint and using embellishments with intention rather than filling every space. Choose embellishments that complement your photos and color scheme, and leave some breathing room on your pages so they feel balanced and polished rather than overwhelming.
What are the best uses for washi tape in scrapbooking?
Washi tape is a linear embellishment that works wonderfully for framing photos, dividing page sections, and creating visual flow across your layout. It’s versatile, comes in countless colors and patterns, and adds decorative borders without the bulk of dimensional elements.
Can you use dimensional embellishments if you want to protect your scrapbook pages?
Dimensional embellishments can work with page protectors, but flat embellishments are a better choice if you want complete protection without bumps or pressing against adjacent pages. If you prefer dimensional pieces, consider using page protectors designed for thicker albums or storing those pages separately.