There is something deeply satisfying about turning flat pieces of fabric into a warm, beautiful quilt. Quilting has been bringing people together for centuries, and it remains one of the most rewarding crafts you can pick up at any age. Whether you want to make a cozy lap quilt for yourself, a baby gift for a friend, or a family heirloom that gets passed down for generations, this guide walks you through every step from the very beginning.
If you have never sewn a stitch in your life, that is perfectly fine. Quilting is a skill built one step at a time, and plenty of people start with zero sewing experience and end up creating stunning quilts within months. The key is understanding the basics before you sit down at your machine, and that is exactly what this guide covers.
Our reviews are based on aggregated verified buyer feedback, manufacturer specifications, and published expert opinion. Products are not independently tested by our team.
What Is Quilting and Why Start Now?
Quilting is the process of joining two or more layers of fabric together with stitching, creating a padded material. A traditional quilt has three layers: a decorative top made from pieced fabric, a middle layer of batting for warmth and thickness, and a backing fabric on the bottom. The stitching that holds these layers together is the actual quilting, while the decorative top is created through piecing, which means sewing smaller fabric pieces together into patterns.
People come to quilting for all sorts of reasons. Some love the creative outlet of choosing colors and patterns. Others enjoy the meditative rhythm of sewing. Many quilters find deep satisfaction in making something useful and beautiful with their own hands. And quilting communities, both online and in person, are some of the warmest and most welcoming groups you will find in the crafting world.
Modern quilting has evolved far beyond the traditional patterns your grandmother may have made. Today you will find bold geometric designs, art quilts that hang on walls, improvisational quilts with no patterns at all, and everything in between. There has never been a better time to start, with more free resources, affordable tools, and supportive communities available than ever before.
The Health Benefits of Quilting
Research published by the Craft Industry Alliance suggests that crafting activities like quilting can reduce stress, improve focus, and provide a sense of accomplishment. Many quilters describe the activity as meditative, with the repetitive motions of cutting and sewing helping to quiet an anxious mind. The social aspect of quilting bees and guild meetings adds connection and community, which research consistently links to better mental health in older adults.
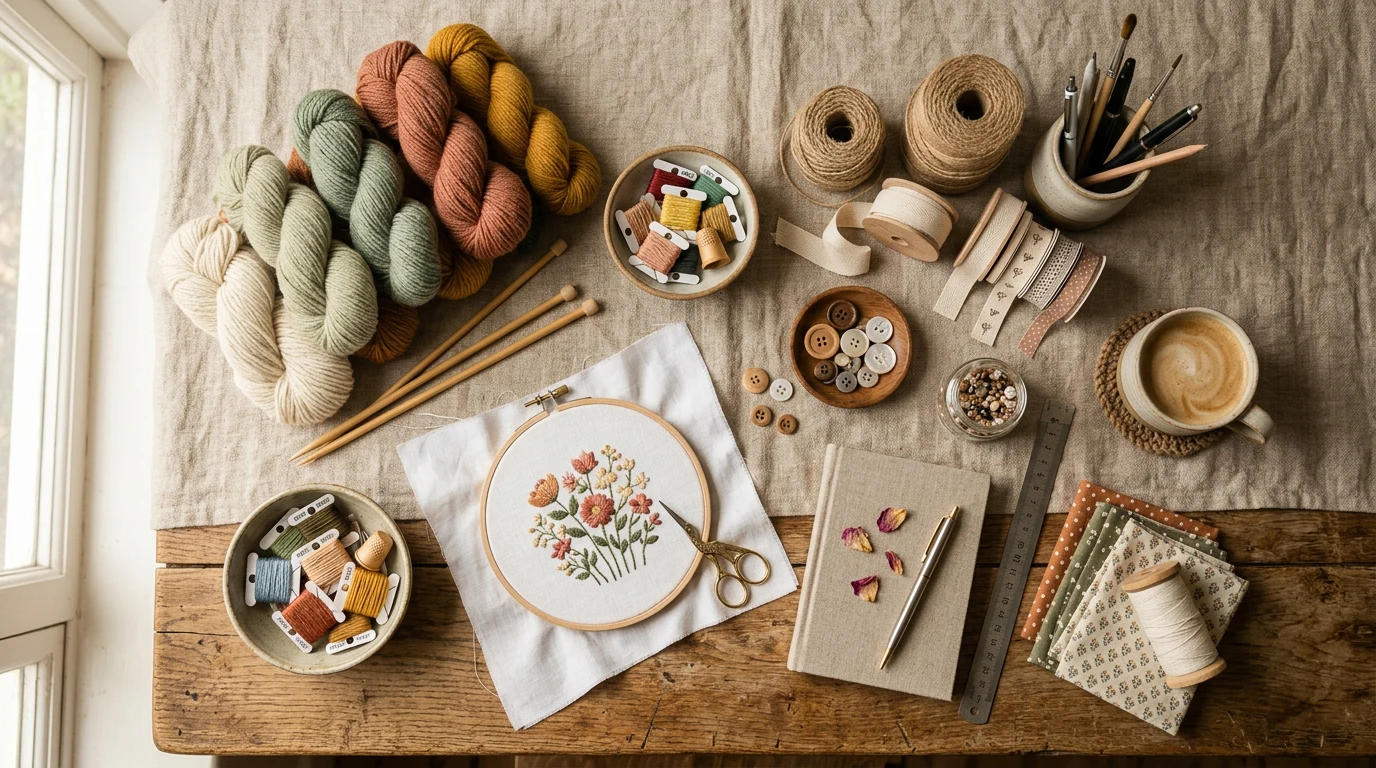
Essential Quilting Supplies for Beginners
Before you cut your first piece of fabric, you need to gather some basic supplies. The good news is that you do not need to buy everything at once, and you definitely do not need the most expensive tools to get started. Here is what you genuinely need for your first project.
Sewing Machine
You need a sewing machine that can sew a reliable straight stitch. That is it for your first quilt. You do not need a fancy quilting machine right away. Models like the Brother CS6000i and the SINGER 4423 are popular choices among beginner quilters because they are affordable, reliable, and have enough features to grow with you. If you already have any working sewing machine at home, start with that. For more detailed guidance on machines, check out our guide to the best quilting machines for beginners.
Rotary Cutter, Ruler, and Mat
These three tools work together and are essential for accurate cutting. A 45mm rotary cutter is the standard size for most quilting. Pair it with a clear acrylic quilting ruler that measures at least 6 by 24 inches and a self-healing cutting mat that is at least 18 by 24 inches. Brands like Olfa and Fiskars make reliable rotary cutters, while Omnigrid and Creative Grids are popular ruler choices. You can learn more in our rotary cutter guide.
Thread, Pins, and Basics
Pick up a spool of 50-weight cotton thread in a neutral color like light gray or beige. This all-purpose weight works for piecing most quilts. You will also need quilting pins or clips, a seam ripper for inevitable mistakes, and an iron with an ironing surface. Quilters use their iron constantly, so make sure yours heats evenly and has a good steam setting.
Choosing Your First Quilting Fabric
Fabric is where quilting gets exciting, but it can also feel overwhelming when you walk into a fabric store and see thousands of options. For your first quilt, keep it simple with 100 percent quilting-weight cotton. This fabric is easy to cut, holds its shape, presses well, and is forgiving of beginner mistakes.
Fabric Qualities to Look For
Quality quilting cotton has a tight, even weave and a smooth hand feel. It should not feel flimsy or see-through when you hold it up to the light. Popular quilting fabric brands include Moda, Robert Kaufman, Riley Blake, and Free Spirit. These are widely available at quilt shops and online retailers. You will typically pay between $10 and $15 per yard for quality quilting cotton.
How Many Fabrics Do You Need?
For a simple first quilt, choose three to five fabrics that coordinate well together. Pick one or two prints you love and add a couple of solids or near-solids that complement them. If color selection feels daunting, pre-cut fabric bundles like fat quarter packs and jelly rolls take the guesswork out of coordinating colors. Our guide to quilting fabric for beginners goes into much more detail on fabric selection.
Pre-Washing: Yes or No?
This is one of the most debated topics in quilting. Some quilters pre-wash all their fabric to remove sizing and prevent shrinkage in the finished quilt. Others prefer to skip pre-washing because the sizing makes fabric easier to cut and handle. For your first quilt, either approach is fine. If you choose to pre-wash, use cool water and a gentle cycle, then dry on low heat and press before cutting.
Understanding Quilting Terminology
Quilting has its own vocabulary that can feel like a foreign language at first. Here are the terms you will encounter most often as a beginner.
Block: A single unit of a quilt design, usually square, made from smaller fabric pieces sewn together. Blocks are the building blocks of most quilts.
Piecing: The process of sewing fabric pieces together to create blocks or a quilt top. This is the assembly part of quilting.
Seam allowance: The amount of fabric between the stitch line and the raw edge. In quilting, this is almost always one quarter of an inch.
Batting: The soft, fluffy middle layer between the quilt top and backing. It provides warmth, loft, and structure.
Binding: The fabric strip that wraps around all four edges of the finished quilt, covering the raw edges and creating a clean border.
Backing: The bottom layer of the quilt, usually a single piece of fabric or a few wide pieces sewn together.
Fat quarter: A piece of fabric measuring approximately 18 by 22 inches, created by cutting a half yard in half again. These are extremely popular in quilting because they give you more usable width than a regular quarter yard.
WOF: Width of fabric, typically 42 to 44 inches for quilting cotton. Patterns often specify cutting measurements based on WOF strips.
Sashing: Strips of fabric sewn between quilt blocks to frame them and add visual separation.
How to Cut Fabric Accurately
Accurate cutting is the single most important skill in quilting. If your pieces are not cut precisely, they will not fit together properly, your seams will not line up, and your finished quilt will be wonky. The good news is that accurate cutting is not difficult once you learn the technique.
Setting Up Your Cutting Station
Place your cutting mat on a firm, flat surface at a comfortable height. Standing is generally easier than sitting for cutting because you can apply even pressure. Smooth your fabric on the mat without stretching it. If you are right-handed, position the fabric to your right with the bulk extending away from you.
Making Your First Cuts
Start by squaring up the edge of your fabric. Fold the fabric in half, matching the selvage edges. Align the fold with a horizontal line on your cutting mat. Place your ruler along a vertical line and trim the uneven edge with your rotary cutter, pressing firmly and cutting away from your body in one smooth motion.
Once your edge is straight, you can cut strips to whatever width your pattern requires. Rotate the mat rather than the fabric when possible, and always close the blade guard on your rotary cutter between cuts. A sharp blade makes cleaner cuts, so replace the blade when you notice it skipping or dragging.
Sewing Your First Quilt Block
For your first quilt, choose a simple block pattern that uses only squares or squares and rectangles. A basic nine-patch block is an excellent starting point. It uses nine equal squares arranged in a three-by-three grid, alternating two fabrics to create a checkerboard effect.
The Quarter-Inch Seam
Quilting uses a quarter-inch seam allowance for nearly everything. This means you stitch exactly one quarter of an inch from the raw edge of the fabric. Most sewing machines have a quarter-inch presser foot available, and it is one of the best investments you can make as a new quilter. If your machine does not have one, you can use a piece of painter’s tape on the throat plate as a guide. Learn more about mastering this skill in our quarter-inch seam guide.
Chain Piecing to Save Time
Chain piecing is a technique where you feed pairs of fabric pieces through the machine one after another without cutting the thread between them. This saves an enormous amount of time and thread. After sewing all your pairs, snip the connecting threads and press the seams. You will be amazed at how much faster this makes the piecing process.
Pressing Seams
After sewing each seam, press it with your iron. In quilting, pressing means lifting the iron and placing it down rather than sliding it back and forth, which can stretch the fabric. Most quilters press seams to one side, typically toward the darker fabric. This adds strength and helps the seams nest together when joining blocks. Our seam pressing tutorial covers this in detail.

Assembling the Quilt Top
Once all your blocks are sewn and pressed, it is time to arrange them into the full quilt top. Lay your blocks out on a design wall, bed, or clean floor where you can see the full layout. Step back and look at the overall design. Move blocks around until you are happy with the color placement.
Sewing Blocks Into Rows
Sew the blocks together into horizontal rows first. Pin or clip the blocks right sides together, matching the seam intersections carefully. If you pressed your seams in alternating directions on adjacent blocks, the seams will nest together and create perfectly matched intersections.
Joining the Rows
After sewing all the rows, press the row seams in alternating directions. Then pin the rows together, matching all the vertical seam lines. Sew the rows together one at a time, pressing after each addition. When the last row is attached, press the entire quilt top one final time. Take a moment to admire your work because you have just completed the most visible part of your quilt.
Choosing and Adding Batting
Batting is the soft middle layer that gives your quilt warmth, weight, and texture. The type of batting you choose affects how the finished quilt looks, feels, and drapes.
Cotton Batting
Cotton batting is the most popular choice for beginners. It creates a flat, traditional look with a gentle drape. It is breathable, shrinks slightly when washed to give that crinkled antique appearance, and is easy to quilt through. Warm and Natural is one of the most widely recommended cotton batting brands, with buyers consistently praising its consistent thickness and ease of use.
Polyester Batting
Polyester batting is lighter, loftier, and less expensive than cotton. It does not shrink, making it a good choice if you want a smooth, puffy look. However, it can be slippery to work with and may beard, which means tiny fibers poke through the fabric over time. It works well for wall hangings and decorative quilts.
Preparing the Batting
Cut your batting four to six inches larger than your quilt top on all sides. If the batting has been tightly folded, lay it flat or tumble it in the dryer on low heat for a few minutes to remove the creases. Some quilters lightly mist it with water and let it relax overnight. You will want it smooth and wrinkle-free before layering. For a deeper comparison of batting types, see our guide to the best batting for quilts.
Quilting the Layers Together
This is the step that gives quilting its name. You will stitch through all three layers, the quilt top, batting, and backing, to hold them together permanently. Before quilting, you need to make a quilt sandwich by layering your backing fabric face down, batting in the middle, and quilt top face up.
Basting the Layers
Basting holds the layers together temporarily while you quilt. You can baste with safety pins placed every four to five inches across the entire surface, or use basting spray adhesive for a pin-free option. The goal is to prevent the layers from shifting while you sew. Take your time with this step because skipped basting leads to puckers and tucks in the finished quilt.
Quilting Options for Beginners
The simplest quilting approach for a beginner is straight-line quilting. Using your sewing machine’s walking foot, sew straight lines across the quilt, either along the seam lines (called stitch in the ditch) or in evenly spaced parallel lines. You can also quilt diagonal lines or a simple grid pattern. These straightforward approaches are easy to execute and produce beautiful results. If you are curious about other techniques, read our comparison of machine quilting versus hand quilting.
How to Bind Your Finished Quilt
Binding is the final step that finishes the raw edges of your quilt and frames the entire piece. It is the polished border that gives your quilt a professional, completed look.
Cutting Binding Strips
Cut strips of fabric 2.5 inches wide on the straight grain (across the width of the fabric). You will need enough strips to go around the entire perimeter of your quilt plus about 12 inches extra. Join the strips end to end using diagonal seams, then press the entire strip in half lengthwise, wrong sides together, to create a double-fold binding.
Attaching the Binding
Align the raw edges of the binding with the raw edge of the quilt top. Starting along one side, not at a corner, sew through all layers using a quarter-inch seam. Stop one quarter inch from each corner, backstitch, and pivot to create mitered corners. After sewing the binding to the front, fold it to the back and stitch it down by hand with a blind stitch. Our detailed quilt binding tutorial walks through each step with specifics.
Common Beginner Mistakes to Avoid
Every quilter makes mistakes, especially in the beginning. Here are the most common ones and how to sidestep them.
Inaccurate cutting: Even small cutting errors compound as you piece more blocks. Always double-check your measurements and make sure your ruler is firmly held before cutting.
Inconsistent seam allowance: A quarter inch that wanders even slightly will throw off your entire block. Use a quarter-inch foot or guide and test your seam width before starting a project.
Skipping pressing: It is tempting to skip the iron, but pressing after every seam is what makes the difference between a lumpy quilt and a flat, professional-looking one.
Starting too big: A king-size quilt is not a beginner project. Start with a baby quilt, table runner, or lap quilt to build skills without committing months to your first project. Our baby quilt tutorial is designed specifically for this purpose.
Using poor quality fabric: Bargain bin fabric from craft stores is often loosely woven and difficult to work with. Invest in quality quilting cotton for your first project and save the experiments for later.
Not using enough pins: Pin or clip generously, especially at seam intersections. It takes a minute to pin but hours to rip out and re-sew mismatched seams.
Next Steps: Growing Your Quilting Skills
Congratulations on learning the fundamentals. Once you have completed your first quilt, a whole world of techniques and designs opens up. Here are some natural next steps to keep growing.
Try New Block Patterns
After mastering basic squares, try half-square triangles, flying geese, or log cabin blocks. Each pattern introduces new cutting and piecing techniques that expand your skills. Browse our collection of free quilting patterns for beginners for your next project.
Join a Quilting Community
Local quilt guilds, online forums like the quilting subreddit, and Facebook groups are wonderful places to find inspiration, get feedback, and connect with fellow quilters. Many guilds offer classes, workshops, and group projects that accelerate your learning.
Invest in Learning
Quilting books written for beginners are invaluable resources. They provide clear photographs, measured diagrams, and projects designed to build your skills progressively. Check our picks for the best quilting books for beginners to find the right guide for your learning style.
Explore Free-Motion Quilting
Once you are comfortable with straight-line quilting, try free-motion quilting. This technique uses a darning foot and lowered feed dogs to let you move the fabric freely under the needle, creating stippling, swirls, feathers, and other decorative patterns. It takes practice, but the creative possibilities are endless.
Remember, every quilt teaches you something new. The imperfect first quilt you sleep under tonight is worth more than the perfect quilt you never start. So gather your supplies, choose your fabric, and begin. You are going to love where this journey takes you.
Frequently Asked Questions
Do I need sewing experience to start quilting for beginners?
No, you don’t need any prior sewing experience to begin quilting. Many people start with zero sewing background and create stunning quilts within just a few months by learning the basics step by step.
What are the three layers of a traditional quilt?
A traditional quilt consists of a decorative top made from pieced fabric pieces, a middle layer of batting that provides warmth and thickness, and a backing fabric on the bottom. These three layers are held together with stitching called quilting.
What are some reasons people get started with quilting?
People come to quilting for many reasons: some love the creative outlet of choosing colors and patterns, others enjoy the meditative rhythm of sewing, and many find satisfaction in creating something useful and beautiful with their own hands. Additionally, quilting communities, both online and in person, are welcoming and supportive groups.
What is the difference between piecing and quilting?
Piecing is the process of sewing smaller fabric pieces together to create the decorative top pattern, while quilting refers to the stitching that joins the three layers of fabric together. Both skills are essential parts of completing a finished quilt.