Disclosure: This article may contain affiliate links. If you purchase through these links, we may earn a small commission at no extra cost to you. This helps support our work in bringing you helpful craft content.
Our reviews are based on aggregated verified buyer feedback, manufacturer specifications, ingredient analysis, and published expert opinion. Products are not independently purchased or tested by our team. We disclose affiliate relationships where present.
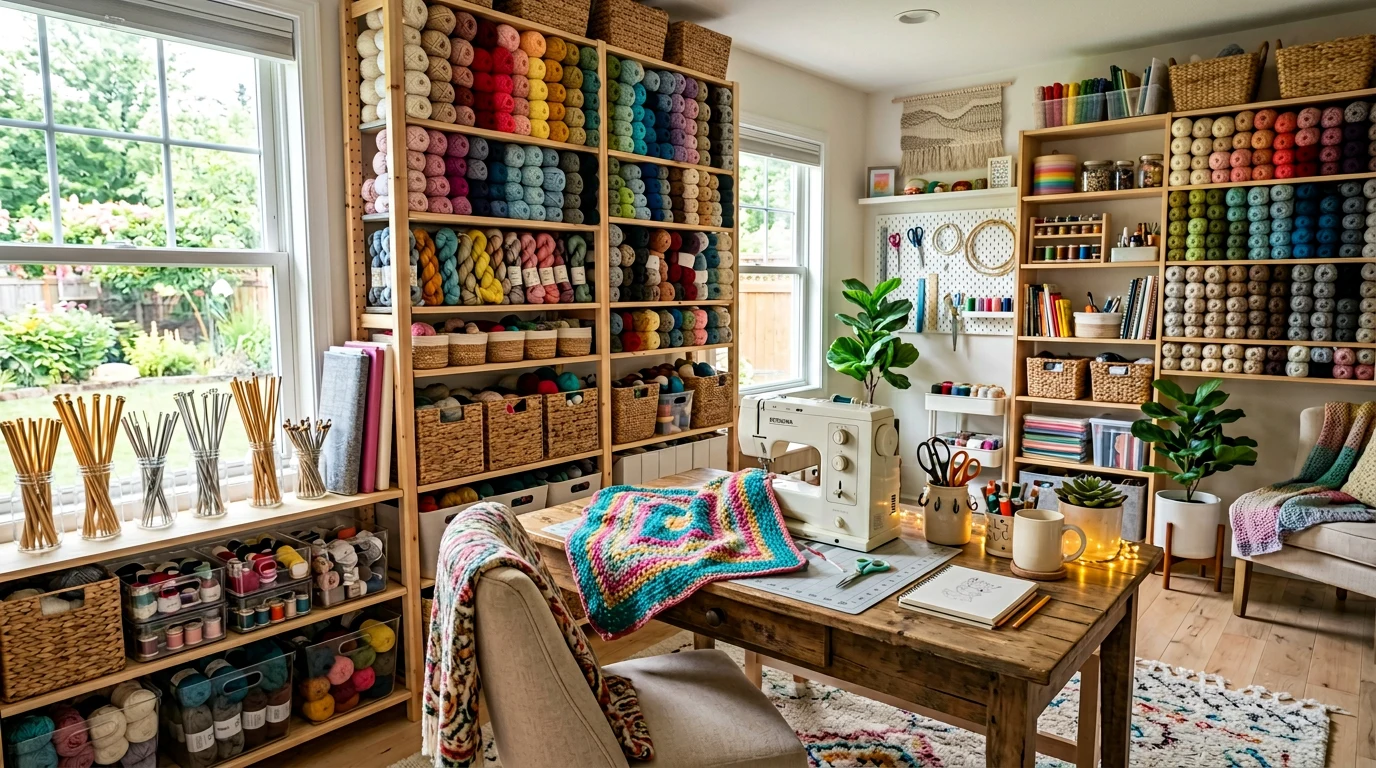
You do not need a Pinterest-perfect studio or a four-figure budget to create a functional crafting space. A dedicated craft area, even a small one, keeps your supplies organized, protects your projects in progress, and makes it easier to actually sit down and create. This guide shows you how to set up a complete craft room for under $200, whether you have a spare bedroom, a closet, or just a corner of your living room.
Choosing Your Space
Before buying anything, assess what space you realistically have available. The ideal craft room has good lighting, a flat work surface, and enough storage for your current supplies with room to grow. Here are common setups ranked by available space:
- Spare bedroom or den: The gold standard. You can close the door on works in progress and leave supplies out
- Large closet: Remove the doors, add a table and shelving, and you have a surprisingly functional craft nook
- Corner of a room: Use a folding table and a rolling cart. Everything can be tucked away when not in use
- Shared dining area: A portable craft caddy and a protective table cover let you craft at the dining table and clean up quickly
The Essential Craft Room Setup (Under $200)
Work Surface ($30-80)
Your work surface is the most important investment. A sturdy folding table from Walmart or Target ($35-50 for a 4-foot table) provides ample workspace and can be stored flat when not in use. If you have permanent space, a second-hand desk from Facebook Marketplace or Goodwill often costs $20-40 and offers drawer storage.
For standing work, a height-adjustable TV tray table ($15-20) works well for painting and gluing projects where you want to be at eye level.
Seating ($0-40)
Use a chair you already have if possible. If you need to buy one, a basic padded folding chair ($20-30) is comfortable for crafting sessions up to a couple of hours. Avoid stools without back support for extended crafting, as buyer reviews consistently mention back fatigue.
Lighting ($15-35)
Good lighting prevents eye strain and helps you see true colors. A clip-on LED desk lamp with adjustable brightness ($15-25) is the most budget-friendly option that provides focused task lighting. Look for lamps rated 5000K (daylight) for accurate color rendering.
If your space has overhead lighting, swap the bulb for a daylight-spectrum LED (about $5) for an immediate improvement.
Storage Solutions ($40-80)
Storage is where most craft rooms either succeed or fail. Here is a tiered approach based on budget:
- Clear plastic bins with lids – Sterilite 6-quart containers ($1-2 each at Walmart) are perfect for grouping supplies by category. Buy 8-10 to start
- Rolling cart – A 3-tier metal rolling cart ($25-35 at Target or IKEA) keeps frequently used supplies accessible and can be wheeled to wherever you are working
- Pegboard – A 2×4-foot pegboard ($10-15) plus hooks ($5-8 for a set) provides vertical storage for scissors, tape, rulers, and tools
- Mason jars and tin cans – Free from your recycling bin. Clean them up for holding brushes, pens, and small supplies
- Shoe organizer – An over-the-door clear shoe organizer ($8-12) has pockets perfect for ribbon, tape, markers, and small tools
Cutting and Self-Healing Mat ($10-20)
A self-healing cutting mat protects your work surface and provides a measurement grid. A 12×18 inch mat ($10-15) handles most projects. Fiskars and OLFA are reliable brands that hold up to repeated blade use.
Budget Breakdown Summary
- Work surface: $35-50 (folding table)
- Seating: $0-30 (existing chair or folding chair)
- Lighting: $15-25 (LED desk lamp)
- Storage bins and organizers: $25-45
- Rolling cart: $25-35
- Cutting mat: $10-15
- Pegboard and hooks: $15-20
- Total: $125-200
Organization Tips That Actually Work
Sort by Project Type, Not Material
Instead of putting all paint in one bin and all brushes in another, group supplies by project type. Your painting kit goes in one container with paint, brushes, palette, and water cup. Your paper crafting kit has scissors, glue, cardstock, and stamps. This lets you grab one container and start crafting immediately.
Use the One-In-One-Out Rule
For every new supply you bring in, use up or donate something you already have. This prevents the gradual supply avalanche that buries many craft rooms. If you buy a new pack of patterned paper, use up or give away a pack you have been hoarding.
Label Everything
Clear bins are ideal because you can see contents at a glance, but even clear bins benefit from a simple label. A roll of masking tape and a marker is all you need. Label the front and the top of each bin.
Create a Cleaning Station
Keep a small trash can, a pack of baby wipes, and a roll of paper towels within arm’s reach of your work surface. Cleaning as you go is dramatically easier than facing a major cleanup after every session.
Making the Most of Small Spaces
If you are working with limited square footage, think vertically. Wall-mounted shelves, pegboards, and over-the-door organizers use space that would otherwise go to waste. A folding table that drops down from the wall (sometimes called a Murphy desk) creates workspace on demand and folds flat when you need the floor space.
Another small-space strategy is the craft cart approach: keep all your supplies on a rolling cart that lives in a closet. Wheel it out when you want to craft, work at the kitchen table, and wheel everything back when you are done.
Frequently Asked Questions
How much space do I need for a craft room?
You can create a functional craft space in as little as 16 square feet, which is roughly a 4×4 foot corner. A folding table, a rolling cart, and wall-mounted storage can fit in this footprint. A dedicated room of 8×10 feet or larger gives you room for a permanent table, shelving, and storage without feeling cramped.
What is the best flooring for a craft room?
Hard flooring like vinyl, laminate, or tile is easiest to clean. If your craft room has carpet, place a large plastic chair mat or a vinyl floor protector under your work area. This catches paint drips, glue spills, and fabric scraps, and makes cleanup much simpler.
How do I organize craft supplies in a small closet?
Install a tension rod near the top for hanging ribbon and tape rolls. Use stackable clear bins on the shelf. Hang a clear shoe organizer on the inside of the door. Add a small folding table or shelf that can serve as a work surface. Clip-on LED lights solve the typical closet lighting problem.
Should I buy craft supplies in bulk?
Only buy in bulk for consumables you use regularly, like glue sticks, cardstock, and acrylic paint in your most-used colors. For specialty supplies, buy project by project. Bulk buying uncommon supplies often leads to waste and clutter. Many experienced crafters recommend the ‘use it within 6 months’ test before bulk purchasing.
Start Where You Are
The perfect craft room does not exist, and waiting for one means lost crafting time. Start with what you have, add pieces as your budget allows, and let your space evolve with your hobby. The most productive craft rooms are the ones that actually get used, regardless of their size or aesthetics.