Have you ever admired the dreamy, translucent beauty of watercolor paintings and thought “I wish I could do that”? Well, dear friend, I have wonderful news for you – watercolor painting for beginners is not only possible, it’s absolutely delightful! This ancient art form, with its flowing colors and gentle surprises, welcomes newcomers with open arms. Whether you’re 50, 60, or beyond, it’s never too late to pick up a brush and discover the joy of watching pigment dance across paper.
Our reviews are based on aggregated verified buyer feedback, manufacturer specifications, and published expert opinion. Products are not independently tested by our team.
Why Watercolor Is Perfect for Beginners
Let me share why watercolor has captured the hearts of so many beginning artists, especially those of us who are embracing creativity later in life. First and foremost, watercolor is wonderfully forgiving. Unlike oil paints that can feel intimidating with their long drying times and complex techniques, watercolors allow you to start simple and build confidence gradually.

The supplies are relatively affordable and portable, making it perfect for those cozy afternoon painting sessions at your kitchen table or even taking your art on vacation. There’s something magical about how watercolors flow and blend naturally – they almost seem to paint themselves! This quality means that even your “mistakes” often turn into beautiful, unexpected effects that add character to your work.
Watercolor also dries quickly, so you won’t be waiting days to see your finished piece or add the next layer. The cleanup is simple – just soap and water – which means more time painting and less time fussing with solvents and special cleaners. Perhaps most importantly, watercolor teaches you to embrace spontaneity and let go of perfectionism, qualities that become increasingly valuable as we mature.
The therapeutic benefits cannot be overlooked either. Many beginners find that the gentle, meditative nature of watercolor painting helps reduce stress and provides a wonderful creative outlet. The soft, flowing movements required for watercolor techniques can be particularly soothing for those with arthritis or joint stiffness, as the medium doesn’t require heavy pressure or rigid control.
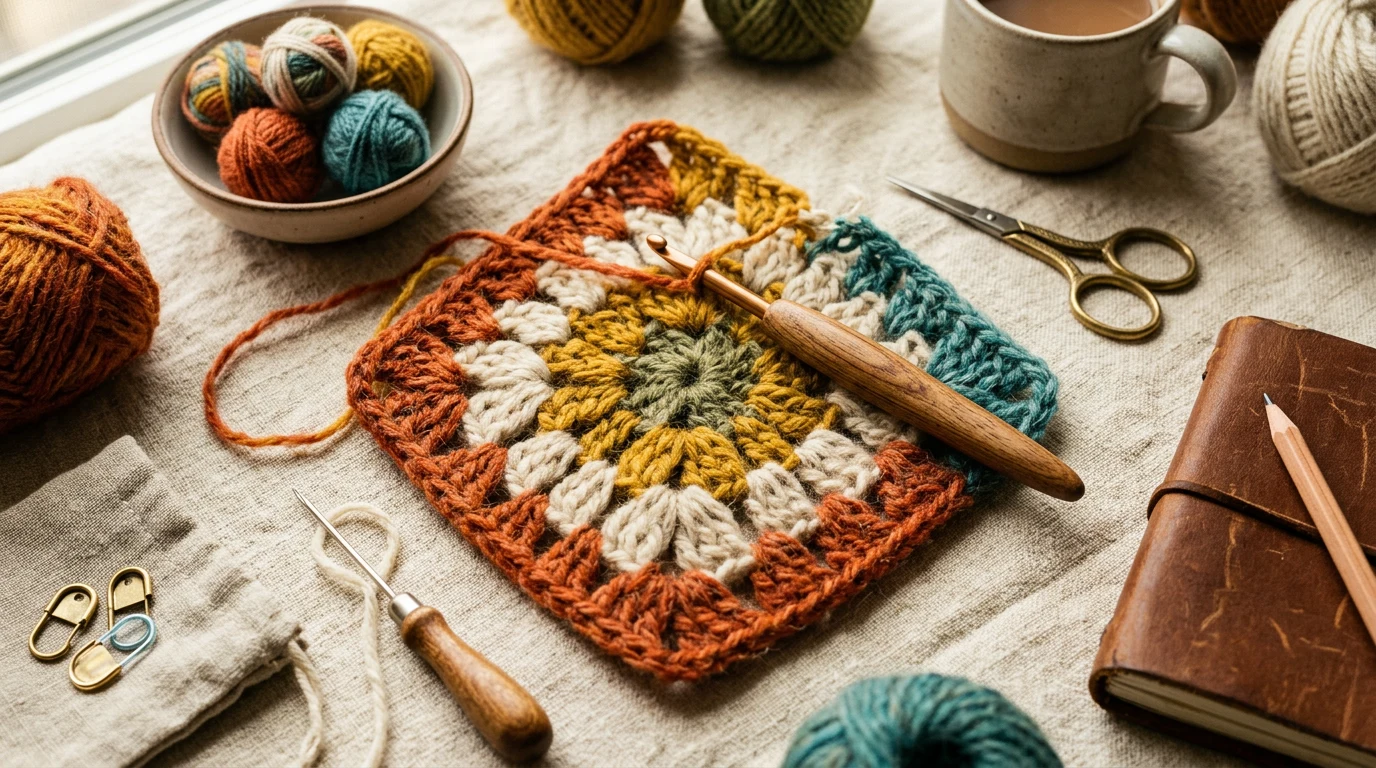
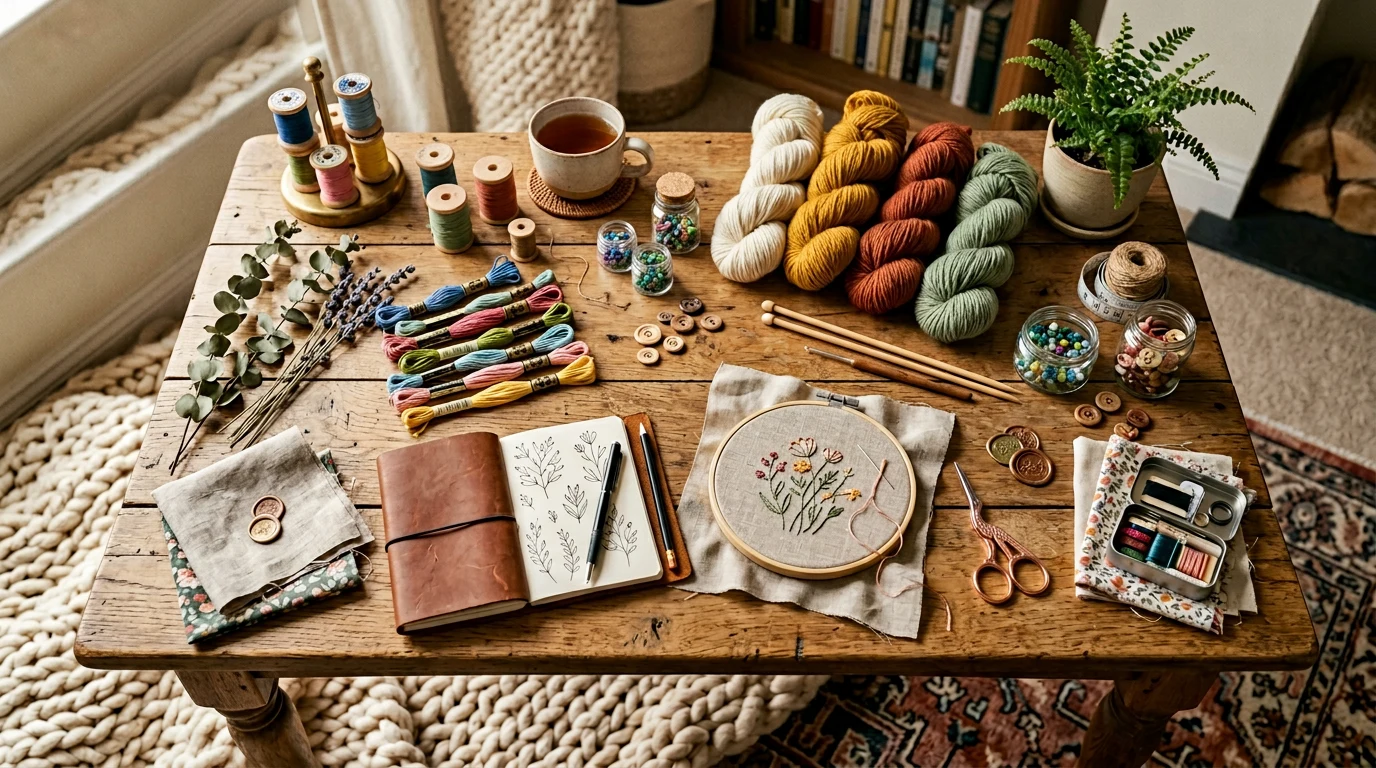
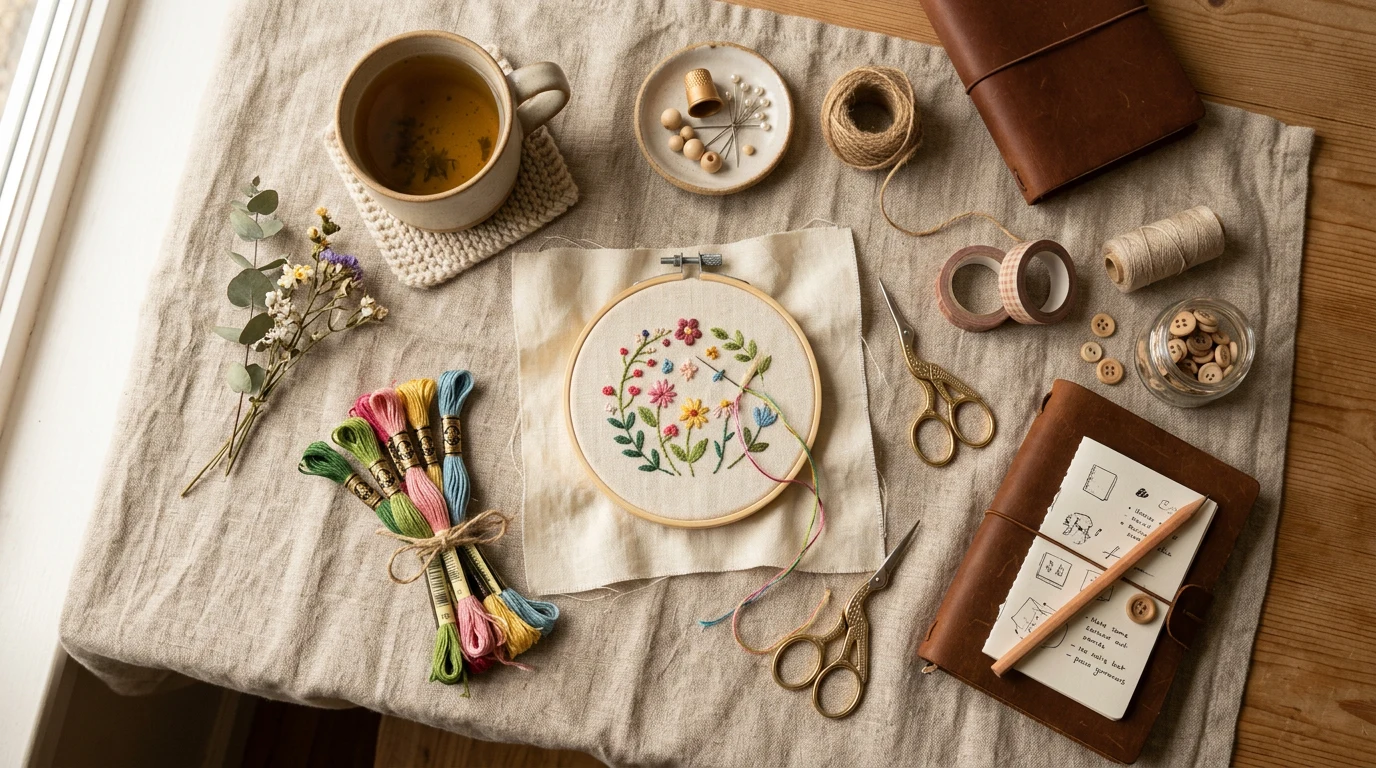
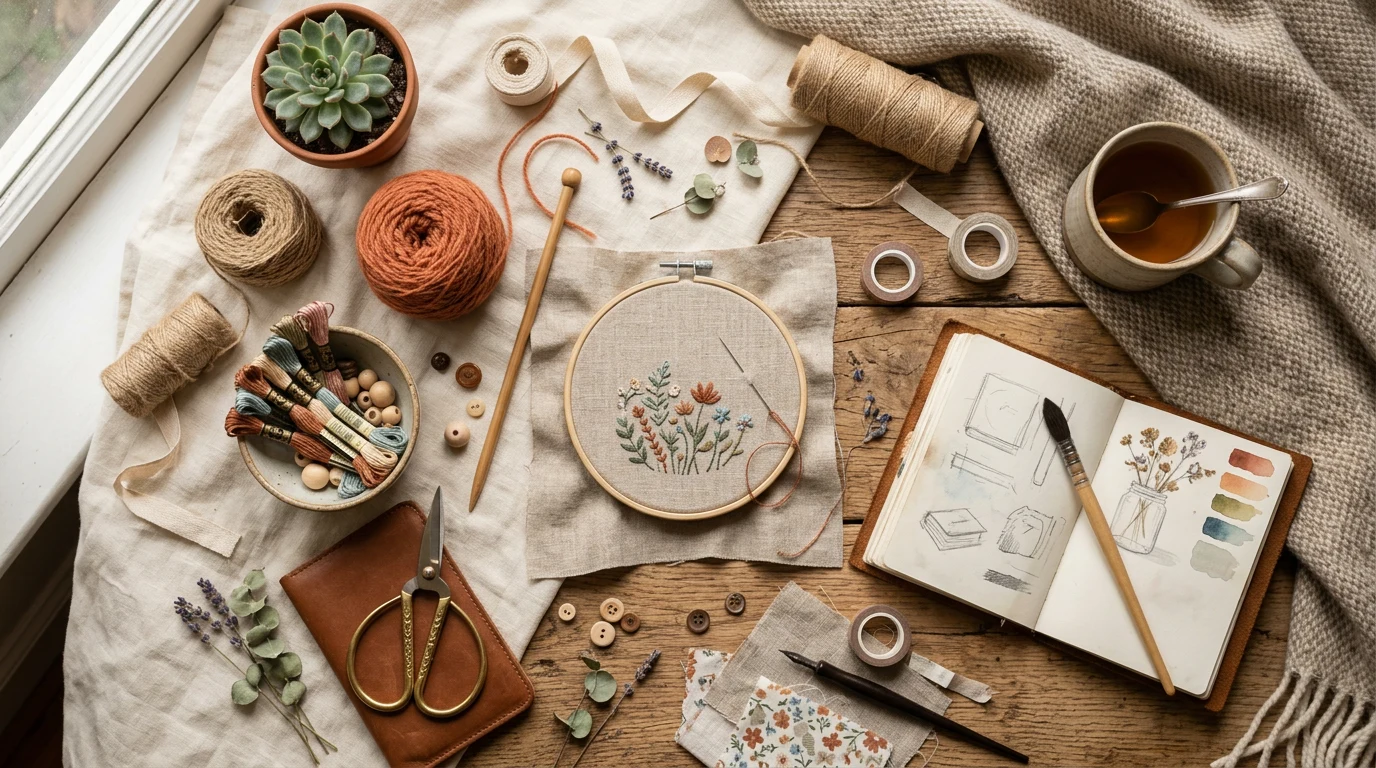
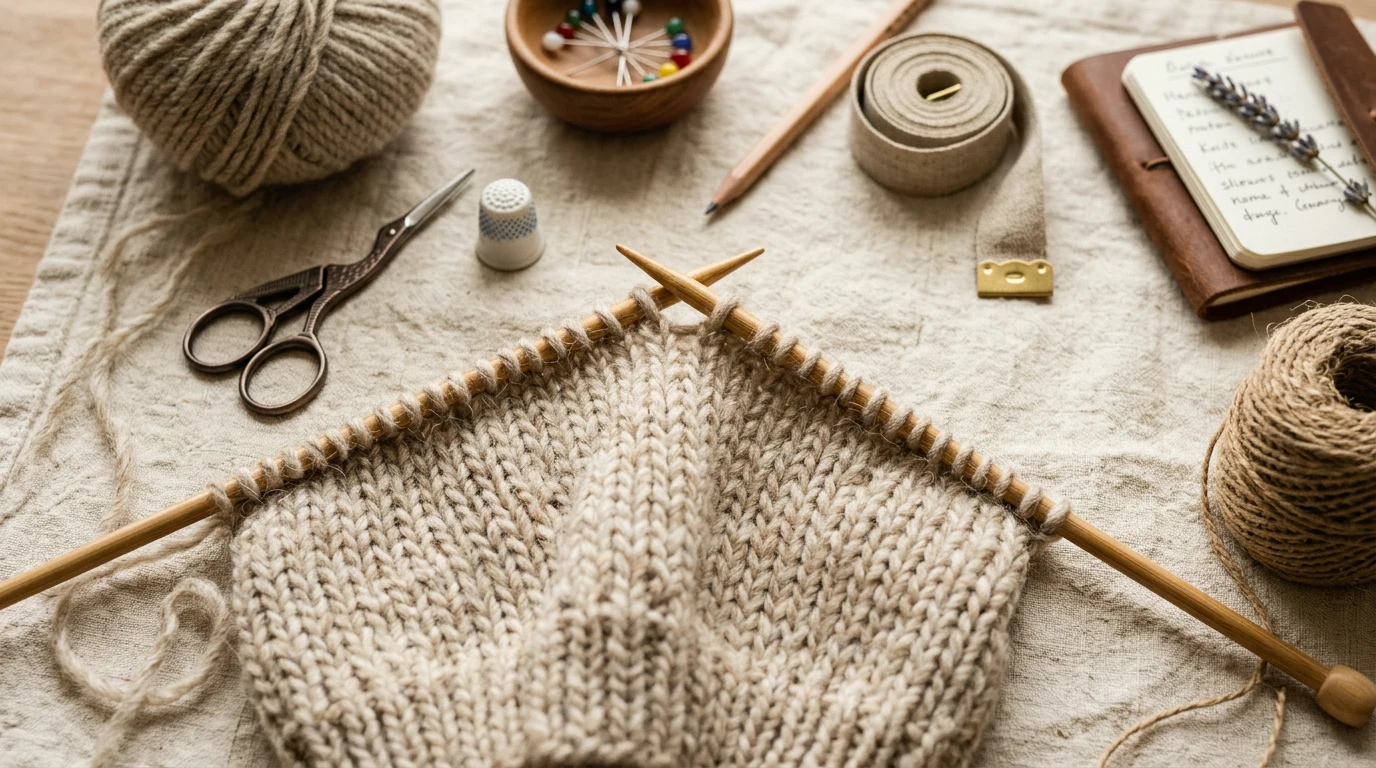
Essential Watercolor Supplies
Before we dive into painting, let’s talk about what you’ll need to get started. The beauty of watercolor is that you don’t need an overwhelming array of supplies – just a few quality basics will serve you well for months or even years of creative exploration.
Your essential watercolor kit should include watercolor paints (either tubes or pans), watercolor paper, brushes in a few different sizes, two water containers, paper towels or natural sponges, masking tape, and a spray bottle for keeping paints moist. You might also want a palette for mixing colors, though many paint sets come with built-in mixing areas.
Don’t feel pressured to buy everything at once. Start with a basic set and add supplies as you discover what you enjoy painting most. Many successful watercolor artists began with nothing more than a children’s paint set and gradually upgraded their materials as their skills and interests developed.
A few additional items that many beginners find helpful include a pencil for light sketching, an eraser, a ruler for measuring proportions, and perhaps a small easel or board to prop up your paper at a slight angle. This angle helps the paint flow naturally and prevents unwanted backruns.
Understanding Watercolor Paints: Tubes vs Pans
One of the first decisions you’ll face is choosing between tube paints and pan paints. Both have their advantages, and understanding the differences will help you make the best choice for your painting style and preferences.
Tube paints contain moist pigment that’s ready to use right from the tube. They’re excellent for mixing large quantities of paint, creating intense colors, and working wet-into-wet techniques where you need fluid, flowing paint. The Winsor & Newton Cotman set offers an excellent introduction to tube paints, with reliable colors that mix beautifully and remain workable for extended periods.
Pan paints, on the other hand, are dried blocks of pigment that you activate with water. They’re incredibly portable, last a long time, and are perfect for plein air painting or travel. The Kuretake Gansai Tambi sets are particularly beloved by beginners for their creamy texture and vibrant colors that reactivate beautifully even after drying.
For absolute beginners, I often recommend starting with a quality pan set like the Schmincke Akademie watercolors. They offer consistent quality, are economical, and help you learn color mixing without waste. As you develop your skills and painting habits, you might find yourself gravitating toward tubes for studio work and keeping pans for portable painting sessions.
Professional-grade paints like Daniel Smith Extra Fine Watercolors offer superior pigment quality and lightfastness, meaning your paintings will retain their colors for decades. While these cost more initially, many experienced artists believe the investment is worthwhile for the enhanced color intensity and mixing properties.
When selecting colors, start with a limited palette of primary colors plus a few earth tones. A basic selection might include cadmium red, ultramarine blue, cadmium yellow, burnt sienna, and payne’s gray. This limited palette will teach you more about color mixing than having dozens of pre-mixed colors available.

- PAINT BRUSHES – ALL THE PAINT BRUSHES YOU NEED – Whether you’re a hobbyist or a
- PAINT BRUSHES FOR ACRYLIC PAINTING – WORKS WITH VARIOUS MEDIUMS – Use our 12 pie
- PAINT BRUSH SET – SOFT YET DURABLE BRISTLES – Our painting set holds up well reg
Choosing the Right Paper
Paper is arguably the most important supply for watercolor success, yet it’s often where beginners try to economize – usually to their detriment. Quality watercolor paper makes an enormous difference in how your paints behave and how satisfying your painting experience will be.
Watercolor paper comes in three main textures: rough, cold press, and hot press. For beginners, cold press paper like Arches watercolor paper in 140lb weight strikes the perfect balance. It has enough texture to hold paint beautifully while remaining smooth enough for detailed work. The 140lb weight is substantial enough to handle multiple washes without buckling excessively.
The Canson XL Watercolor pad offers an affordable option for practice work, though you’ll notice the difference when you graduate to 100% cotton papers like Arches or Strathmore 400 Series. Cotton papers absorb and release water more predictably, creating those beautiful flowing effects that make watercolor so enchanting.
Paper weight, measured in pounds (lb) or grams per square meter (gsm), indicates thickness. Lighter papers (90-140lb) are suitable for beginners and practice work, while heavier papers (200-300lb) can handle more aggressive techniques and multiple layers without warping. Most beginners find 140lb cold press cotton paper ideal for learning.
Size is another consideration. Smaller sheets (9×12 inches) are less intimidating for beginners and more economical for practice. As you gain confidence, larger sheets offer more room for expression, but don’t feel pressured to work large initially. Some of the most beautiful watercolors are painted on quite small sheets.
Always buy paper designed specifically for watercolor. Regular drawing paper or copy paper will disappoint you with poor paint absorption, excessive bleeding, and rapid deterioration when wet. Quality watercolor paper is sized (treated) to control how paint soaks in and spreads across the surface.
Selecting Brushes for Watercolor
Brushes are your primary tools for applying paint, and having the right ones will make your watercolor journey much more enjoyable. The good news is that you don’t need many brushes to start – just a few quality brushes in different sizes will handle most painting situations.
For watercolor, you’ll want brushes that hold plenty of water and paint while maintaining a good point or edge. Natural hair brushes, particularly those made from kolinsky sable, are considered the gold standard for watercolor work. However, modern synthetic brushes like the Princeton Heritage series offer excellent performance at more affordable prices, making them perfect for beginners.
Start with three basic brush shapes: a large flat brush for washes and backgrounds, a medium round brush for general painting, and a small round brush for details. Sizes 12-14 for the flat, 8-10 for the medium round, and 2-4 for the detail brush provide good versatility. The Da Vinci Casaneo brushes offer an excellent balance of quality and affordability, with synthetic fibers that mimic natural hair performance.
Round brushes are the workhorses of watercolor painting. A quality round brush should come to a fine point when wet, hold a good amount of paint, and release it smoothly as you paint. The Silver Black Velvet brushes are particularly popular among watercolorists for their excellent spring and paint-holding capacity.
Flat brushes excel at laying down even washes of color and are perfect for painting skies, water, or large areas of consistent color. They can also create beautiful angular marks and sharp edges when used on their side. A good flat brush should have evenly distributed bristles that maintain their shape even when fully loaded with paint.
Take care of your brushes, and they’ll serve you well for years. Always clean them thoroughly after each painting session, reshape the tip while damp, and store them upright or flat. Never leave brushes sitting in water, as this will damage the ferrule and cause the bristles to bend permanently.
Basic Watercolor Techniques
Now comes the exciting part – learning the fundamental techniques that form the foundation of watercolor painting. These techniques might seem simple, but mastering them will give you the confidence to tackle any subject matter that inspires you.
The flat wash is your starting point. This technique involves laying down an even area of color across your paper. Mix enough paint to cover your intended area, then using a flat brush, apply the paint in overlapping horizontal strokes from top to bottom. Work quickly while the paint is still wet to avoid hard edges between strokes. This technique is perfect for skies, water, or any large area of consistent color.
Graduated washes create a smooth transition from dark to light or from one color to another. Start with your darkest mixture at the top, then gradually add clean water to lighten each subsequent stroke. This technique is wonderful for creating depth and atmosphere in your paintings, especially in sky studies or background elements.
Wet-on-wet painting involves applying wet paint to wet paper or wet paint. This creates those beautiful, soft, flowing effects that watercolor is famous for. The key is controlling the moisture level – too wet and colors will spread uncontrollably, too dry and you won’t achieve the flowing blend you’re after. Practice this technique with simple color combinations to understand how your paints behave.
Wet-on-dry painting means applying wet paint to completely dry paper or dry paint. This technique gives you more control and creates crisp, defined edges. It’s perfect for adding details, creating sharp contrasts, or painting over dried underlayers. Most paintings combine both wet-on-wet and wet-on-dry techniques for variety and visual interest.
Lifting is a technique where you remove wet or damp paint from your paper using a clean, damp brush, sponge, or paper towel. This allows you to create highlights, correct mistakes, or add texture. The key is timing – you can lift quite a bit of paint while it’s still wet, but once it’s completely dry, your options become more limited.
Dry brush technique involves using a brush with very little water and paint to create texture and broken color effects. This technique is excellent for painting rough surfaces like tree bark, weathered wood, or rocky textures. Load your brush with paint, then remove most of the moisture on a paper towel before applying to dry paper.
Color Mixing Fundamentals
Understanding how colors mix is crucial for successful watercolor painting. Unlike other mediums where you can easily layer opaque colors, watercolor’s transparency means that every color you apply affects what’s underneath and what you’ll add on top.
Start by learning about primary colors – red, yellow, and blue. These cannot be mixed from other colors, but they can be combined to create all other colors. In watercolor, the specific pigments you choose as your primaries greatly affect your mixing results. A warm red (like cadmium red) and a cool red (like alizarin crimson) will give you different results when mixed with the same blue.
Secondary colors – orange, green, and violet – are created by mixing two primary colors. Orange comes from red and yellow, green from yellow and blue, and violet from red and blue. However, getting clean, vibrant secondary colors requires understanding color temperature and choosing the right primary colors for your mixture.
Color temperature refers to how warm or cool a color appears. Warm colors (reds, oranges, yellows) seem to advance toward the viewer, while cool colors (blues, greens, violets) appear to recede. Understanding this principle helps create depth and atmosphere in your paintings.
Practice mixing colors on your palette before applying them to your painting. Watercolor dries lighter than it appears when wet, so test your mixtures on a scrap of the same paper you’re using for your painting. This habit will save you from many unpleasant surprises and help you achieve the colors you envision.
Muddy colors often result from mixing too many pigments together or combining colors that contain all three primaries. To avoid this, try mixing with only two colors at a time, and learn which combinations create clean, vibrant results versus those that tend toward muddiness.
Granulation is a beautiful characteristic of some watercolor pigments where the paint settles into the paper’s texture, creating a mottled, textural effect. Ultramarine blue and burnt sienna are known for this quality. Rather than fighting granulation, learn to embrace it as part of watercolor’s unique charm.
- Professional artist grade
- 48 vibrant colors
- Wooden travel case
Your First Watercolor Painting: Step by Step
Let’s put your new knowledge into practice with a simple but satisfying first painting – a peaceful landscape with sky, hills, and a tree. This project incorporates several basic techniques while remaining achievable for absolute beginners.
Begin by lightly sketching your composition with a pencil. Draw a simple horizon line about one-third up from the bottom of your paper, add a few gentle hill shapes, and indicate a simple tree silhouette on one side. Keep your drawing light and minimal – watercolor works best when the paint does most of the talking.
Start with the sky using a graduated wash technique. Mix a pale blue wash and have clean water ready. Wet the sky area with clean water, then apply your blue mixture at the top, gradually adding more water as you work downward. This creates a natural sky that’s darker at the top and lighter near the horizon, just like nature.
While the sky is still slightly damp, you can drop in some cloud shapes by gently dabbing with a clean, damp brush or paper towel. This lifting technique creates soft, natural-looking clouds that blend seamlessly with the sky.
Once the sky is completely dry, paint the distant hills with a pale mixture of blue and a touch of violet. Keep these shapes simple and soft – they should appear to recede into the distance. Distant objects appear lighter and cooler in color due to atmospheric perspective, a principle that will serve you well in landscape painting.
For the middle ground hills, use a slightly warmer and darker mixture, perhaps adding a touch of yellow ochre or burnt sienna to your blue. Apply this with confident, simple strokes, remembering that watercolor looks best when not overworked.
The foreground can be painted with an even warmer mixture – perhaps yellow ochre with touches of burnt sienna and sap green. This warmer, darker foreground will help create depth in your painting and give the eye a path to follow from front to back.
Finally, paint your tree as a simple silhouette using a darker mixture of burnt sienna and ultramarine blue. Keep the shape simple but varied – avoid making it perfectly symmetrical. Add a few simple branch shapes, and perhaps indicate some grass or small shrubs at its base.
Step back and admire your first watercolor! Notice how the transparent layers create depth and how the colors seem to glow with their own inner light. This is the magic of watercolor that has captivated artists for centuries.
Common Mistakes and How to Fix Them
Every watercolor artist, from beginner to master, encounters challenges along the way. Understanding common mistakes and their solutions will help you troubleshoot problems and continue improving your skills with confidence.
Overworking the paint is perhaps the most common beginner mistake. Watercolor works best when applied confidently and left alone to do its magic. Continuously brushing over the same area while the paint is drying creates muddy, lifeless passages. The solution is to plan your strokes, execute them decisively, then resist the urge to “fix” them while wet.
Using too little paint is another frequent issue. Beginning painters often create weak, washed-out paintings because they’re afraid to use enough pigment. Remember that watercolor dries significantly lighter than it appears when wet, so don’t be afraid to mix rich, intense colors. You can always dilute them with water, but you can’t easily intensify weak passages once they’re dry.
Poor water control leads to many frustrations. Too much water creates uncontrollable bleeding and backruns, while too little results in streaky, hard-edged applications. Practice controlling the moisture level on your brush by testing on scrap paper before applying to your painting. Learn to read the shine on your paper – when it’s just slightly damp (not gleaming wet), it’s often perfect for smooth paint application.
Rushing between layers causes many problems. Applying new paint over incompletely dried underlayers can reactivate the first layer and create muddy mixing where you don’t want it. Learn patience – use a hair dryer if necessary, but ensure each layer is completely dry before proceeding.
Not testing colors leads to disappointing results. Always test your color mixtures on scrap paper that’s the same as your painting surface. Colors can look quite different on different papers, and knowing how your mixture will behave prevents costly mistakes on your actual painting.
Fear of making mistakes paradoxically creates more problems than a bold, confident approach. Watercolor responds well to decisive actions and poorly to tentative, hesitant applications. Embrace the medium’s unpredictability – those “happy accidents” often become the most beautiful parts of your painting.
Using poor quality materials can sabotage your efforts before you begin. Cheap paper that pills and bleeds uncontrollably, brushes that don’t hold paint properly, and student-grade paints with poor lightfastness will frustrate your efforts and limit your progress. Invest in at least decent quality basic supplies.
Next Steps for Improving Your Skills
Now that you’ve completed your first watercolor painting and understand the basic principles, you’re ready to continue your artistic journey. Improvement in watercolor, like any skill, comes through consistent practice and gradual expansion of your techniques and subject matter.
Establish a regular painting practice, even if it’s just 15-20 minutes a few times per week. Consistency trumps intensity when learning new skills. Keep a small watercolor sketchbook for daily practice – even simple color swatches and technique experiments will advance your understanding of the medium.
Study the work of master watercolorists to understand how they handle different subjects and techniques. Artists like Winslow Homer, John Singer Sargent, and contemporary masters like David Taylor and Jean Haines offer wonderful inspiration and learning opportunities. Don’t try to copy their style, but study their approach to handling water, color, and composition.
According to the National Gallery of Art, watercolor’s unique properties of transparency and fluidity have made it a beloved medium for capturing light and atmosphere since the 18th century, continuing to inspire artists today with its endless possibilities for expression.
Gradually expand your subject matter as you gain confidence. Start with simple subjects like fruits, flowers, or basic landscapes, then progress to more complex themes as your skills develop. Each subject teaches different lessons – painting flowers helps with color mixing and wet-on-wet techniques, while architecture teaches precision and wet-on-dry control.
Consider taking a class or workshop, either in-person or online. Learning alongside other beginners provides motivation and support, while an experienced instructor can help you avoid developing bad habits and accelerate your progress. Many community centers and art schools offer beginner-friendly watercolor classes.
Experiment with different approaches and techniques as you grow more comfortable with the basics. Try negative painting, where you paint around shapes to define them. Explore salt techniques for creating texture, or masking fluid for preserving whites. Each new technique expands your artistic vocabulary.
Document your progress by photographing your work and keeping a painting journal. Note what worked well, what challenged you, and what you’d like to try differently next time. This reflection deepens your understanding and helps you learn from both successes and mistakes.
Most importantly, remember that artistic growth is a journey, not a destination. Every professional watercolorist was once exactly where you are now – holding a brush with excitement and perhaps a little uncertainty. Trust the process, be patient with yourself, and celebrate small victories along the way.
Watercolor painting offers a lifetime of learning and discovery. The medium’s combination of control and unpredictability keeps it forever fresh and challenging. Whether you paint for relaxation, self-expression, or the simple joy of creating something beautiful, watercolor will reward your efforts with moments of pure magic when everything comes together perfectly.
As you continue your watercolor journey, remember that every painting teaches you something new. Embrace the learning process, enjoy the meditative qualities of painting, and don’t be afraid to experiment. The most important step you can take is simply to begin, and you’ve already done that. Welcome to the wonderful world of watercolor painting!
What’s the best watercolor paint set for complete beginners?
For absolute beginners, the Winsor & Newton Cotman set or Kuretake Gansai Tambi offer excellent quality at beginner-friendly prices. Both provide reliable color mixing, good lightfastness, and include enough colors to create a wide range of mixtures. Start with a basic set of 12-18 colors rather than overwhelming yourself with too many choices.
How much should I expect to spend on basic watercolor supplies?
A quality starter set including paints, brushes, and paper can range from $50-150 depending on your choices. While it’s possible to start cheaper, investing in at least decent quality supplies will make your learning experience much more enjoyable and successful. Consider it an investment in a hobby that can provide years of creative fulfillment.
Can I use regular drawing paper for watercolor painting?
Regular drawing paper is not suitable for watercolor painting as it lacks the proper sizing and weight to handle wet paint. It will buckle, pill, and allow paint to bleed uncontrollably. Always use paper specifically designed for watercolor, such as Arches, Strathmore 400 Series, or Canson XL Watercolor pads.
How long does it take to learn basic watercolor techniques?
With regular practice, most beginners can master basic techniques like flat washes and simple wet-on-wet effects within a few weeks to a couple of months. However, watercolor is a lifelong learning journey – even experienced artists continue discovering new approaches and refining their skills. Focus on enjoying the process rather than rushing to achieve specific milestones.
What’s the difference between student grade and artist grade watercolors?
Student grade paints contain less pure pigment and more fillers, resulting in less intense colors and different mixing properties. Artist grade paints like Daniel Smith Extra Fine Watercolors offer superior color intensity, better lightfastness, and more predictable mixing. While student grade is fine for learning basics, many painters find the upgrade to artist grade paints motivating and rewarding.
Should I stretch my watercolor paper before painting?
For papers 140lb and lighter, stretching helps prevent buckling and provides a smoother painting surface. However, heavier papers (200lb and above) often perform well without stretching. If you’re using lighter weight paper like Canson XL pads, consider taping the edges down or stretching for best results, especially for techniques involving lots of water.
Frequently Asked Questions
Is watercolor painting for beginners really as easy as it looks?
Yes, watercolor is wonderfully forgiving and perfect for beginners because it allows you to start simple and build confidence gradually. Unlike oil paints, watercolors dry quickly, blend naturally, and even your mistakes often turn into beautiful unexpected effects that add character to your work.
What supplies do I need to get started with watercolor painting?
You’ll need watercolor paints, brushes, watercolor paper, and water to get started. The supplies are relatively affordable and portable, making it easy to set up cozy painting sessions at your kitchen table or even take your art supplies on vacation.
Is it too late to learn painting if I’m in my 60s or older?
It’s absolutely never too late to pick up a brush and discover the joy of painting. Whether you’re 50, 60, or beyond, watercolor welcomes newcomers with open arms and is especially suited for those embracing creativity later in life.
How long does watercolor paint take to dry between layers?
Watercolor dries quickly compared to other painting mediums, so you won’t be waiting days to see your finished piece or add the next layer. This quick drying time means you can keep painting and enjoying your creative session without long interruptions.
