Our reviews are based on aggregated verified buyer feedback, manufacturer specifications, and published expert opinion. Products are not independently tested by our team.
Scrapbooking is the art of preserving memories through decorated photo albums. It combines photographs, written stories, and decorative elements into beautiful pages that tell the story of your life, your family, and your favorite moments. Unlike a digital photo library that sits unseen on a phone, a scrapbook is a tangible, shareable keepsake that you and your loved ones can hold, page through, and enjoy for generations.
If you’ve admired beautiful scrapbook pages but felt intimidated by the seemingly complex layouts and tools, this guide is for you. Scrapbooking is genuinely beginner-friendly, and you can create your first beautiful page with just a handful of basic supplies. Let’s get you started.
What Is Scrapbooking?
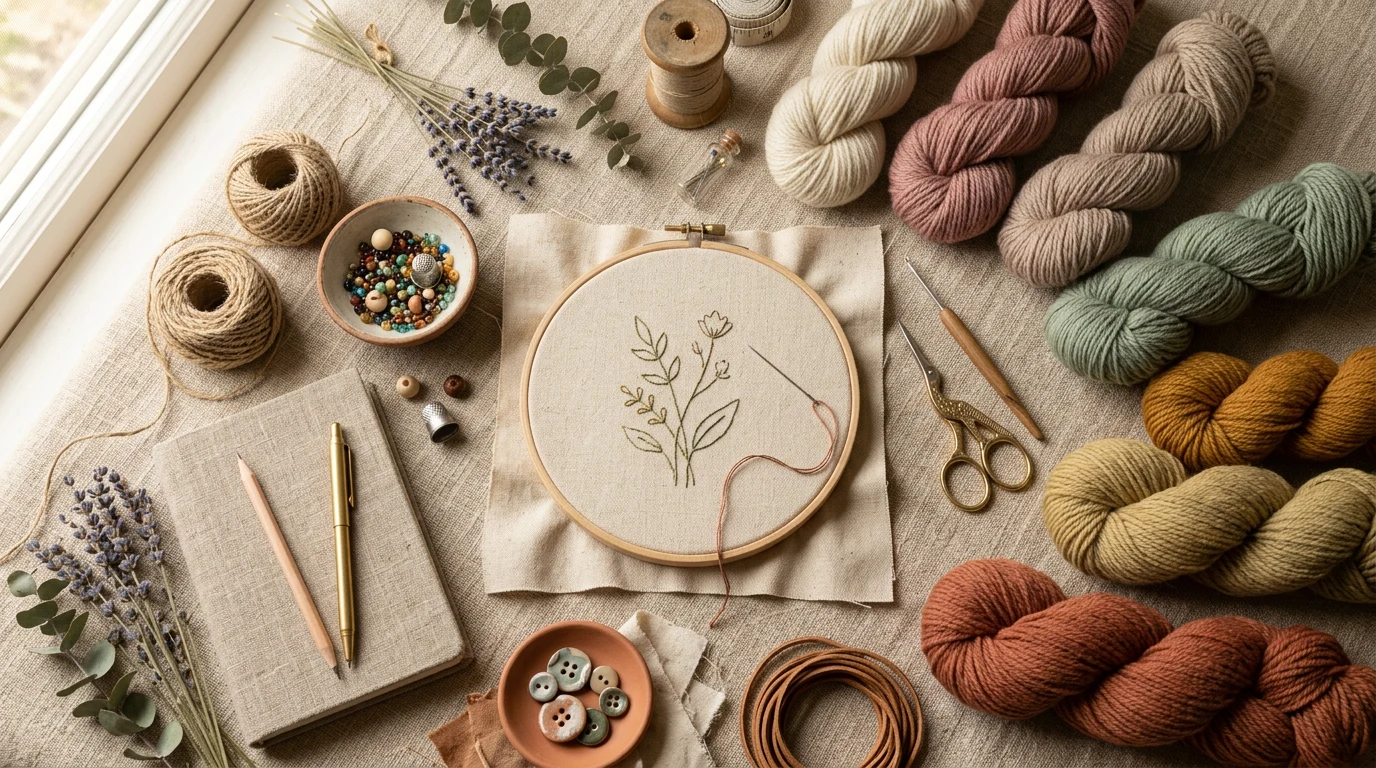
At its core, scrapbooking is storytelling through decorated album pages. Each page typically features one or more photographs surrounded by decorative paper, embellishments (stickers, die cuts, buttons, ribbons), and journaling, which is the written narrative that gives context to the photos.
The hobby has evolved significantly since the simple photo album paste-ups of decades past. Modern scrapbooking encompasses a wide range of styles, from clean and minimal to elaborately layered and textured. Some crafters focus on documenting everyday life, while others create themed albums for specific events like weddings, vacations, or a child’s first year.
What makes scrapbooking special is the combination of creativity and memory preservation. You’re not just storing photos. You’re creating a curated, decorated record that captures not only what something looked like but how it felt, what you were thinking, and why it mattered. Decades from now, the journaling on your scrapbook pages will mean more to your family than any digital photo file.
Scrapbooking is also a deeply flexible hobby. You can spend $20 on basic supplies or thousands on high-end tools. You can complete a page in 30 minutes or spend hours on an elaborate design. You can work alone in quiet reflection or join a “crop” event and scrapbook with friends. The hobby adapts to your budget, schedule, and creative preferences.
Essential Scrapbooking Supplies
You don’t need a craft room full of supplies to start scrapbooking. Here’s what you actually need for your first pages.
An album: Choose a 12×12 inch album for your first project. This standard size offers the most layout flexibility and is compatible with the widest range of papers, page protectors, and templates. Post-bound albums are the most popular for beginners. See our album buying guide for specific recommendations.
Cardstock: Solid-colored cardstock (65-80 lb weight) serves as your page base and photo mats. Start with a pack of neutral colors (white, cream, black, gray) plus a few colors that complement your photos. Acid-free cardstock is essential for preserving photos over time.
Patterned paper: Decorative paper adds visual interest and personality to your pages. Coordinated paper packs (6×6 or 12×12 inch) provide matching patterns and colors that work together. For your first project, one coordinated pack of 20-30 sheets in a theme you like is plenty.
Adhesive: You need a reliable way to stick photos, paper, and embellishments to your pages. A tape runner is the most popular option for beginners: quick, clean, and strong. Glue dots work well for dimensional embellishments. Avoid regular white glue, which can warp paper and isn’t archival-safe. Our adhesive comparison covers all options.
Scissors and a paper trimmer: A small paper trimmer with a sliding blade gives you clean, straight cuts for photos and paper. A pair of sharp scissors handles curves and detailed cutting. These two tools cover most cutting needs for beginning scrapbookers.
Pens: Acid-free, archival-quality journaling pens in black and one or two accent colors. Pigment-based ink is better than dye-based ink for longevity. A fine-tip pen (0.3-0.5mm) works well for journaling text, while a medium tip (0.7-1.0mm) is good for titles and emphasis.
Page protectors: Clear plastic sleeves that hold your finished pages and protect them from handling, dust, and moisture. Buy protectors that match your album type and size.
Choosing Your First Album
Albums come in several binding styles, each with advantages. Your choice depends on how you plan to build and organize your scrapbook.
Post-bound albums use metal posts that pass through holes in the pages. Pages can be added or rearranged by unscrewing the posts. This is the most popular style for traditional scrapbooking because it allows flexible page ordering and easy expansion. Pages lay flat when open, which is ideal for two-page spreads.
3-ring binder albums use standard ring mechanisms. Pages slide in and out easily, making them the most flexible for adding, removing, or rearranging pages. They’re also the most affordable album option. The downside is a slight gap at the binding where pages don’t lay completely flat.
Strap-hinge albums use fabric or leather straps threaded through loops on the pages. They have a premium look and feel, lay flat when open, and expand easily. They’re typically more expensive than other styles.
For your first album, a 12×12 post-bound album in a neutral color is the safest choice. It works with all standard supplies, holds 20-40 pages comfortably, and can be expanded if needed. More detailed album comparisons are available in our album and page protector guide.

- Value Set – The vintage scrapbook supplies kit comes with 360 sheets of thin aci
- Premium scrapbook paper – Decorative paper is made of premium lightweight paper,
- Muti Theme Design – Vintage small scrapbooking paper supplies are designed with
Basic Layout Design Principles
Layout design is where many beginners feel stuck. How do you arrange photos and elements on a page to create something that looks intentional rather than random? These fundamental principles help.
Choose a focal point. Every page should have one main element that draws the eye first. Usually this is the largest or most important photo. Other elements (smaller photos, journaling, embellishments) support and surround the focal point without competing with it.
Use visual balance. Balance doesn’t mean symmetry. It means distributing visual weight evenly across the page. A large photo on the left can be balanced by a cluster of smaller elements on the right. An area of busy pattern can be balanced by an area of calm, solid color. Step back and squint at your layout; if one side feels “heavier,” adjust.
Create visual flow. Guide the viewer’s eye through the page in a natural path, typically from the title to the main photo to the journaling. Embellishments and decorative elements can serve as stepping stones that lead the eye through the design. Avoid placing important elements in corners where they’re easily overlooked.
Leave white space. Resist the temptation to fill every square inch. Empty space gives the eye a place to rest and makes the elements you do include feel more impactful. A page with breathing room looks more professional than one crammed with embellishments.
Limit your palette. Choose 3-4 coordinating colors per page or spread. Too many colors create visual chaos. Pull colors from your photos for natural coordination. If your photo has a blue sky and green grass, use papers and embellishments in blues and greens.
For specific layout templates and ideas, see our 15 easy layout designs guide.
Working with Photos
Photos are the heart of scrapbooking. How you select, print, and present them shapes the entire page.
Select with purpose. You don’t need to scrapbook every photo you take. Choose the 2-4 images that best tell the story of a moment or event. A single powerful photo often makes a more impactful page than five mediocre ones. Save the extra photos for a digital backup.
Print at the right size. Standard print sizes (4×6, 5×7) work well for most layouts. You can also print smaller (3×4, 2×3) for multi-photo pages or larger (8×10) for spotlight pages. Print at home on photo paper or use an online printing service for better quality and consistency.
Mat your photos. Placing a photo on a slightly larger piece of cardstock creates a “mat” or border that frames the image and separates it visually from the background paper. A 1/4 to 1/2 inch mat in a complementary color adds polish to any layout. Double matting (two layers of cardstock) creates even more visual depth.
Crop thoughtfully. Don’t be afraid to trim photos to remove unnecessary background or to focus on the most important part of the image. A cropped close-up of a smiling face can be more compelling than a wide shot with distracting elements. Use a paper trimmer for straight crops and decorative scissors for creative edges.
Adding Embellishments and Text
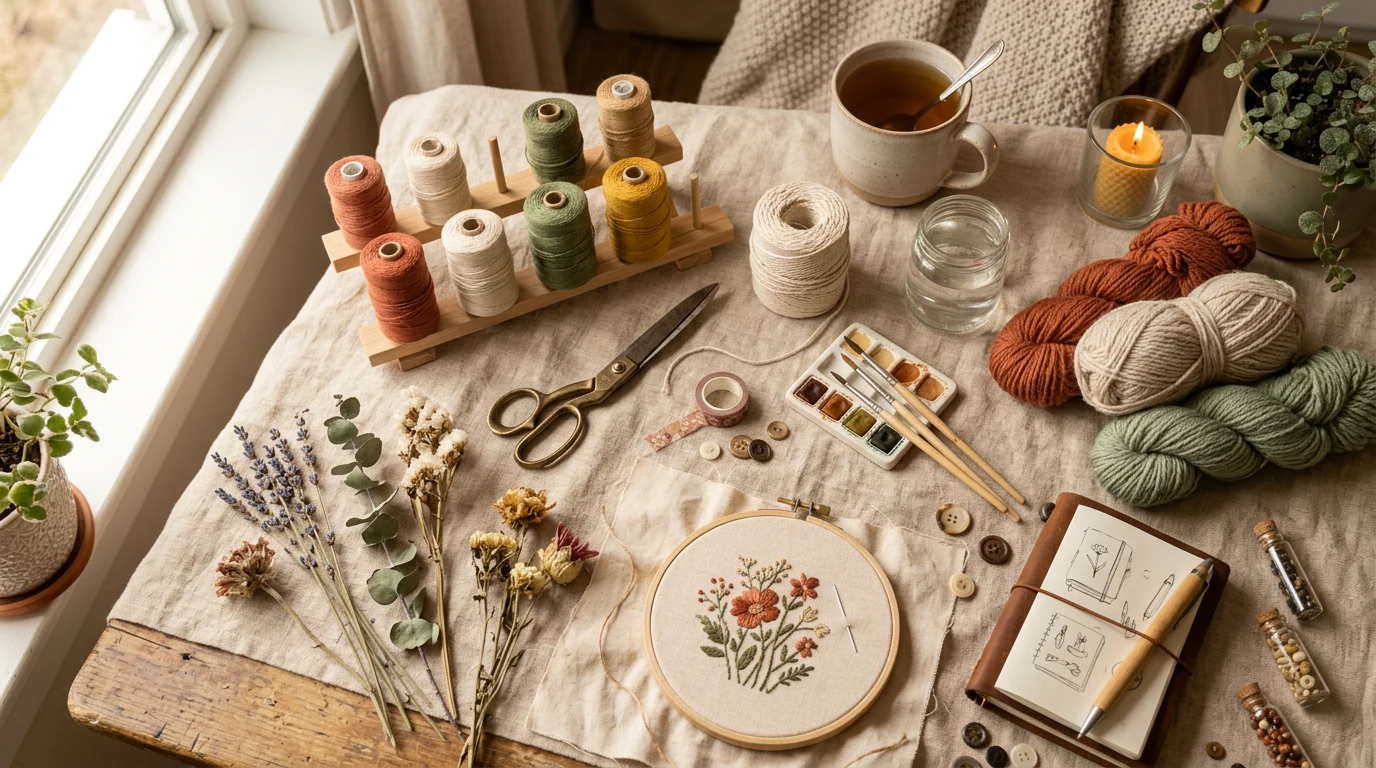
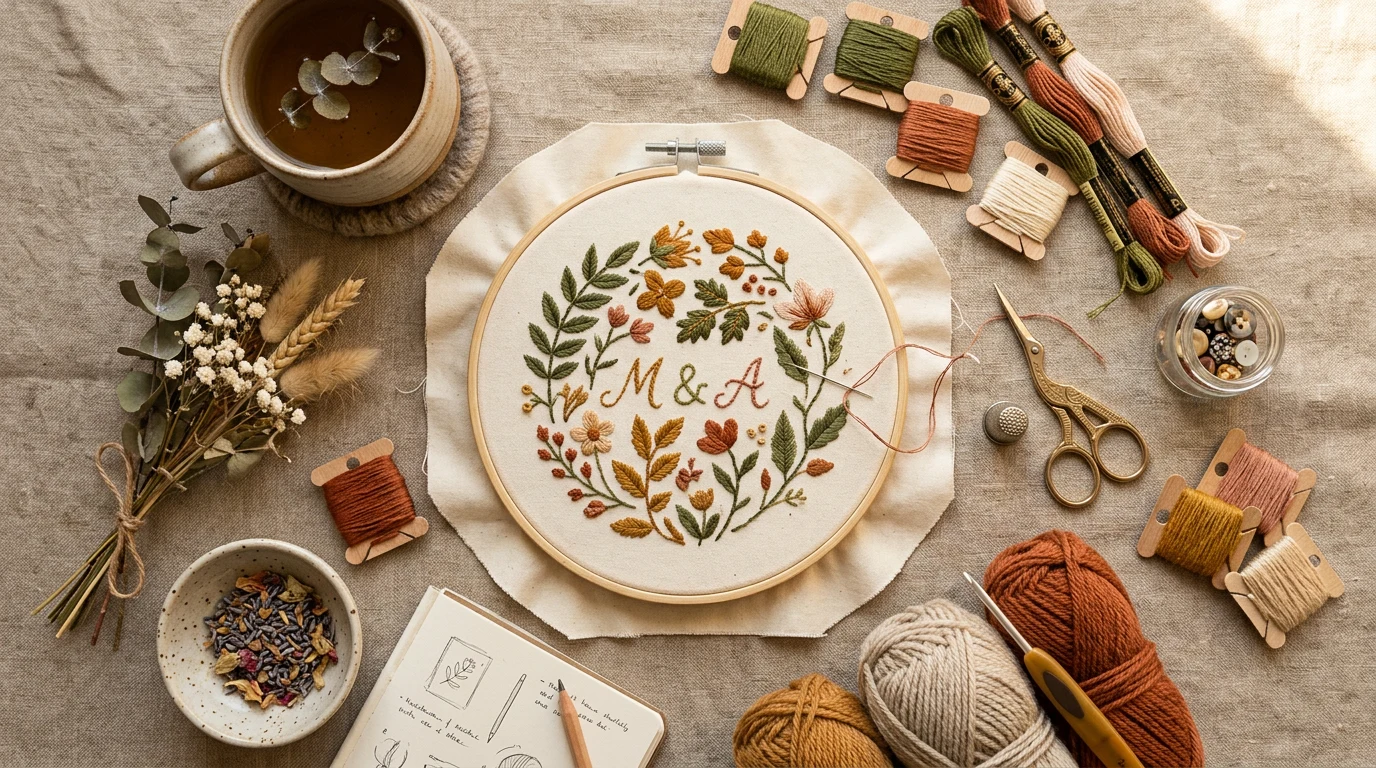
Embellishments add personality, texture, and visual interest to your pages. They range from flat stickers to dimensional buttons, brads, and ribbons.
Start simple. For your first pages, stickers and die cuts are the easiest embellishments to work with. They’re flat, easy to adhere, and come in coordinated sets that match specific themes and color palettes. A single sheet of themed stickers can embellish several pages.
Use the “rule of three.” Group embellishments in clusters of three (or other odd numbers) for visual appeal. Three small flowers clustered together looks more intentional than a single flower or two flowers side by side. Vary the sizes within your cluster for added interest.
Add dimension. Foam adhesive dots or squares lift embellishments off the page, creating shadows and depth. This simple technique makes flat elements look more professional and adds tactile interest to your pages. Use dimension selectively on a few key elements rather than everything.
Titles and headings. Every page benefits from a title that identifies the subject or event. Alphabet stickers, stamps, or hand-lettering all work. Keep titles concise (2-5 words) and position them prominently so viewers immediately understand the page’s subject.
For a deep dive into embellishment types and techniques, see our embellishments guide.
Journaling Tips for Scrapbook Pages
Journaling is the written narrative on your pages, and it’s arguably the most valuable element of any scrapbook. Photos show what happened. Journaling tells why it mattered.
Write what you’ll forget. You’ll always remember what your children looked like. You won’t remember the funny thing they said at breakfast that Tuesday morning. Document the details that photos can’t capture: inside jokes, conversations, emotions, sensory details, and the small moments that make life sweet.
Keep it conversational. Write as if you’re telling a friend about the moment, or as if you’re writing a letter to your future self. Formal writing feels stiff on a scrapbook page. Casual, authentic writing feels warm and personal.
Include the basics. At minimum, note who is in the photo, when and where it was taken, and what was happening. These details seem obvious now but become invaluable decades later when memories fade. Dates are especially important for chronological documentation.
Don’t stress about handwriting. Your handwriting is part of the personal touch that makes scrapbooks meaningful. It doesn’t need to be perfect. If handwriting anxiety holds you back, print your journaling on a computer and adhere the printed text to your page. Both approaches are valid.
- Cuts 300+ materials
- Includes tool set + mats
- Smart materials compatible
Your First Scrapbook Page: Step by Step
Here’s a simple process for creating your very first page.
Step 1: Choose 1-3 photos from a recent event or moment you want to preserve. Print them at 4×6 inches.
Step 2: Select a 12×12 cardstock base in a color that complements your photos. This is your page background.
Step 3: Choose one patterned paper. Cut a strip (about 4×12 inches) and adhere it along one edge of your cardstock for visual interest.
Step 4: Mat your main photo on contrasting cardstock (trim to 1/4 inch larger on each side than your photo). Adhere the matted photo to the page, slightly off-center for visual interest.
Step 5: Add a title using alphabet stickers or hand-lettering. Position it near the top of the page or alongside your main photo.
Step 6: Write a few sentences of journaling on a small piece of cardstock or directly on the page. Include who, when, where, and why this moment matters to you.
Step 7: Add 2-3 small embellishments (stickers, die cuts) to fill empty spaces and tie the design together.
Step 8: Slide the finished page into a page protector and place it in your album.
That’s it. Your first scrapbook page is complete. It doesn’t need to be perfect. It needs to preserve a memory in a way that makes you smile when you see it again years from now.
Common Beginner Mistakes to Avoid
Waiting for perfection before starting. The biggest mistake is not starting at all because you’re waiting until your skills, supplies, or available time are “good enough.” Start now with what you have. Your skills will improve with every page.
Using non-archival materials. Acidic papers, adhesives, and inks will yellow, deteriorate, and damage your photos over time. Always choose materials labeled “acid-free” and “archival quality.” This is especially important for the paper and adhesives that directly contact your photographs.
Overcrowding pages. More is not always more. A page crammed with photos, stickers, and decorations looks cluttered rather than decorated. Give your elements breathing room. If you have 20 photos from an event, spread them across 4-5 pages rather than fitting them all onto one.
Skipping journaling. It’s tempting to focus on the visual design and skip the writing, but journaling is what transforms a decorated photo album into a meaningful family document. Even a single sentence per page adds immeasurable value over time.
Buying too many supplies at once. Start with the basics listed above. As you complete pages, you’ll discover what additional tools and materials you actually want. Buying everything at once often leads to buyer’s remorse and a cluttered craft space. For budget-friendly approaches, see our scrapbooking on a budget guide.
Growing Your Scrapbooking Skills
After completing your first few pages, here’s how to expand your skills and creativity.
Try new layout designs. Move beyond single-photo pages to multi-photo layouts, two-page spreads, and pocket page systems. Each format presents different creative challenges. Our layout ideas guide provides 15 templates to inspire your next pages.
Explore cutting machines. A Cricut or Silhouette cutting machine opens up possibilities for custom die cuts, lettering, and intricate paper shapes that are impossible to cut by hand. These machines are an investment but dramatically expand your creative options. See our Cricut guide for scrapbookers.
Experiment with mixed media. Incorporate elements beyond paper: fabric, ribbon, washi tape, metal charms, dried flowers, and found objects all add texture and personality. Mixed media pages are among the most visually interesting in scrapbooking.
Join a community. Scrapbooking communities online and in local craft stores offer inspiration, technique sharing, and social connection. “Crop” events, whether virtual or in-person, bring scrapbookers together for dedicated crafting time. The community aspect adds motivation and fresh ideas to your hobby.
Scrapbooking is one of those hobbies that becomes more rewarding over time. Your skills improve, your style develops, and the album you’re building becomes an increasingly precious family treasure. According to the American Psychological Association, expressive writing about personal experiences, like the journaling in scrapbooking, has documented mental health benefits including reduced stress and improved emotional processing. Your scrapbook is good for your well-being as well as your memories.
Frequently Asked Questions
Do I need expensive supplies and special skills to start scrapbooking?
No, scrapbooking is genuinely beginner-friendly and you can create your first beautiful page with just a handful of basic supplies. You don’t need complex tools or advanced artistic skills to get started.
What’s the difference between scrapbooking and just keeping photos in a digital folder?
A scrapbook is a tangible, shareable keepsake that you and your loved ones can hold and page through, creating a physical record that tells your story with decorative elements and written narratives. Unlike digital photos that sit unseen on a phone, a scrapbook becomes a treasured item you can enjoy together for generations.
What exactly goes into creating a scrapbook page?
Each scrapbook page typically features one or more photographs surrounded by decorative paper, embellishments like stickers, die cuts, buttons, and ribbons, plus journaling which is the written narrative that gives context to your photos. This combination of creativity and memory preservation captures not just what something looked like, but how it felt and what you were thinking.
Can I create different styles of scrapbook pages, or is there just one way to do it?
Modern scrapbooking encompasses a wide range of styles, from clean and minimal designs to elaborately layered and textured pages. You can focus on documenting everyday life or create themed albums for specific events like weddings, vacations, or a child’s first year, so you can choose the style that works best for you.
