Building your quilting toolkit does not have to happen all at once or cost a fortune. The right tools make quilting more accurate, more efficient, and honestly more fun. The wrong tools, or no tools at all, turn simple tasks into frustrating ordeals. This guide lists everything you actually need to start quilting, organized by category, with specific product recommendations based on what quilters consistently recommend.
Our reviews are based on aggregated verified buyer feedback, manufacturer specifications, and published expert opinion. Products are not independently tested by our team.
Must-Have Cutting Tools
Cutting is where quilting begins, and having the right cutting tools is non-negotiable for accurate results.
Rotary Cutter
A rotary cutter looks like a pizza cutter and cuts through multiple layers of fabric with precision that scissors cannot match. The standard 45mm blade size handles most quilting tasks, from cutting strips to trimming blocks. Olfa and Fiskars are the two most recommended brands. The Olfa RTY-2/G 45mm is the classic choice that has been a quilter’s favorite for decades. Fiskars 45mm Comfort Loop offers an ergonomic handle that is easier on arthritic hands.
Replacement blades are an ongoing cost, so choose a brand with readily available, affordable blades. A sharp blade is essential for clean cuts, so replace your blade when it starts skipping or dragging rather than forcing it through the fabric.
Self-Healing Cutting Mat
A self-healing cutting mat protects your table from the rotary cutter blade and provides a grid for aligning fabric. The minimum useful size is 18 by 24 inches, which accommodates folded fabric from a standard bolt. If your workspace allows, a 24 by 36 inch mat gives you more room and makes cutting large pieces easier.
Look for a mat with clear grid lines in one-inch increments, with eighth-inch markings along the edges. The Olfa RM-MG 24×36 and Fiskars 24×36 are both popular choices. Avoid storing your mat in a car or near a heater because heat causes cutting mats to warp permanently.
Fabric Scissors
Even with a rotary cutter, you need a good pair of fabric scissors for trimming threads, clipping curves, and cutting binding. Fiskars 8-inch dressmaker shears are an affordable, reliable choice. Use your fabric scissors only on fabric, never on paper, to keep them sharp. For more on cutting tools, see our rulers and cutting mats guide.
Measuring and Marking Tools
Quilting Rulers
Clear acrylic quilting rulers are essential for making accurate cuts with your rotary cutter. Start with two sizes: a 6 by 24 inch ruler for cutting strips from folded yardage, and a 6.5 inch square ruler for trimming blocks. These two rulers cover 90 percent of beginner cutting needs.
Omnigrid and Creative Grids are the most popular ruler brands. Creative Grids rulers have a non-slip coating on the back that grips fabric and prevents shifting, which many quilters find invaluable. Make sure your ruler has clearly printed markings in contrasting colors that are easy to read on both light and dark fabrics.
Marking Tools
You will occasionally need to mark lines on fabric for quilting designs or cutting guides. Water-soluble fabric markers and chalk pencils are the safest options because they disappear with water or brushing. Frixion pens are popular but can leave ghost marks with heat, so test them on a scrap first. Hera markers create a crease in the fabric without any pigment at all, making them the safest marking option.
Seam Gauge
A small metal seam gauge helps you measure seam allowances, binding widths, and hem depths accurately. They cost about $3 and are one of those tools you will reach for constantly once you have one. For details on perfecting your seam allowance, read our quarter-inch seam guide.
Pressing and Ironing Tools
Pressing seams after every sewing step is one of the most important habits in quilting. It makes the difference between a flat, professional-looking quilt and a lumpy, imprecise one.
Iron
Any iron that heats evenly and has adjustable temperature settings works for quilting. You do not need a fancy steam system. Many quilters actually prefer to press with a dry iron because steam can distort fabric. The Rowenta DW5080 and Black+Decker Classic Steam Iron are both popular among quilters for their even heat distribution and reliability.
Pressing Surface
A standard ironing board works, but many quilters prefer a wool pressing mat that can sit on their cutting table next to the sewing machine. This eliminates the constant walk between the machine and the ironing board. Wool pressing mats absorb steam and heat from both sides, creating a crisper press. The 17 by 17 inch size fits most cutting tables and costs between $20 and $40.
Starch or Sizing
Many quilters use spray starch or sizing when pressing to add crispness to their fabric, especially for intricate blocks with many pieces. Mary Ellen’s Best Press is a popular starch alternative that adds body without the flaking that traditional spray starch can cause. It is optional but helpful, particularly for blocks with bias edges that tend to stretch. Our pressing techniques tutorial covers when and how to use these products.

- Professional Rotary Cutter Set: 45mm rotary cutter(8 extra cutter blades), a qui
- 9 inch Professional Sewing Scissors and Fabric Scissors, industrial quality High
- Self Healing Cutting Mat: A4(9″ x 12″), available on both sides, thick soft and
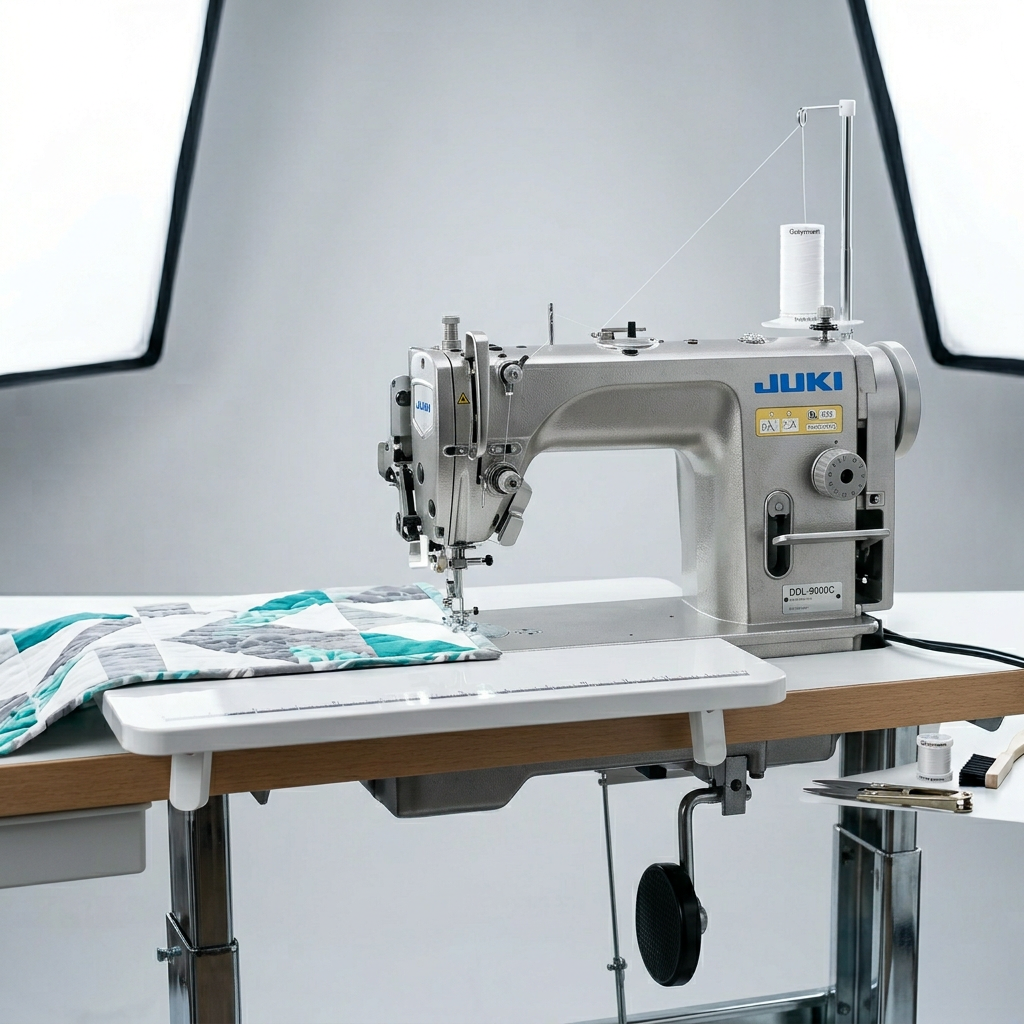
Sewing Machine Accessories for Quilting
Quarter-Inch Presser Foot
This specialty foot has a guide that keeps your fabric exactly a quarter inch from the needle, ensuring consistent seam allowances throughout your project. It is the single most useful quilting accessory you can buy for your machine. Most brands offer a quarter-inch foot compatible with your machine for $10 to $20.
Walking Foot
A walking foot has built-in feed dogs on top of the fabric that work in sync with your machine’s feed dogs below, feeding all layers of a quilt sandwich evenly. This prevents the top layer from shifting or puckering during machine quilting. Essential for straight-line quilting and binding attachment. Most cost $20 to $45 depending on your machine brand.
Free-Motion or Darning Foot
This foot hovers above the fabric, allowing you to move the quilt freely in any direction for free-motion quilting designs like stippling, feathers, and swirls. You will not need this immediately, but it is worth having when you are ready to explore free-motion techniques. Most machines include a basic darning foot, or you can purchase one for $10 to $30.
Hand Quilting Tools
If you are interested in hand quilting, you will need a few specialized tools beyond what machine quilters use.
Quilting Needles (Betweens)
Hand quilting needles, called betweens, are shorter than regular sewing needles, which gives you more control for small, even stitches. Size 8 or 9 betweens are good starting sizes for beginners. As your technique improves, you may move to size 10 or 11 for finer stitches. John James and Clover Gold Eye are reliable needle brands.
Quilting Hoop or Frame
A quilting hoop holds the quilt layers taut while you stitch, preventing puckers and making it easier to achieve even stitches. A 14-inch round hoop is a good starting size. Larger floor frames are available but represent a significant investment that most beginners do not need initially. For a comparison of hand versus machine techniques, see our machine quilting vs hand quilting guide.
Thimble
A thimble protects your pushing finger from the needle. Try different styles, including metal thimbles, leather thimbles, and adhesive thimble pads, to find what feels comfortable. Some quilters prefer a dimpled metal thimble that catches the needle end, while others like the flexibility of leather. The important thing is to use one, because hand quilting without a thimble leads to sore, punctured fingers.
Organizational Supplies
Staying organized makes quilting more enjoyable and prevents costly mistakes.
Design Wall
A design wall is a flannel or felt-covered surface where you can arrange quilt blocks before sewing them together. Fabric sticks to flannel without pins, making it easy to step back and evaluate your layout. You can make a simple design wall by tacking a flannel-backed tablecloth to a wall or a large piece of foam board. Even a bed or clean floor works in a pinch.
Storage for Cut Pieces
Zip-top bags, small plastic bins, or labeled envelopes keep cut pieces organized by fabric, block, or project stage. Label everything because cut fabric pieces all start to look the same after a few days. A project bag or tote keeps all your current project supplies together and portable.

- Free Motion Quilting Tools-The new and improved 11.5 Inch x 8 inch supreme slide
- EASY – Zero Friction Top and Self-Sticking Bottom supreme slider for quilting.
- This is a great bundle Quilting present for quilters. Super Slider for Quilting
Budget Starter Kit Recommendations
You do not need to buy everything at once. Here is a tiered approach to building your toolkit.
Bare Minimum Kit (Under $75)
If you already have a sewing machine, you can get started with a rotary cutter ($15-20), a cutting mat ($15-25), a basic quilting ruler ($10-15), thread ($5), and pins ($3). This gets you cutting and piecing immediately. You can use your existing iron and ironing board.
Recommended Starter Kit (Under $150)
Add a quarter-inch presser foot ($10-20), a walking foot ($20-35), a seam ripper ($3), a wool pressing mat ($25-35), and a seam gauge ($3). This kit covers everything you need for piecing and basic machine quilting.
Complete Kit (Under $250)
Add a 6.5-inch square ruler ($10), a free-motion foot ($15-25), fabric markers ($5-8), and organizational supplies ($15-20). This is a comprehensive setup that covers piecing, machine quilting, free-motion quilting, and organization. You are set for years of quilting with this toolkit.
Tools You Can Skip as a Beginner
Marketing makes it tempting to buy every gadget, but these tools are genuinely unnecessary when you are starting out.
Specialty rulers: Triangle rulers, hexagon rulers, and curve rulers are useful for specific patterns but not needed for beginner projects. Buy them when a specific project calls for one.
Quilting software: Software like Electric Quilt (EQ8) is wonderful for planning complex quilts, but it is overkill for beginners. Pencil and graph paper work perfectly well for simple patterns.
A longarm quilting machine: These machines cost thousands of dollars and take up an entire room. Most quilters never own one. Machine quilting on a regular sewing machine or sending quilts to a professional longarm quilter are much more practical options.
Thread snips with multiple features: A simple pair of thread snips or small scissors is all you need for cutting thread. The fancy multi-tool thread cutters are a solution looking for a problem. For a complete guide to getting started with all the right equipment, read quilting for beginners.
Frequently Asked Questions
What is the single most important quilting tool?
A rotary cutter paired with a good ruler and cutting mat. Accurate cutting is the foundation of good quilting, and this trio makes precise cuts easy and repeatable. If your pieces are cut accurately, everything else falls into place more smoothly. According to the National Quilting Association resources, precision cutting tools are the most impactful upgrade a beginner can make.
Can I start quilting without a sewing machine?
Yes, hand piecing and hand quilting are traditional techniques that require no machine at all. They are slower but produce beautiful results and many quilters find hand work deeply relaxing. You will need hand sewing needles, good thread, and a thimble. The trade-off is time: a project that takes a weekend on a machine might take several weeks by hand.
How do I maintain my rotary cutter?
Clean the blade and blade area regularly, removing lint and fiber buildup. Apply a tiny drop of sewing machine oil to the blade pivot point occasionally. Replace the blade when it starts skipping threads or requiring extra pressure. Always close the blade guard between cuts for safety. A single replacement blade costs $3 to $5 and typically lasts through several projects.
Frequently Asked Questions
Do I need to buy all quilting tools at once when I’m starting out?
No, you don’t need to invest in everything at once. Building your quilting toolkit gradually allows you to spread out costs and learn which tools work best for your style. Starting with the essential cutting tools like a rotary cutter and self-healing mat is a smart approach for beginners.
What size cutting mat should I get for quilting?
The minimum useful size is 18 by 24 inches, which works well for folded fabric from a standard bolt. However, if your workspace allows, a 24 by 36 inch mat gives you more room and makes cutting large pieces easier and more comfortable.
Why is having the right quilting tools so important?
The right tools make quilting more accurate, more efficient, and honestly more fun. Without proper tools or with the wrong ones, simple tasks can turn into frustrating ordeals that discourage beginners from continuing with the hobby.
Which rotary cutter brands are best for someone with arthritis?
Olfa and Fiskars are the two most recommended brands by quilters. The Fiskars 45mm Comfort Loop model specifically features an ergonomic handle that is easier on arthritic hands, making it an excellent choice if you have hand sensitivity or joint concerns.