One of the best things about quilting is that you do not need to spend money on patterns to get started. There are dozens of classic quilt designs that have been shared freely for generations, and they remain some of the most beautiful quilts you can make. These 15 beginner-friendly patterns progress from the simplest designs to slightly more challenging ones, building your skills along the way.
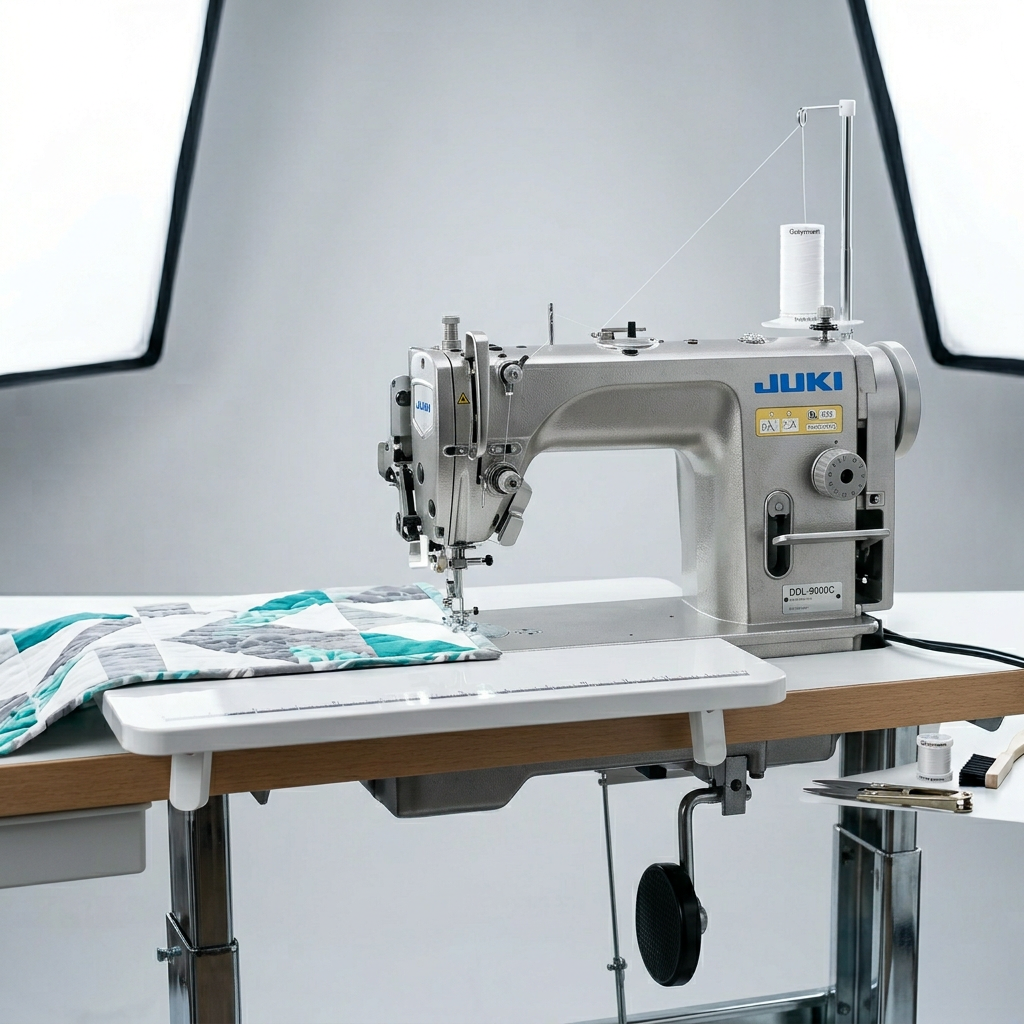
Each pattern listed here can be made with basic quilting supplies and a sewing machine that sews a straight stitch. If you are brand new to quilting, start at the top of the list and work your way down. By the time you finish two or three of these projects, you will have the confidence to tackle almost any pattern you find.
Our reviews are based on aggregated verified buyer feedback, manufacturer specifications, and published expert opinion. Products are not independently tested by our team.
How to Read a Quilting Pattern
Before diving into the patterns, take a moment to understand how quilt patterns work. Most patterns include a list of fabric requirements, cutting instructions, piecing diagrams, and assembly directions. Here are the key elements you will see.

Finished size tells you the dimensions of the completed quilt. Block size tells you how big each individual block is before they are sewn together. Cutting instructions list the exact pieces you need to cut from each fabric. Piecing diagrams show how the pieces fit together, usually with arrows indicating sewing direction.
All seam allowances in quilting are one quarter of an inch unless specifically noted otherwise. Cutting measurements always include the seam allowance, so a 5-inch square instruction means you cut a 5-inch square and sew with a quarter-inch seam to get a 4.5-inch finished square. Our complete beginner’s guide covers quilting fundamentals in detail.
Simple Square Patchwork Quilt
Skill level: Complete beginner | Block type: Single square | Best for: Your very first quilt
The simple patchwork quilt is the easiest possible pattern. You cut identical squares from several different fabrics and sew them together in rows. There are no triangles, no complex seam matching, and no tricky piecing. Just squares.
For a baby quilt, cut 42 squares at 6.5 inches from six or seven coordinating fabrics. Arrange them in 6 rows of 7 squares, alternating colors in a pleasing pattern. Sew the squares into rows, then join the rows. The finished quilt top will measure approximately 36 by 42 inches, a perfect crib size.
This pattern teaches you the essential skills of accurate cutting, consistent seam allowances, and pressing seams. Master these and every other pattern becomes easier.
Strip Quilt Pattern
Skill level: Complete beginner | Block type: Strips | Best for: Using a jelly roll
A strip quilt is made by sewing long strips of fabric together side by side. It is even simpler than a square patchwork because there are fewer seams and no block assembly. If you have a jelly roll (pre-cut 2.5-inch strips), you can make a strip quilt with almost no cutting at all.
Sew your strips together along the long edges, pressing each seam as you go. For visual interest, stagger the strips so they start at different points along the top edge, then trim the top and bottom edges straight. A jelly roll of 40 strips produces a generous throw-size quilt.
This pattern is perfect for a quick weekend project and makes a wonderful introduction to working with pre-cut fabric. The long straight seams also give you excellent practice with your sewing machine’s quarter-inch seam.
Rail Fence Quilt Pattern
Skill level: Beginner | Block type: 3-strip block | Best for: Learning block construction
The rail fence is your introduction to block-based quilting. Each block is made from three strips sewn together, then cut into equal squares. By rotating the blocks in alternating directions (vertical, horizontal, vertical, horizontal), you create a woven or zigzag effect across the quilt.
Choose three coordinating fabrics, one light, one medium, and one dark. Cut strips 2.5 inches wide from each fabric and sew them together into a strip set. Press the seams, then cut the strip set into squares measuring 6.5 inches wide. Arrange the blocks alternating the direction of the strips and sew them together.
The rail fence teaches you strip piecing, which is one of the most efficient and widely used quilting techniques. You will use this method in many patterns going forward.

- Professional Rotary Cutter Set: 45mm rotary cutter(8 extra cutter blades), a qui
- 9 inch Professional Sewing Scissors and Fabric Scissors, industrial quality High
- Self Healing Cutting Mat: A4(9″ x 12″), available on both sides, thick soft and
Log Cabin Block Pattern
Skill level: Beginner | Block type: Log cabin | Best for: Understanding color value
The log cabin is one of the most beloved quilt patterns in history and it is surprisingly simple to construct. Each block starts with a center square, and strips (the logs) are added around it one at a time, building outward like the walls of a tiny cabin.
The traditional approach uses light fabrics on two sides of the center and dark fabrics on the other two sides. This light-dark division is what creates the stunning secondary patterns when blocks are arranged together. Depending on how you rotate the blocks, you can create a straight furrows pattern, a barn raising pattern, a courthouse steps design, and many more variations, all from the same block.
Start with a 2.5-inch center square and add 1.5-inch wide strips around it. Each strip is slightly longer than the last. After adding all the logs, your finished block will be about 12.5 inches square. Make 12 blocks for a generous lap quilt.
Nine Patch Quilt Pattern
Skill level: Beginner | Block type: 9-patch grid | Best for: Learning seam nesting
The nine patch is exactly what it sounds like: nine squares arranged in a three-by-three grid, alternating two fabrics in a checkerboard pattern. It is one of the most traditional quilt blocks and an excellent pattern for learning how to match seams accurately.
Cut 3.5-inch squares from two fabrics. Each block uses five squares of one fabric and four of the other. Sew three rows of three squares, pressing the seams in alternating directions on each row. When you join the rows, the seams will nest together for perfect intersections.
For a full quilt, alternate nine-patch blocks with plain setting squares of the same size. This gives the design breathing room and reduces the total number of blocks you need to make. Adding sashing strips between blocks is another attractive option.
Disappearing Four Patch
Skill level: Beginner | Block type: Cut-and-rearranged | Best for: A wow factor with minimal skill
The disappearing four patch creates a complex-looking design from a deceptively simple technique. Sew four squares together into a basic four-patch block, then cut the block in half vertically and horizontally. Rotate two of the four resulting pieces 180 degrees and re-sew them together. The simple four patch transforms into a striking pinwheel-like design.
Use two contrasting fabrics for maximum visual impact. Cut 5-inch squares, sew them into four-patch blocks, then cut and rearrange. The finished blocks are just under 9 inches square. Make 20 blocks for a generous lap quilt that looks far more complicated than it is.
This pattern is a crowd-pleaser and a confidence booster. When people see the finished quilt, they assume it required advanced skills. Only you need to know how straightforward it actually was.
Half Square Triangle Quilt
Skill level: Beginner-intermediate | Block type: Half square triangle | Best for: Adding diagonal elements
Half square triangles (HSTs) are the building blocks of hundreds of quilt patterns. Learning to make them accurately opens up an enormous range of designs. The two-at-a-time method makes them efficiently: layer two squares right sides together, draw a diagonal line, sew quarter-inch seams on both sides of the line, and cut on the line. You get two identical HSTs from each pair of squares.
Start with 5.5-inch squares to get 4.5-inch finished HSTs. Arrange them in various orientations to create pinwheels, chevrons, zigzags, or random modern designs. Sixteen HSTs in a four-by-four grid makes a beautiful pillow top. Sixty-four makes a generous lap quilt. The arrangement possibilities are virtually endless.
Chevron Quilt Pattern
Skill level: Beginner-intermediate | Block type: HST chevrons | Best for: A modern, striking design
A chevron quilt uses half square triangles arranged in columns to create a bold zigzag pattern. The visual impact is dramatic, but the construction uses only the HST technique you learned in the previous pattern.
Choose two or three fabrics with strong contrast. Make your half square triangles and arrange them in columns, with each column showing the triangles pointing the same direction. Alternate the direction between columns to create the zigzag effect. Adding a solid background fabric between the chevron columns makes the pattern pop even more.
A chevron quilt in navy and white or coral and gray makes a stunning modern baby quilt or throw that looks like it came from a boutique. The Quilting Daily community features many beautiful chevron variations that showcase how versatile this simple arrangement can be.
- 1500 stitches per minute
- Auto thread trimmer
- Knee-lift lever included
Irish Chain Quilt Pattern
Skill level: Beginner-intermediate | Block type: Nine-patch and plain | Best for: A traditional heirloom look
The single Irish chain creates a diagonal chain effect across the quilt using simple nine-patch blocks alternated with plain setting squares. The magic happens when the corner squares of each nine-patch block match the setting square fabric, creating connected diagonal lines across the entire quilt.
Choose two fabrics: one for the chain (usually darker) and one for the background (usually lighter). Construct nine-patch blocks with the chain fabric in the corners and center, and the background fabric in the remaining four positions. Alternate these with plain background squares of the same size. When assembled, the chain fabric creates a beautiful diagonal pattern across the quilt.
The Irish chain is a wonderful gift quilt because it looks intricate and heirloom-quality while being entirely within a beginner’s capabilities. The large plain setting squares are also ideal for showcasing hand quilting or decorative machine quilting.
Coin Quilt Pattern
Skill level: Beginner | Block type: Rectangle strips | Best for: Using scraps and leftover fabric
A coin quilt is made from short rectangles (the coins) sewn together into long columns, with sashing strips between the columns. It is a wonderful scrap-busting pattern because the coins can be any width and come from any number of fabrics. The more variety, the better it looks.
Cut rectangles approximately 2 to 4 inches tall and 6.5 inches wide from as many different fabrics as you can gather. Sew them end to end into long strips. Cut sashing strips 2.5 inches wide from a solid coordinating fabric. Join the coin columns and sashing strips alternately. The resulting quilt has a cheerful, scrappy charm that is completely unique.
This is an excellent pattern for using up leftover fabric from other projects. It also makes a beautiful memory quilt when you use fabric from meaningful clothing, like baby clothes or a loved one’s shirts.
Tips for Printing and Using Free Patterns
When you download or print free quilting patterns from the internet, keep these tips in mind for the best results.
Print at Actual Size
Always verify that patterns with templates print at 100 percent scale (actual size). Many PDF readers default to “fit to page” which shrinks the templates slightly. Look for the 1-inch test square that most patterns include and measure it with a ruler to confirm accuracy before cutting any fabric.
Read the Entire Pattern First
Before cutting a single piece of fabric, read the pattern instructions all the way through. Understanding the full process before you start prevents costly mistakes and helps you plan your cutting efficiently. Pay special attention to cutting diagrams that show how to get the most pieces from your fabric yardage.
Make a Test Block
For any new pattern, make one test block before cutting all your fabric. This lets you practice the techniques, verify your seam allowance accuracy, and see how the colors look together. A test block takes 30 minutes and can save you hours of ripping and re-sewing.
Invest in Good Tools
Free patterns save you money on designs, but do not skimp on your cutting and sewing tools. A quality quilting ruler and cutting mat make accurate cutting much easier, and a sharp rotary cutter blade ensures clean edges on every piece. These tools make the difference between frustrating piecing and enjoyable quilting.
Frequently Asked Questions
Which pattern should I start with as a complete beginner?
Start with the simple square patchwork or strip quilt. Both use only straight cuts and straight seams with no complex piecing. They let you focus on learning accurate cutting, consistent seam allowances, and proper pressing without worrying about matching points or complex block construction.
How long does it take to make a quilt from a simple pattern?
A simple baby quilt using a square patchwork or strip pattern can be completed in a weekend of focused sewing, about 8 to 12 hours total. A lap quilt typically takes 15 to 25 hours. These times include cutting, piecing, quilting, and binding. As your skills improve, the time decreases noticeably.
Can I resize these patterns?
Yes. The simplest way to resize is to change the number of blocks. More blocks make a larger quilt, fewer blocks make a smaller one. You can also change the size of each block by adjusting the cutting dimensions, but remember that all measurements must include the quarter-inch seam allowance. Add extra blocks rather than changing block sizes if math is not your strong suit.
Where can I find more free quilting patterns?
Missouri Star Quilt Co, AllPeopleQuilt.com, and Quilting Daily offer extensive libraries of free patterns. YouTube channels like Missouri Star and Jordan Fabrics provide video tutorials for dozens of free patterns. Many quilting fabric brands also publish free patterns designed to showcase their latest fabric collections. For book recommendations with projects included, see our best quilting books for beginners.
Frequently Asked Questions
Do I need to buy expensive patterns to start quilting?
No, you don’t need to spend money on patterns to get started with quilting. There are dozens of classic quilt designs that have been shared freely for generations, and free quilting patterns for beginners are some of the most beautiful quilts you can make.
What supplies do I need to start making beginner quilts?
You only need basic quilting supplies and a sewing machine that sews a straight stitch to complete the beginner-friendly patterns. Each of the 15 patterns in this collection can be made with these essential tools, so you don’t need to invest in expensive equipment right away.
What does ‘seam allowance’ mean in quilting patterns?
A seam allowance is the space between the edge of your fabric and where you sew. In quilting, all seam allowances are one quarter of an inch unless specifically noted otherwise, and your cutting measurements always include this seam allowance.
How long does it take to feel confident making quilts?
By the time you finish two or three beginner projects from this list, you will have the confidence to tackle almost any pattern you find. The 15 patterns progress from the simplest designs to slightly more challenging ones, building your skills along the way.