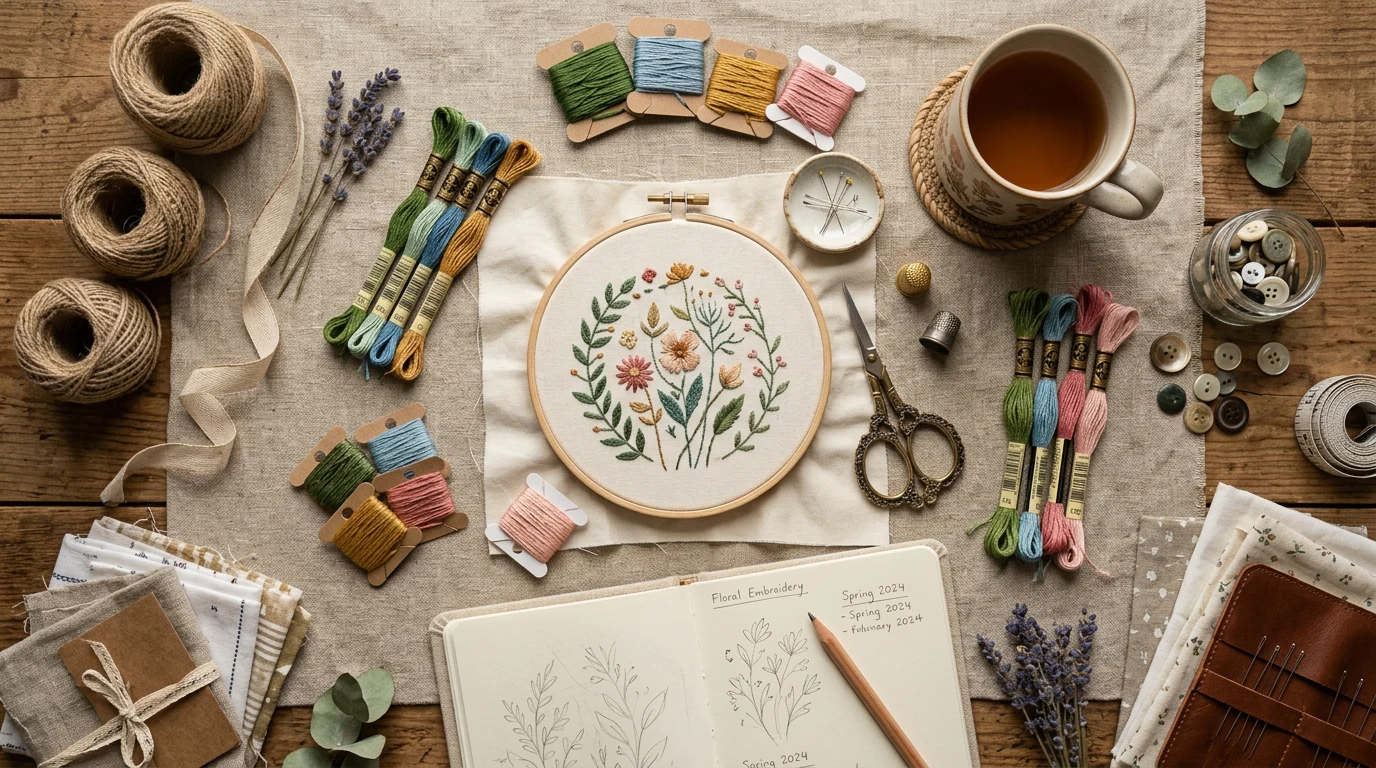
Cross stitch for beginners is one of the most rewarding and relaxing needlework crafts you can learn, offering endless possibilities for creating beautiful handmade treasures. This timeless art form combines simple techniques with stunning results, making it perfect for crafters of all ages who want to create meaningful gifts or personal keepsakes. Whether you’re looking to start a new hobby or rediscover a love for needlework, this comprehensive guide will walk you through everything you need to know to begin your cross stitch journey with confidence.
Our reviews are based on aggregated verified buyer feedback, manufacturer specifications, and published expert opinion. Products are not independently tested by our team.
What Is Cross Stitch?
Cross stitch is a form of counted thread embroidery that creates decorative designs using small X-shaped stitches arranged on fabric. Each stitch is formed by working a diagonal line from the bottom left to the top right of a fabric square, then crossing it with another diagonal line from bottom right to top left. This simple technique, when repeated hundreds or thousands of times, creates intricate patterns, pictures, and decorative text.
The beauty of cross stitch lies in its mathematical precision and predictable results. Unlike free-form embroidery, cross stitch follows a chart or pattern that tells you exactly where to place each colored thread. This makes it incredibly accessible for beginners who might feel intimidated by other forms of needlework that require more artistic interpretation.
Cross stitch has a rich history dating back to the Middle Ages, though its roots may extend even further into ancient civilizations. The craft gained particular popularity during the Victorian era and has experienced several revivals throughout the 20th and 21st centuries. Today’s cross stitchers benefit from high-quality materials, detailed pattern charts, and a vibrant community of enthusiasts who share techniques and inspiration online.
What makes cross stitch particularly appealing to modern crafters is its meditative quality. The repetitive motion of stitching can be deeply relaxing, providing a welcome break from digital screens and busy schedules. Many stitchers describe entering a peaceful, focused state while working on their projects, similar to the mindfulness achieved through meditation or yoga.
The versatility of cross stitch is another major draw. You can create everything from small ornaments that finish in an evening to large wall hangings that provide months of enjoyable stitching. Popular project types include samplers with alphabets and sayings, seasonal decorations, baby announcements, wedding keepsakes, and pictorial scenes ranging from flowers and animals to landscapes and portraits.
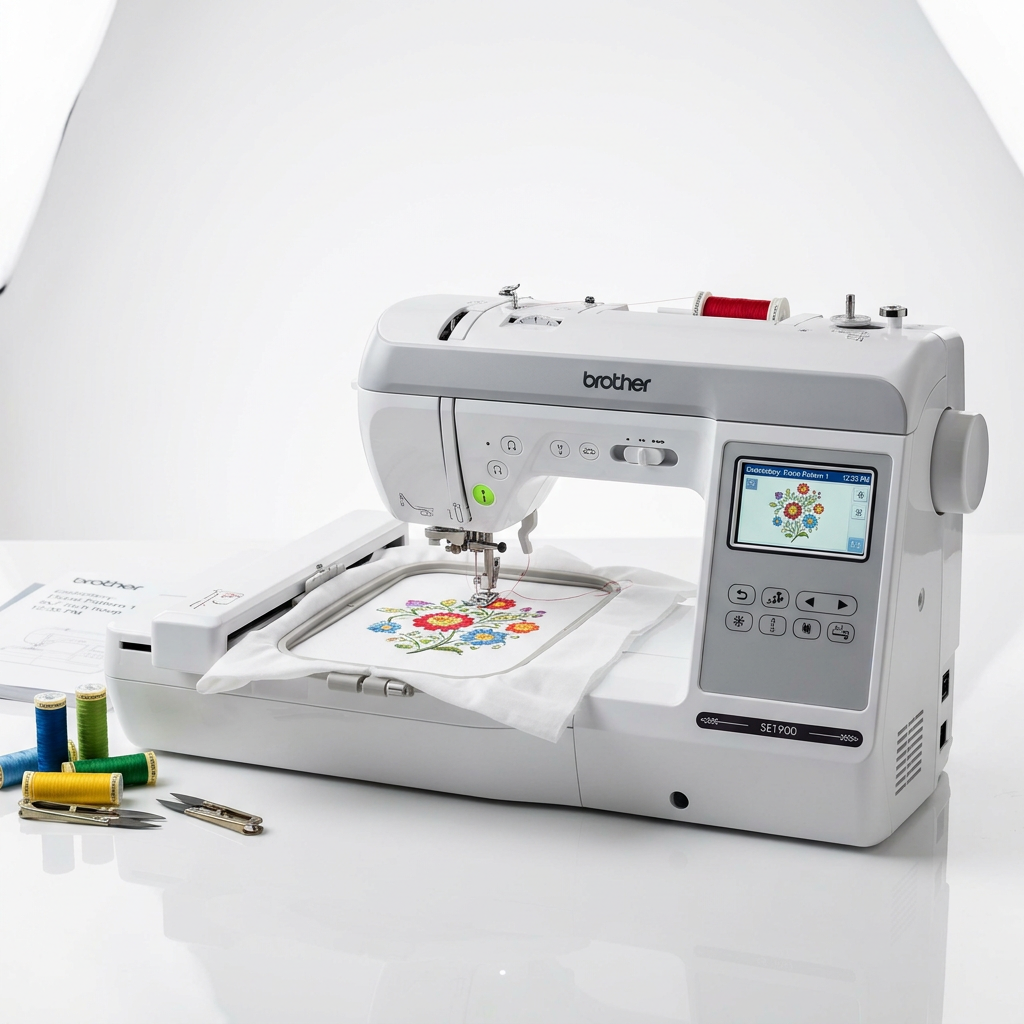
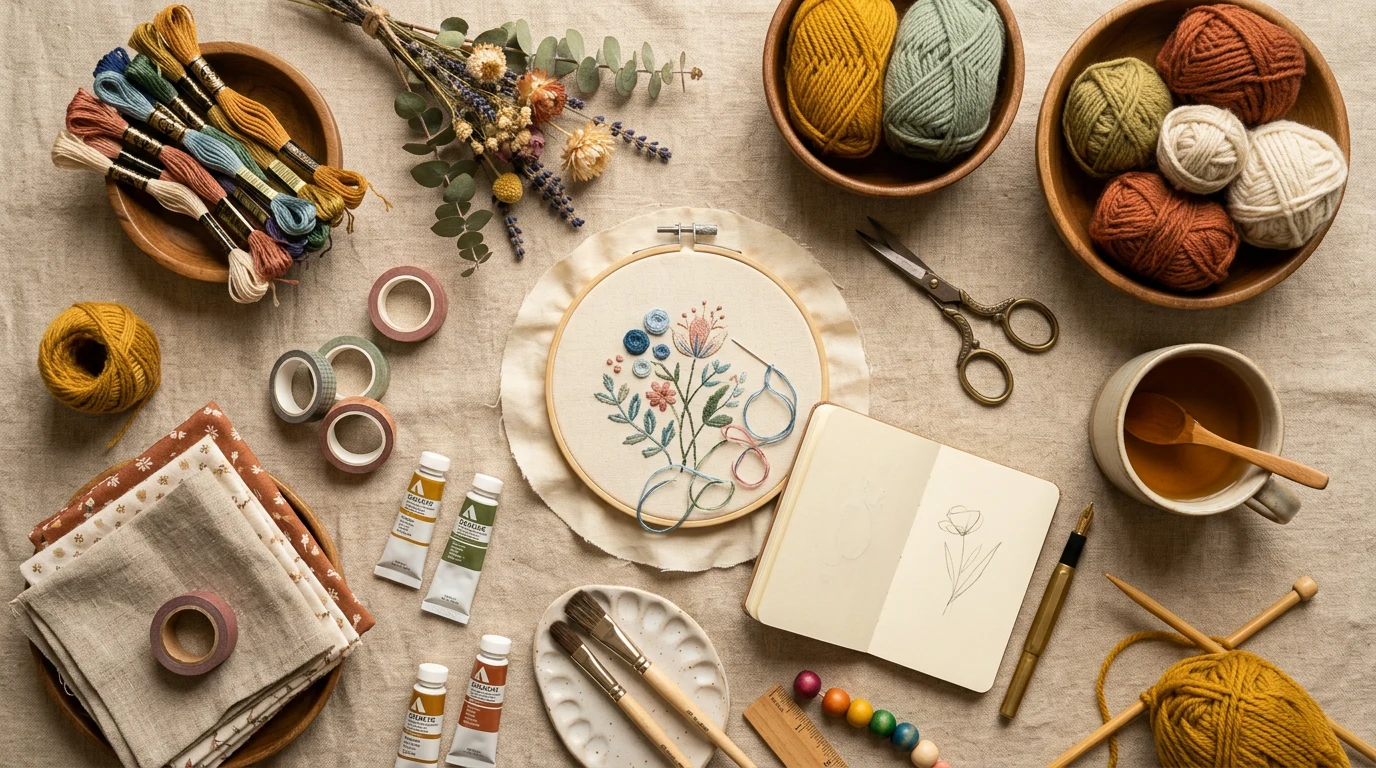
Essential Cross Stitch Supplies
Starting your cross stitch journey requires just a few basic supplies, though the quality of these materials can significantly impact your stitching experience. Understanding what to look for in each essential item will help you make informed choices that support your success as a beginner.
Embroidery Floss and Threads
Embroidery floss is the colorful thread used to create your cross stitches. DMC embroidery floss is widely considered the gold standard in the industry, offering exceptional quality, colorfastness, and an extensive range of over 500 colors. Each DMC skein contains six strands of thread that can be separated and used individually or in combinations. For most beginner projects, you’ll use two strands at a time.
Popular DMC colors that appear in many beginner patterns include DMC 310 (black), DMC 321 (red), DMC 444 (dark lemon), DMC 702 (kelly green), and DMC 3325 (light baby blue). Buyers report that DMC floss maintains its vibrant colors through washing and doesn’t easily tangle during stitching, making it ideal for beginners who are still developing their technique.
Anchor embroidery threads offer an excellent alternative to DMC, with slightly different color interpretations and competitive pricing. Many stitchers develop preferences for one brand or the other, though both produce beautiful results. When following a pattern, stick to the recommended brand when possible, as color matches between brands aren’t always exact.
Needles for Cross Stitch
Cross stitch requires tapestry needles, which have blunt tips and large eyes. The blunt tip allows you to slip between fabric threads without piercing them, while the large eye accommodates multiple strands of embroidery floss. John James tapestry needles are particularly well-regarded among stitchers for their smooth finish and durability.
Needle sizes for cross stitch range from 22 (largest) to 28 (smallest). For beginners working on 14-count Aida fabric, size 24 needles provide the perfect balance of ease and precision. The needle should slide through the fabric holes easily without forcing or enlarging them. Having several needles on hand prevents interruptions if you drop one or want to keep different colors threaded.
Embroidery Hoops and Frames
Hoops and frames keep your fabric taut while stitching, ensuring even tension and preventing puckering. Traditional embroidery hoops consist of two wooden or plastic rings that clamp your fabric between them. Morgan hoops are particularly popular due to their smooth finish and reliable grip mechanism.
Q-Snap frames offer an alternative to traditional hoops, using four plastic tubes that snap together to create a rectangular frame. Many stitchers prefer Q-Snaps for larger projects because they distribute tension more evenly and don’t leave permanent creases in the fabric. Reviews indicate that Q-Snaps work especially well for extended stitching sessions.
For your first projects, a 6-inch or 8-inch hoop will accommodate most beginner patterns. Choose a hoop that feels comfortable in your hands and maintains consistent tension without over-tightening, which can distort the fabric weave.
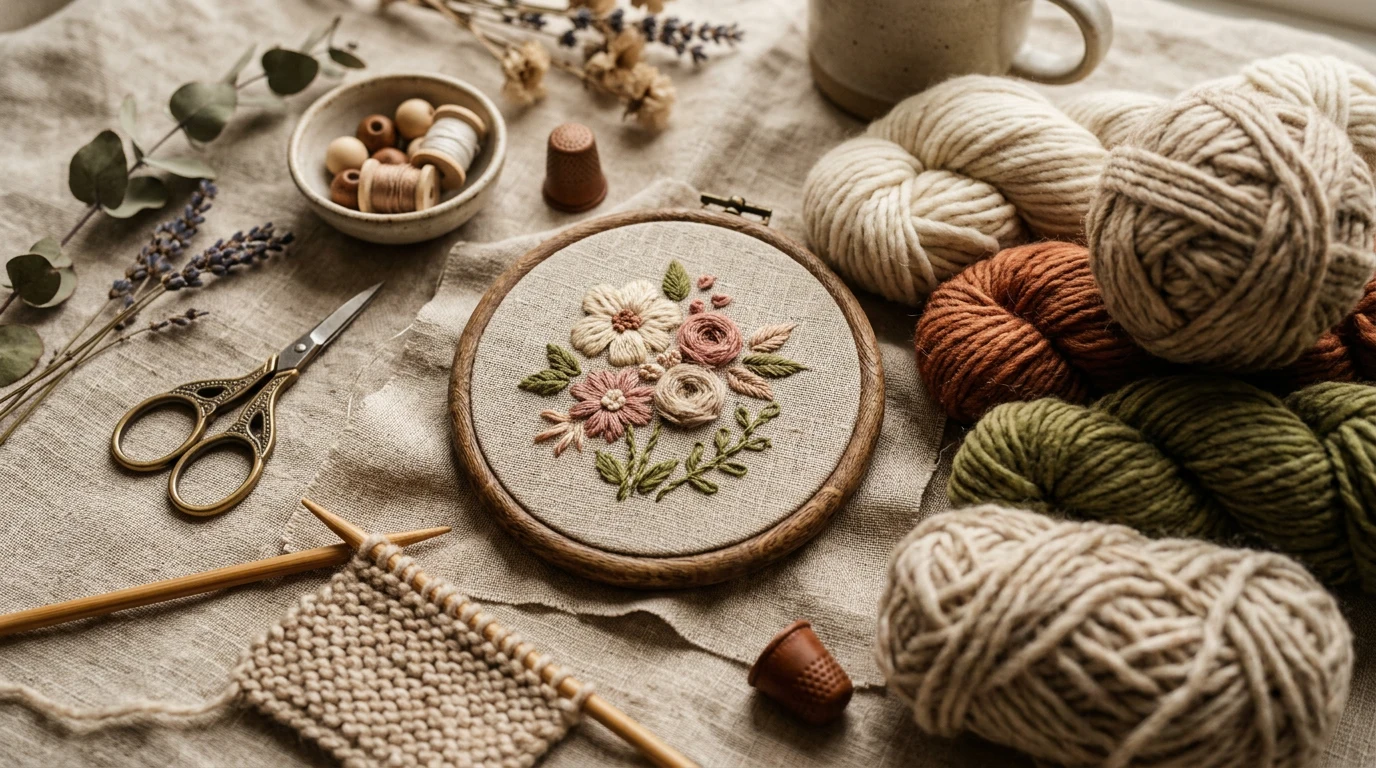
Essential Accessories
Small, sharp scissors are indispensable for trimming threads close to your work. Gingher embroidery scissors are beloved by needleworkers for their precision and longevity. The 4-inch size provides excellent control for detailed work while fitting comfortably in your stitching basket.
A needle threader can be helpful for beginners who struggle with threading multiple strands through the needle eye. While not essential, this simple tool can save frustration and speed up your stitching process.
Good lighting is crucial for comfortable stitching and accurate color matching. A dedicated craft lamp with daylight-balanced LED bulbs will reduce eye strain and help you see fine details clearly, especially when working on darker fabrics or in the evening.
Understanding Cross Stitch Fabric
The fabric you choose forms the foundation of your cross stitch project, and understanding the different options will help you make the best choice for your skill level and project goals. Cross stitch fabrics are designed with an even weave that creates perfect squares for your stitches, ensuring consistent results.
Aida Cloth: The Beginner’s Best Friend
Aida cloth is the most popular fabric for cross stitch beginners, and for good reason. This specially woven fabric features clearly defined holes that make it easy to see exactly where each stitch should go. Charles Craft Aida cloth is widely available and offers consistent quality that beginners can rely on.
Aida is measured by “count,” which refers to the number of stitches per inch. The most common counts for beginners are 14-count (14 stitches per inch) and 16-count (16 stitches per inch). The lower the count, the larger your finished stitches will be. 14-count Aida creates substantial, easily visible stitches that are perfect for your first projects.
18-count Aida produces smaller, more detailed work but requires greater precision and can be challenging for beginners. Most commercial cross stitch kits use 14-count Aida because it offers the ideal balance of ease and attractive finished size.
Aida comes in numerous colors, though white and natural (cream) are most common for beginners. The fabric color becomes part of your design, so consider how it will complement your chosen thread colors. Light-colored fabrics show dark threads well, while darker fabrics can create dramatic effects with light or metallic threads.
Premium Fabric Options
Zweigart fabric represents the premium end of cross stitch materials, offering exceptional quality and consistency that serious stitchers appreciate. While not necessary for beginners, understanding these higher-quality options can inform future purchases as your skills develop.
Evenweave fabrics like linen create more sophisticated finished pieces but require more advanced techniques. Unlike Aida’s clear holes, evenweave fabrics have threads that you count to place your stitches. This requires more concentration but produces smoother, more refined results.
For your first several projects, stick with quality Aida cloth. Once you’ve mastered basic techniques and completed a few pieces, you can explore these premium options to expand your skills and create more sophisticated works.
Preparing Your Fabric
Before beginning any project, properly preparing your fabric ensures the best possible results. Start by cutting your fabric at least 3 inches larger than your finished design size on all sides. This extra fabric provides material for mounting and framing while giving you a comfortable margin for working.
To prevent fraying during stitching, finish the edges of your cut fabric. You can use pinking shears for a quick zigzag edge, apply fray-check liquid to the raw edges, or sew a simple overcast stitch around the perimeter. This small step prevents frustrating thread pulls and keeps your fabric neat throughout the stitching process. For more guidance, DMC provides expert resources on cross stitch floss.
Finding and marking the center of your fabric is crucial for positioning your design correctly. Fold the fabric in half both horizontally and vertically, then mark the intersection with a small stitch using contrasting thread. This center point corresponds to the center of your pattern chart and serves as your reference point for beginning to stitch.

- Kids 12-in-1 Cross Stitch Kit: 12 Blank Assorted Embroidery Boards with 16 colou
- Easy-to-Follow Instructions: The instruction manual features 12 adorable pattern
- Skill Development: This DIY embroidery kit helps kids develop fine motor skills,
How to Thread Your Needle and Start Stitching
Learning to properly thread your needle and secure your thread is fundamental to successful cross stitch. These basic skills, once mastered, become automatic and allow you to focus on the enjoyable aspects of creating your design.
Preparing Your Thread
Each strand of embroidery floss contains six individual threads that must be separated for use. For most cross stitch projects, you’ll use two strands together. To separate strands, cut an 18-inch length of floss (longer pieces tend to tangle and wear from repeated pulling through fabric). Hold one end of the cut piece and gently pull two strands away from the remaining four.
Once separated, lay the two strands together and smooth them to remove any twists. This process, called “stripping” the floss, ensures your threads lie flat and create even coverage in your stitches. While it seems like an extra step, taking time to properly prepare your thread dramatically improves the appearance of your finished work.
Threading the Needle
Threading a tapestry needle with two strands of embroidery floss requires patience, especially when you’re beginning. Cut the thread ends at an angle to create a sharp point, which makes them easier to push through the needle eye. Slightly dampen your fingers or the thread ends if they’re frayed or splitting.
Hold the needle steady in one hand and bring the thread to it rather than trying to guide the needle onto moving thread. If you’re having difficulty, a needle threader can help by creating a larger target for your thread. Once threaded, pull about 4 inches of thread through the needle, leaving the longer tail for stitching.
Never tie knots in cross stitch thread. Knots create bumps that show through your finished work and can pull through the fabric over time. Instead, you’ll learn to secure your thread using techniques that create flat, permanent anchors.
Securing Your Starting Thread
The most reliable method for securing your starting thread is the waste knot technique. Tie a temporary knot at the end of your thread, then insert your needle from the front of the fabric about an inch away from where you’ll begin stitching. The knot sits on the fabric surface while you work your first several stitches.
As you stitch toward the knot location, your working thread will cross over and secure the tail on the back of the fabric. After working several stitches, cut the knot from the front and trim any remaining tail close to the fabric. This method provides excellent security without adding bulk to your work.
An alternative method involves leaving a long tail when you start stitching and weaving it under completed stitches on the back of your work. This technique works well once you have several stitches in place but can be challenging for absolute beginners who don’t yet have stitches to weave under.
Basic Cross Stitch Technique
Mastering the basic cross stitch technique creates the foundation for all your future projects. While the individual stitch is simple, developing consistent tension and rhythm takes practice. Focus on creating uniform stitches that lie flat against the fabric and form neat, even crosses.
Making Your First Cross Stitch
Begin your first stitch by bringing your needle up through the fabric from back to front at the bottom left corner of a fabric square. Pull the thread through until only a small tail remains on the back (or until you reach your secured starting point). Insert the needle back down through the fabric at the top right corner of the same square, creating a diagonal line that slants from bottom left to top right.
To complete the cross, bring your needle up at the bottom right corner of the square and insert it down at the top left corner. This creates the second diagonal line that crosses over the first, forming your X-shaped stitch. The top diagonal should always cross in the same direction throughout your project to maintain consistency.
Pull your thread snug but not tight. The stitch should lie flat against the fabric without puckering or leaving loose loops. Finding the right tension takes practice, but aim for stitches that look plump and full without distorting the fabric squares.
Working Multiple Stitches
When working a row of stitches in the same color, many stitchers use the journey method. First, work a row of half-stitches (bottom left to top right diagonals) across all the squares that will contain that color. Then return in the opposite direction, completing each cross with the top diagonal (bottom right to top left).
This method is particularly efficient for large areas of the same color and helps maintain consistent stitch tension. However, for isolated stitches or when working with variegated threads, you may prefer to complete each cross individually before moving to the next.
Always ensure your top diagonals cross in the same direction throughout your piece. Most stitchers prefer the top diagonal to run from bottom right to top left, but the choice is yours. Consistency matters more than the specific direction you choose.
Maintaining Even Tension
Even tension is perhaps the most challenging aspect of cross stitch for beginners to master, yet it’s crucial for professional-looking results. Stitches that are too loose appear sloppy and may shift over time, while stitches that are too tight can pucker the fabric and distort the overall piece.
Practice makes perfect when it comes to tension. Start by consciously pulling each stitch to the same degree of snugness. Your thread should lie smoothly against the fabric without slack, but you shouldn’t feel resistance when pulling adjacent stitches. With time, this will become automatic muscle memory.
If you notice your fabric puckering, you’re likely pulling too tight. Conversely, if your stitches appear loose or uneven, try pulling them slightly more snug. Remember that you can always adjust your technique as you gain experience, so don’t worry about perfection in your first projects.
How to Read a Cross Stitch Pattern
Learning to read cross stitch patterns opens up a world of design possibilities and gives you the confidence to tackle any project. Patterns use standardized symbols and conventions that, once understood, make complex designs achievable for stitchers of any skill level.
Understanding Pattern Symbols
Cross stitch patterns use a grid system where each square represents one cross stitch on your fabric. Different symbols within the squares indicate different thread colors. A typical pattern includes a legend or key that shows which symbol corresponds to which DMC or Anchor color number.
Common symbols include solid squares (■), circles (●), triangles (▲), crosses (+), and various other geometric shapes. Some patterns use different line weights or patterns within symbols to distinguish between similar colors. The center of your pattern is typically marked with arrows or bold lines to help you align it with the center of your fabric.
Pattern sizes are usually given in both stitches (for example, 120 x 80 stitches) and finished dimensions on various fabric counts. A design that measures 120 x 80 stitches will be approximately 8.5 x 5.7 inches on 14-count Aida, or about 6.7 x 4.4 inches on 18-count Aida.
Reading the Pattern Grid
Most patterns divide the grid into 10×10 squares with bold lines, making it easier to count and track your progress. These bold lines correspond to every tenth thread on your fabric, helping you maintain accurate placement as you work.
Many stitchers find it helpful to mark these 10-stitch intervals on their fabric using a washable fabric pen or contrasting basting thread. This creates a grid system on your fabric that matches your pattern, significantly reducing counting errors and making it easier to find your place.
When following a pattern, work from the center outward when possible. This ensures your design will be centered on your fabric and helps prevent running out of fabric space on one side. Mark completed areas on your pattern as you work to track your progress and avoid stitching the same area twice.
For a more detailed guide on pattern reading, you might find our article on How to Read a Cross Stitch Pattern: Complete Guide particularly helpful as you develop these essential skills.
Managing Large Patterns
Large patterns can seem overwhelming at first, but breaking them into manageable sections makes them achievable. Consider working one color at a time across the entire pattern, or focus on completing small sections before moving to adjacent areas.
Photocopying your pattern allows you to mark off completed areas without damaging the original. Some stitchers prefer to highlight each symbol in its corresponding thread color, making it easier to see at a glance which areas need which colors.
Digital patterns offer advantages like zooming for detail and printing multiple copies. Many modern patterns come with both printed and digital versions, giving you flexibility in how you prefer to work.

- 【Size and Package】15.7×11.8 inch,2pc cross stitch needles, enough thread already
- 【Stamped Cross Stitch Kits for Adults】cross stitch kits gives a pre-set canvas a
- 【Crafted with High-quality Materials】 Cotton thread used in the Cross-Stitch Kit
Starting and Ending Thread Without Knots
Professional-looking cross stitch requires clean thread starts and endings that don’t create bulk or show through to the front of your work. Mastering these techniques elevates your finished pieces and ensures they’ll look beautiful for years to come.
The Loop Start Method
When using an even number of thread strands (like the typical two strands), the loop start provides the cleanest, most secure beginning. Cut a single strand twice as long as you normally would, then fold it in half. Thread the needle with both cut ends, leaving the folded end as a loop.
Make your first half-stitch, but don’t pull the thread completely through. Instead, pass your needle through the loop on the back of the fabric and pull snug. This creates an incredibly secure start that lies completely flat and uses no extra thread or bulk.
The loop start only works when using an even number of strands, so you’ll need alternative methods when working with single strands or odd numbers of strands.
Weaving Under Existing Stitches
Once you have several completed stitches in an area, you can secure new threads by weaving them under existing stitches on the back of your work. Thread your needle and pass it under three or four completed stitches, then work your first new stitch. The existing threads will hold your new thread securely.
When ending a thread, use the same weaving technique. Pass your needle under several nearby stitches on the back, making sure to change direction at least once to lock the thread in place. Trim the remaining tail close to the fabric surface.
Avoid weaving under stitches that are different colors from your working thread, as this can show through to the front of your work. When possible, weave under stitches of the same or similar colors for the most invisible results.
Managing Thread Changes
Efficient thread management saves time and reduces waste while maintaining the quality of your work. Plan your stitching path to minimize thread changes, working all stitches of one color in an area before switching to another color.
When you have only a few inches of thread remaining, end it using the weaving method rather than struggling to complete just one or two more stitches. Short threads are more likely to tangle and produce uneven tension.
Keep a small pair of scissors handy for trimming thread tails close to the fabric. Long tails on the back of your work can catch on your needle or tangle with your working thread, causing frustration and potentially damaging your stitches.
Your First Cross Stitch Project
Choosing and completing your first cross stitch project sets the foundation for your ongoing enjoyment of this craft. The right first project should be simple enough to build confidence while being interesting enough to hold your attention through completion.
Selecting an Appropriate First Project
Your first project should be small, use a limited number of colors, and work up relatively quickly. Consider designs that are approximately 50-80 stitches in each direction, which will create a finished piece roughly 4-6 inches square on 14-count Aida. This size provides enough variety to keep you interested without becoming overwhelming.
Dimensions cross stitch kits offer excellent options for beginners, with complete supplies and clear instructions included. Their beginner-level kits typically feature simple motifs like flowers, animals, or seasonal designs that use 5-10 colors and can be completed in a weekend or two of casual stitching.
Alternatively, you might explore our collection of Free Cross Stitch Patterns: 20 Beautiful Designs for Every Skill Level to find simple designs you can work with purchased materials. Free patterns allow you to practice reading charts while controlling your initial investment in the craft.
Avoid patterns with large areas of solid color for your first project, as these can become tedious. Similarly, skip designs with confetti stitching (single stitches scattered throughout) until you’ve developed better counting and pattern-reading skills.
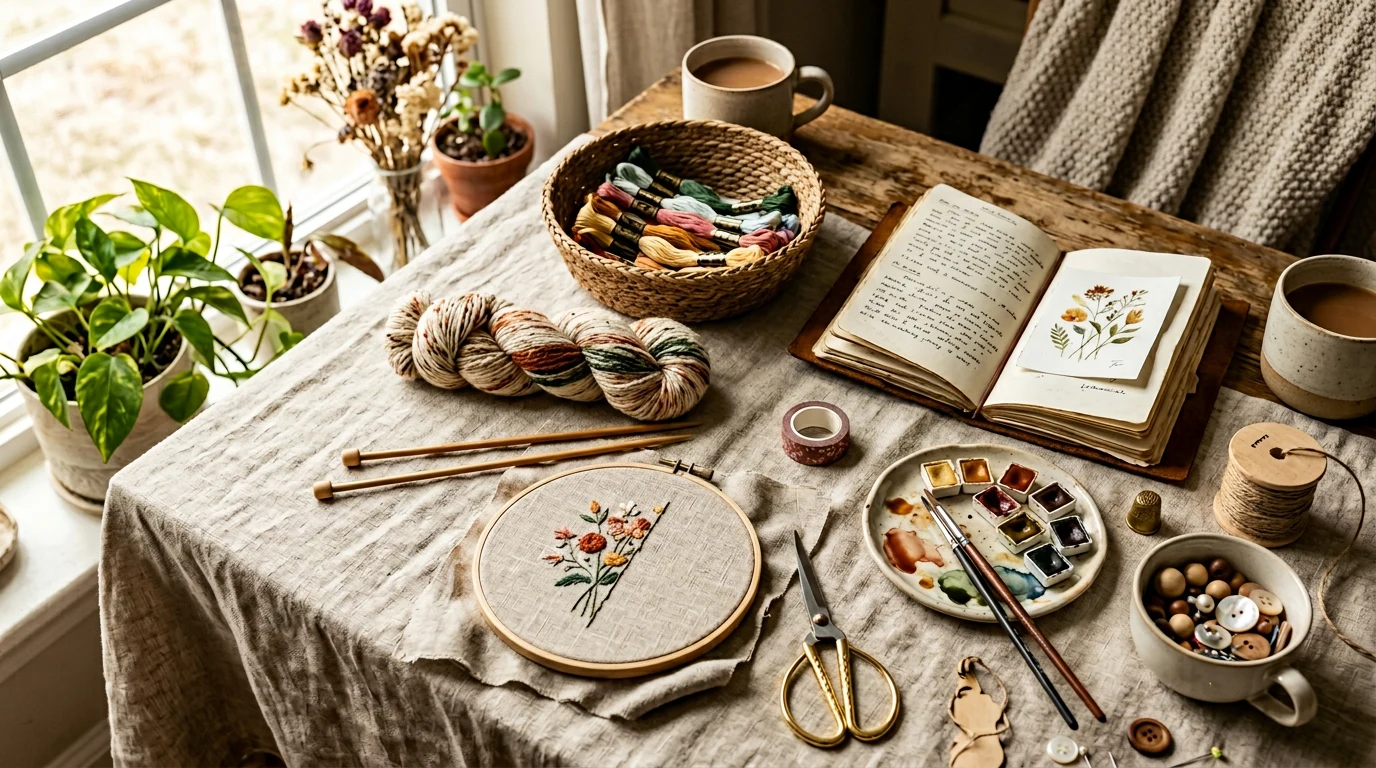
Setting Up Your Work Area
Creating a comfortable, well-lit workspace contributes significantly to your stitching enjoyment and success. Choose a chair that supports good posture, as you’ll be looking down at your work for extended periods. Position your work lamp to eliminate shadows without creating glare on your fabric.
Keep your supplies organized and within easy reach. A small basket or divided container can hold your threads, scissors, and extra needles. Many stitchers enjoy the ritual of setting up their workspace, finding it helps transition their mind into the peaceful state that cross stitch encourages.
Consider the noise level and distractions in your chosen space. While some stitchers enjoy music or television while working, others prefer quiet concentration. Find what works best for you and don’t be afraid to claim a space that supports your crafting time.
Working Through Your First Project
Start your first project by carefully preparing your fabric and finding the center point as described earlier. Begin stitching near the center of your design, working outward as you complete different colored areas. This approach ensures your design will be properly positioned on the fabric.
Don’t worry about working in any particular order—cross stitch is forgiving, and you can jump around the pattern as inspiration strikes you. Some stitchers prefer to complete one color at a time, while others work small sections to completion before moving on. Experiment to find your preferred working style.
Take breaks every 30-45 minutes to rest your eyes and hands. Cross stitch should be relaxing, not a source of strain. If you find yourself getting frustrated or making frequent mistakes, set the work aside and return to it later with fresh eyes.
Keep track of your progress by marking completed areas on your pattern chart. This prevents duplicate stitching and helps you see how far you’ve come, especially important for maintaining motivation on larger projects.
Troubleshooting Common First-Project Issues
Every beginner encounters challenges, and knowing how to address them prevents minor issues from becoming major frustrations. If your stitches don’t look even, check your tension and ensure you’re completing all crosses with the top diagonal running in the same direction.
If you discover a mistake, don’t panic. Single incorrect stitches can often be left as they are, especially if they’re in inconspicuous areas. For major errors, carefully remove the incorrect stitches using your needle tip or a small seam ripper, being careful not to damage the fabric.
Thread tangles and knots are common beginner issues. Use shorter working lengths (18 inches or less) and let your needle hang freely occasionally to allow the thread to untwist naturally. If you do get a knot, work patiently with your needle tip to tease it out rather than pulling, which tightens the knot.